The idea of learning to sew first crossed my mind approximately the seventy-fourth time I bought a wrap dress and thought ‘hmm this really is quite simple, I could probably make them myself’. How foolish! Because of course these things aren’t simple, though no haute couture, I’ll grant you that. However, for we ladies who are comically hourglass-shaped, wrap dresses are practically a uniform (not to mention it feels like wearing your nightie to work, which makes me quietly chuckle), and so it seemed a very good, not to mention obvious, place to start sewing clothes. So I gave it a whirl. I started with a pattern from Christine Haynes’ book ‘Chic and Simple Sewing’ which has great no-zipper, no-button outfits (believe me, there’s a lot a tie and some elastic can do). And the result was…. OK. But frankly, and believe me when I say it’s possible, I’m actually *too* hourglass even for a standard wrap dress.
But then I stumbled across a recommendation on the fabulous Gertie’s Blog for Better Sewing for a great book called Fit for Real People by Pati Palmer and Marta Alto. First of all, both the prose and photos are a hoot. More importantly, it’s an excellent guide to how to alter patterns to suit the peculiarites of one’s shape – and surely that’s one of the main reasons for sewing clothes in the first place? So: I have started to adapt Haynes’ wrap dress pattern.
First of all, I made a ”FBA”. Yeah, kids, an ”FBA”. (Ok, that’s a Full Bust Adjustment. I didn’t know that last week, either). That involved pinning up and trying on the actual tissue pattern, and then various slicing up and putting-in-of-extra-material on the bodice pieces, so it looks like this (you can see the slices where the text is cut up):

Then, I took the adjusted tissue pattern and cut it out in muslin, which is basically where you make a trial version of the dress out of cheap fabric to test for fit before you use your nice fabric. Here’s the piece and muslin side by side (I forgot to take a photo of me wearing the muslin so you’ll just have to imagine me wearing a potato sack, but a lovingly fitted one):
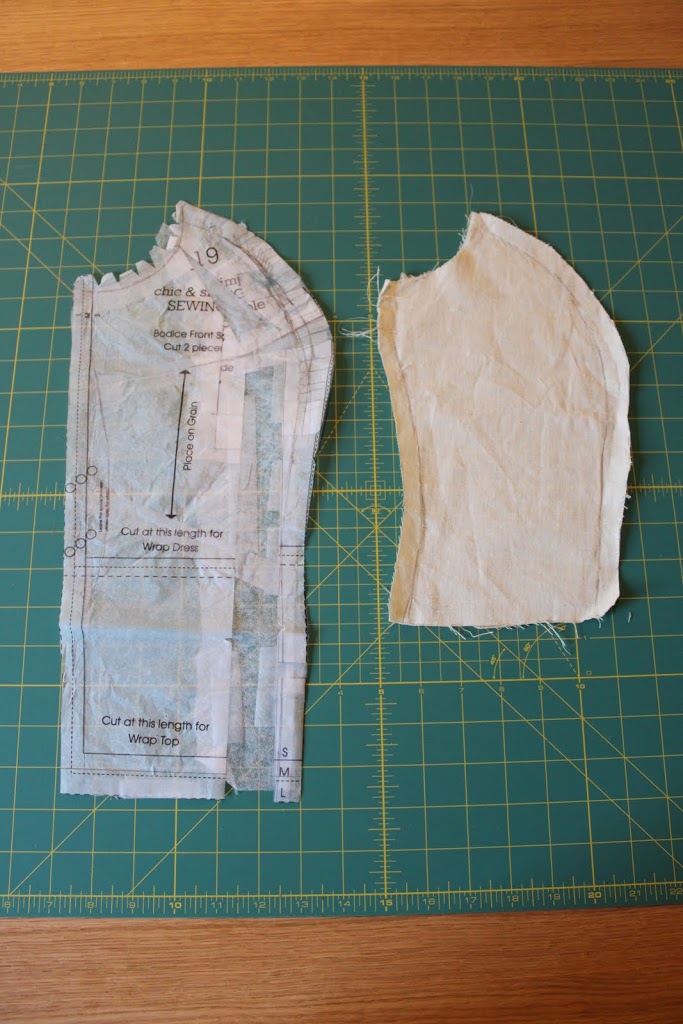
You can see that I quickly discovered the tissue was too long, so the muslin got slashed back up to waist level.
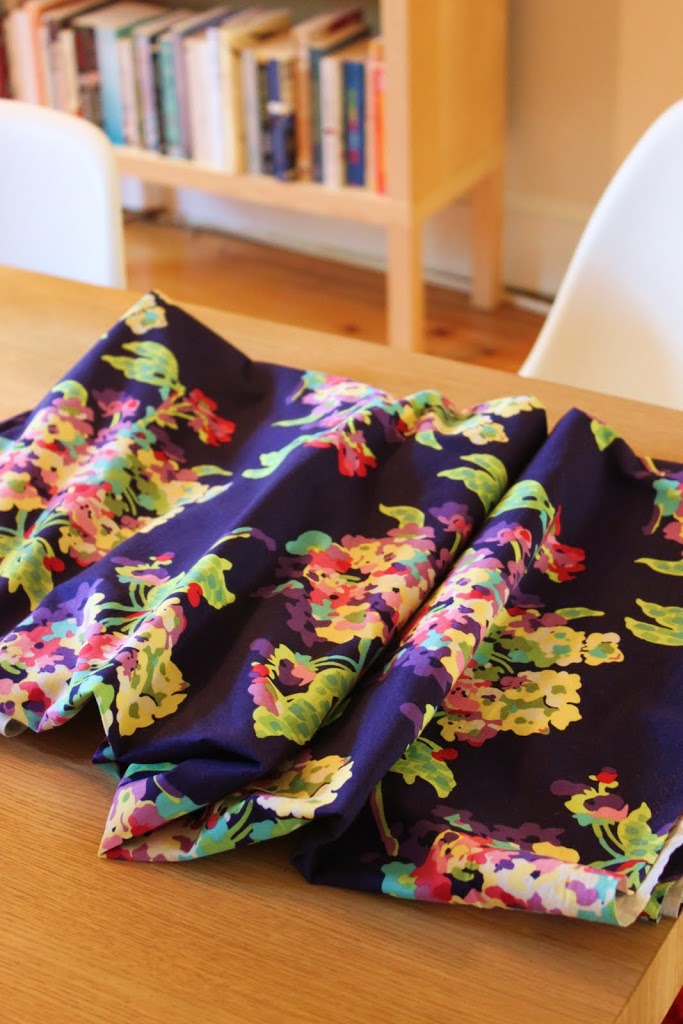
As for the fabric, well that was the result of a lovely birthday present (one of many) from my Mum this year, which was a roll of fabric samples from Rowan Fabrics, including a bunch of Amy Butler prints. There was a divine purple one with flowers called Midnight Bouquet which I liked so much I went straight to fabrics.com and bought 3 yards of it. Here it is, posing on my dining room table:
Next step, using the fitted muslin to cut out the pieces….
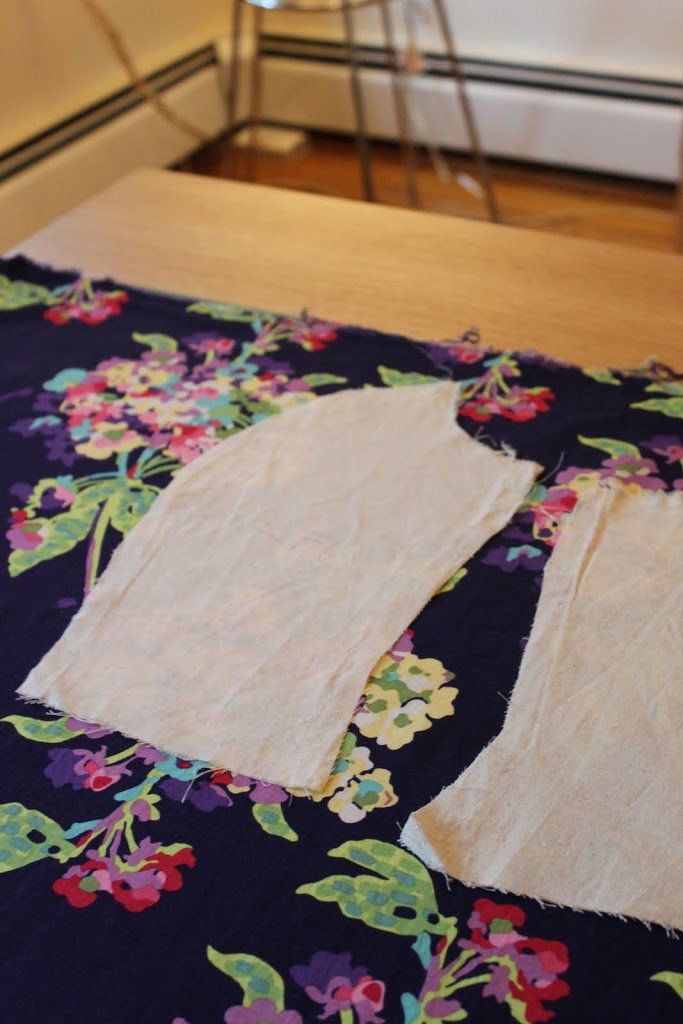
And that’s where I am. Pieces, cut out, on the dining room table. I am slightly nervous to sew them together because then we will discover if all the measuring, tissue-fitting, splicing and dicing was worth it. I’m not sure if it’s better if no-one notices, or if people stop me in the office and go ”My Jenny, how well that dress fits both your bust AND waist! What a refreshing change!”.
What do you think Cashmerette-fans? Have any of you tried tissue-fitting and muslin-making before? Any tips for we first-timers?
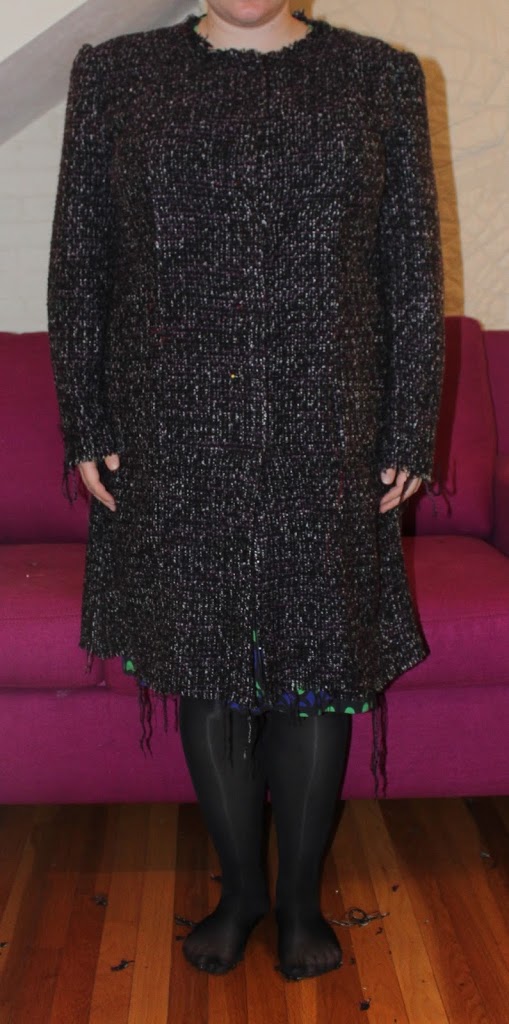
I am agog. I also, shamelessly, want you let me try on the grey one that was only ‘OK’ because I was secretly hoping you’d get fed up of it and give it to me. I, famously, have no advanced bust-shaping requirements, having a very-far-from-advanced shaped bust.
I think people will stop you in the street and say “Jenny Jenny, what a perfectly executed FBA!”
Seriously, it looks brilliant and will totally be worth it when you sew it together. xxx
You’re going to get annoyed when I tell you I threw the grey one away, aren’t you..?
Jual aneka barang ONLINE.
bisa di pilih mana yang pingin di order.
http://kopiluwakliar01.blogspot.com
http://kopiluwakliar.vvty.in/
http://bantalsilikon.vvty.in/
http://bantalsilikon01.blogspot.com
http://marinirseo.blogspot.com.com
http://bumbupecel1.blogspot.com
http://bantalsilikon01.blogspot.com
http://kopiluwakliar01.blogspot.com
http://marinirseo.blogspot.com.com/
http://bumbupecel1.blogspot.com/
http://bantalsilikon01.blogdetik.com/
http://kopiluwakliar.vvty.in/
http://bantalsilikon.vvty.in/
CP : +62-85-635-945-40