I am an almost entirely self-taught seamstress. I say almost, because I did take an “intro to sewing” class about 2 years ago when I first bought a machine, but it wasn’t… the best. The teacher seemed to barely know how to thread a machine, and the pace was veeeeery slow (however, I did meet a good friend, so it was totally worth it!). Recently I started to realise that books were only to take me so far, so when BluPrint did a $20 sale on a “Couture Dress” online course with the famous Susan Khalje I thought, why not? I’ll give it a bash.

Now, darlings, is when we go couture! Loathed as I would be to attempt to define “couture”, one way of explaining it is that it’s highly crafted clothing made with a lot of attention to detail and a lot of control. Often when you’re sewing commercial patterns there’s quite a lot of guessing as to how the dress is going to come out, because fabric tends to shift as you sew and take out pins and things like that. In couture there’s none of that: everything is done precisely and in a very controlled way so you know exactly what you’re doing.
Here’s the rough stages:
1. Make a muslin. This is a trial run garment which you do to adjust the pattern to fit your shape and size, and also to have a trial go at putting it together – it’s amazing how much better you are the second time you put together a tricky seam.
This couture class taught me a totally different way to make the muslin, though! Starting with the cutting.
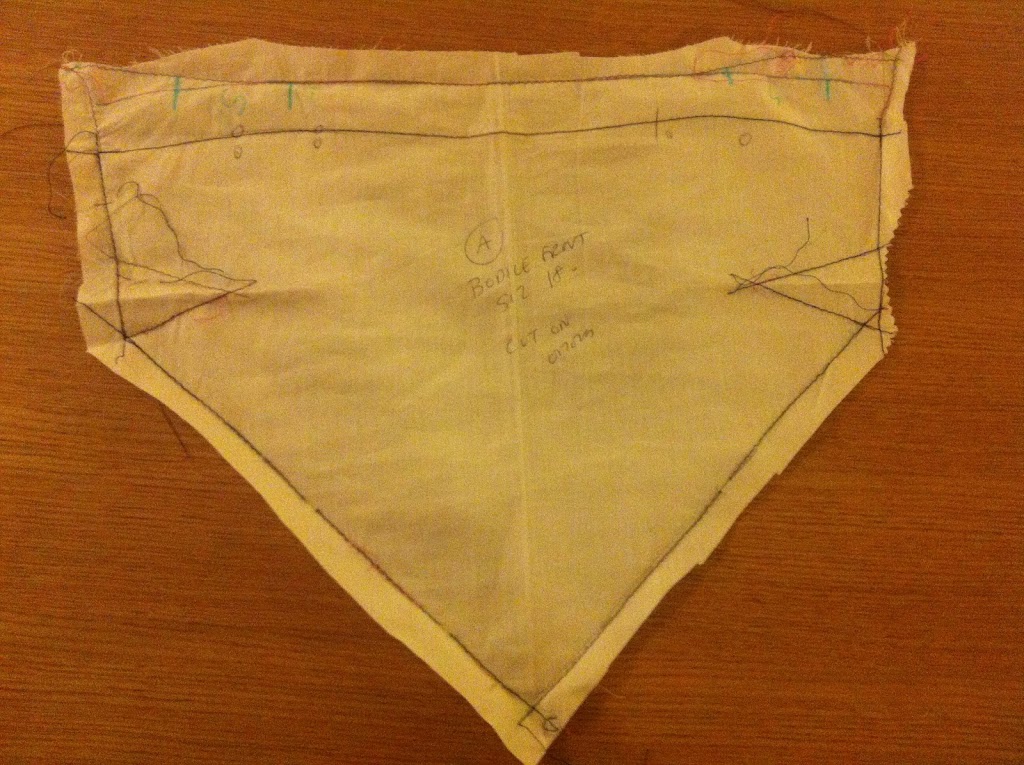
First, you lay out your pattern pieces on the muslin (which is in double thickness, folded very carefully on the grain), and pin them down, making sure to get them exactly on grain.
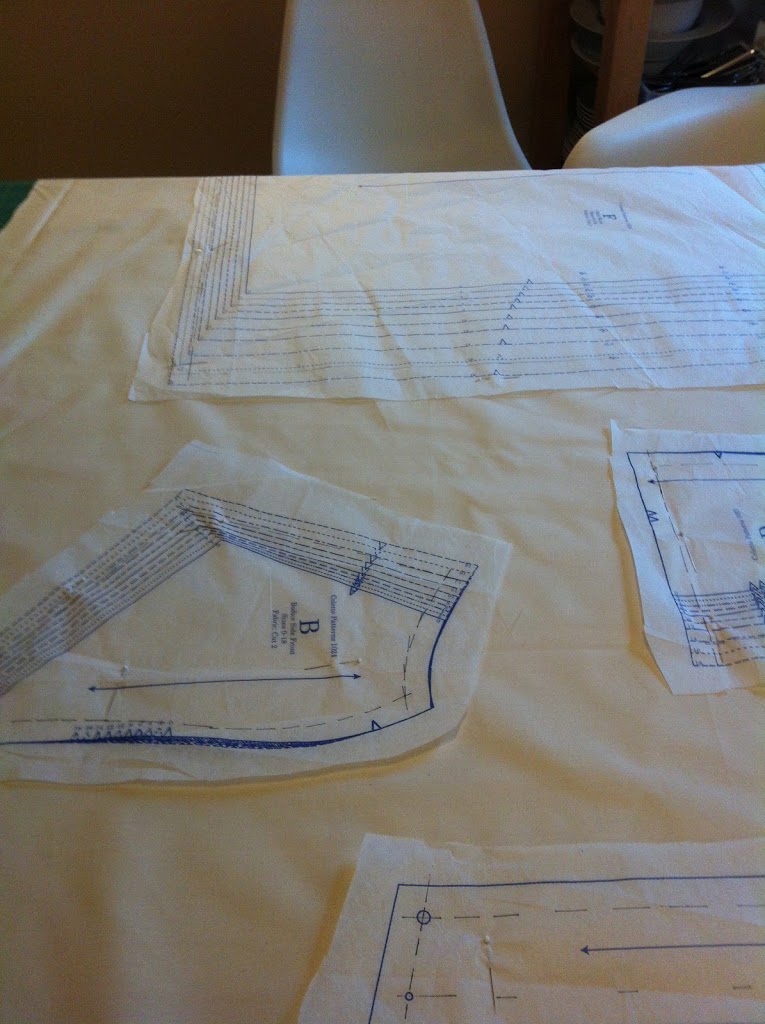
Second, you cut very roughly around the edges, leaving HUGE amounts of space (like 2 – 3 inches) around each piece – this is crucial!
Third: you place these pieces onto a sheet of waxed tracing paper, which is face up, so the order from the bottom is: waxed tracing paper, muslin, pattern. Then you use a tracing wheel (a tool with a small serrated wheel) to run over all the pattern lines – which transfers the wax onto the back of the muslin exactly on the lines. To transfer onto the other piece of muslin (remember, it’s a double thickness) you pin the two muslin pieces together, take the pattern piece off, flip the whole thing over, and then trace over the wax marks from the other side. This might seem obvious but this is SO MUCH EASIER than what I’ve done in the past….
Notably, you’re marking the STITCHING lines, not the seam allowance. This is a really big difference to “regular” sewing, but makes a lot of sense when it comes to fitting your pattern (as we will see) and I think I’ll always do it this way from now on.
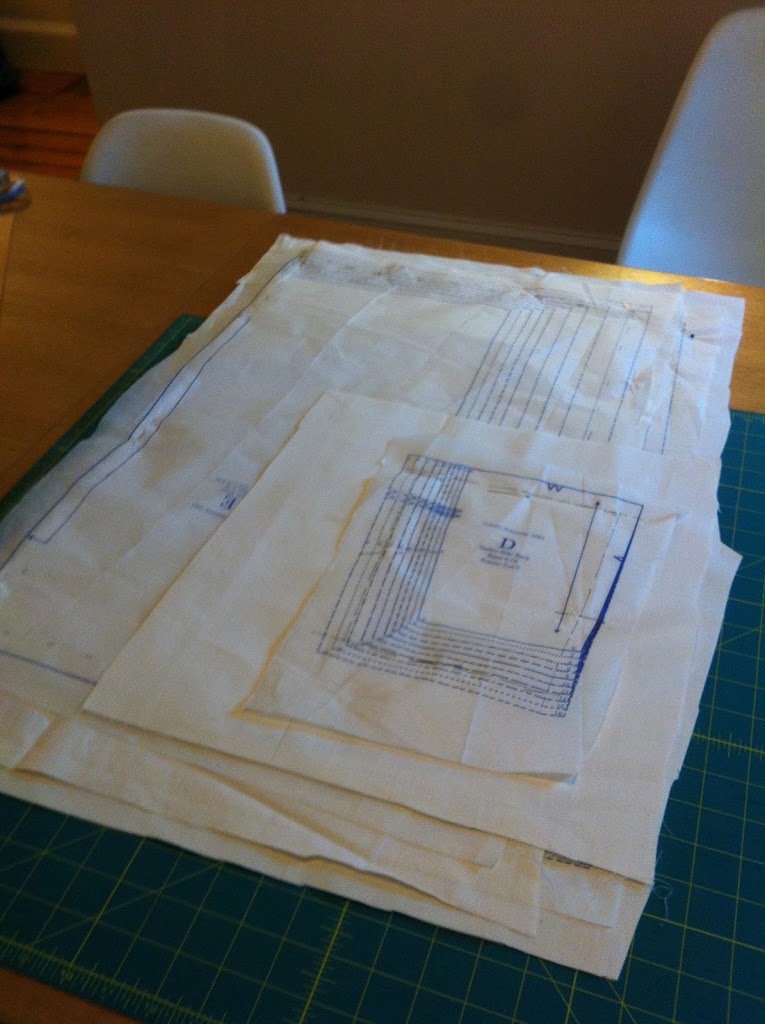
Fourth: you “thread trace” your pieces. This involves sewing a basting (long) stitch on your sewing machine along all the lines. This seems a bit redundant but it is incredibly helpful because 1) you can now see the lines on both sides of the muslin 2) when you are pinning pieces together along seamlines you can *feel* the stitching lines and you don’t have to keep looking. Clever, eh?

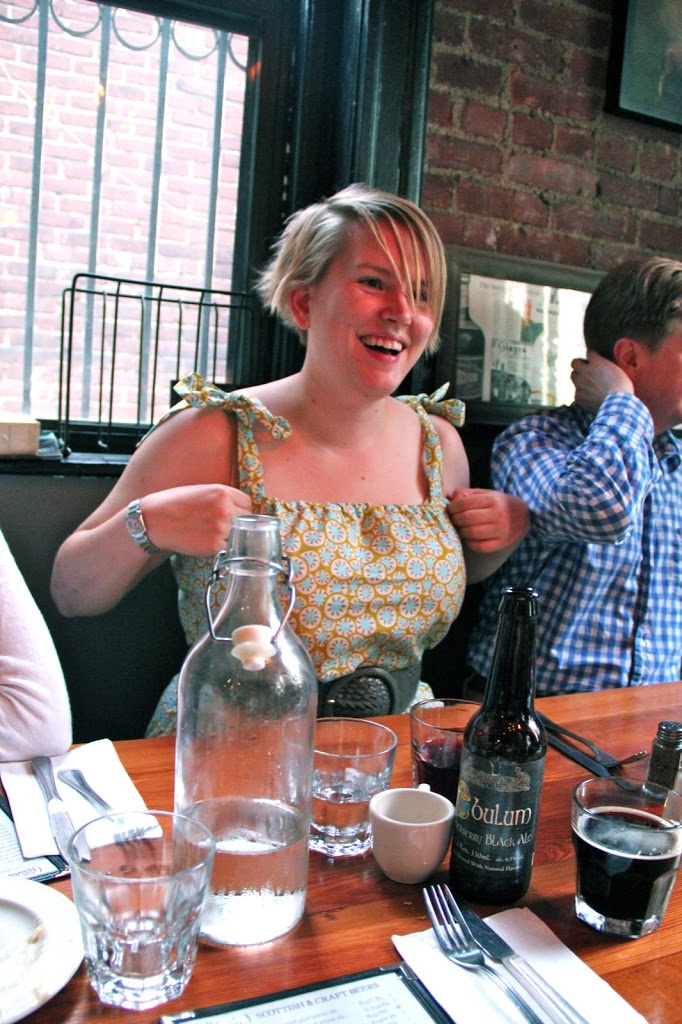
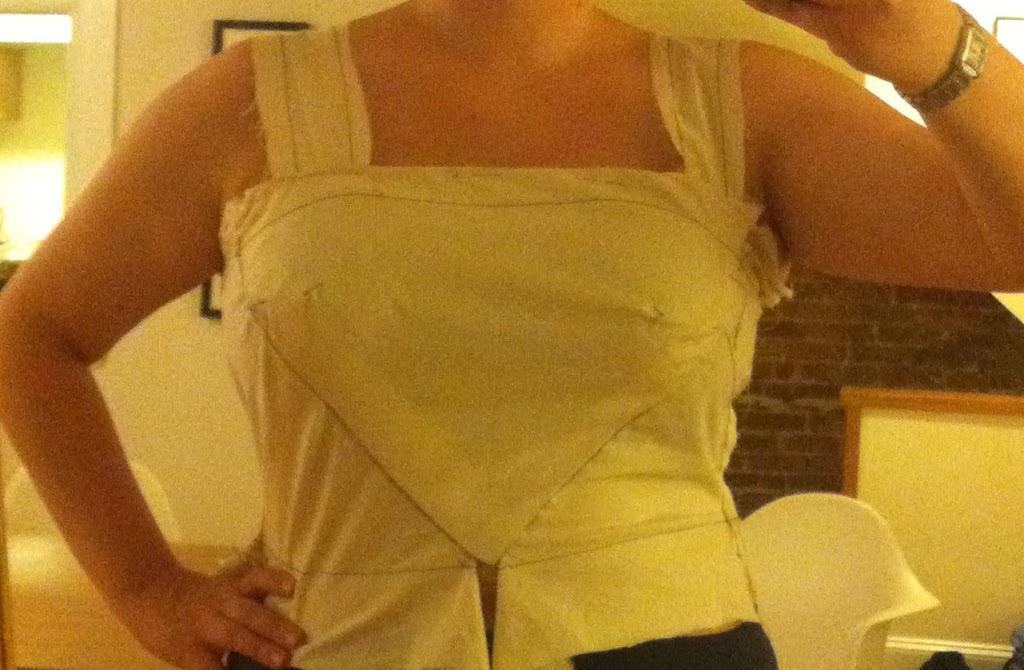
Fifth: without cutting down those crazy seam allowances, you sew it together! And here is a terrible, terrible, terrible picture of my bodice muslin. I know it looks awful – that’s partly because I’m raising one arm to take the photo. But this muslin then went through lots of adjustments – I changed the neckline to *precisely* fit my braline, changed the location and width of the straps, and took in the waist a bit. I didn’t do a muslin for the skirt because it’s pretty straightforward.
And remember those huge seam allowances? Well they mean that if an area is too *small* for you, you can now let out some fabric – e.g. you could make the side seams another inch apart if the waist was too small, and you would still have fabric to do it with, rather than having to patch in fabric! This makes SO MUCH SENSE. I have re-made muslins in the past just to make them slightly bigger….
Here you can see three lines at the top of the side pattern piece – the bottom one is the original pattern line, then there are two lines showing me adjusting the piece – I ended up going with the top one. Surprisingly, I didn’t need to do an FBA (Full Bust Adjustement) on this pattern, but the raising of the neckline was effectively the compensation for my, er, quirks.
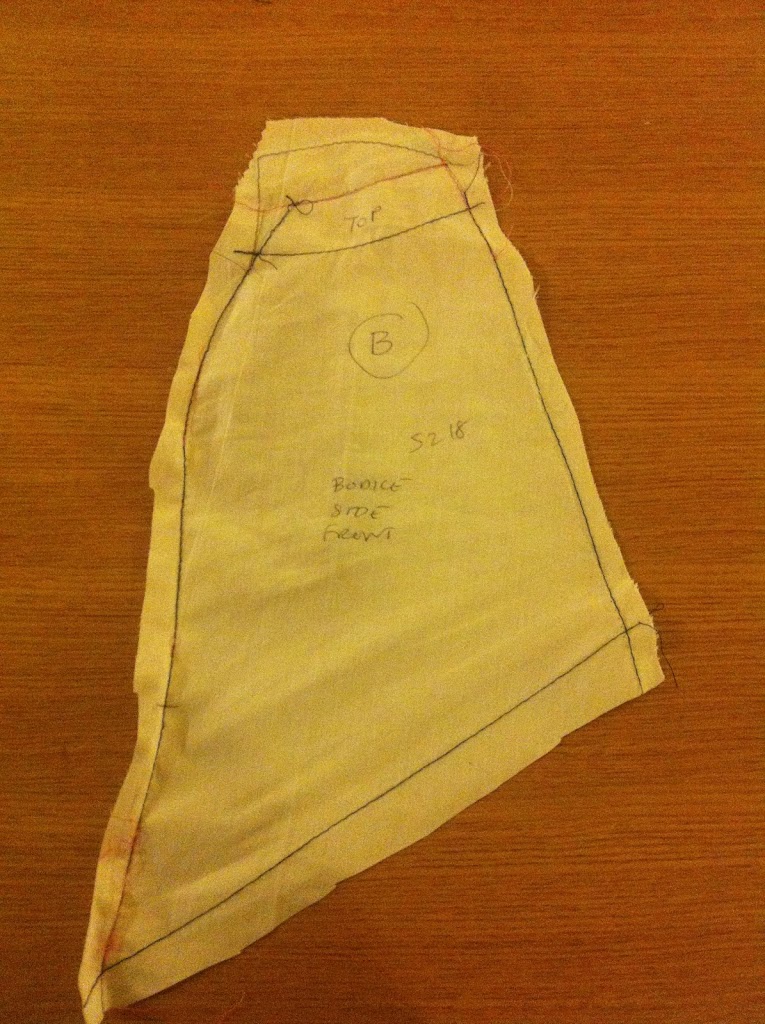
And here is the triangle bodice piece – again with a new neckline, which I have since made into more of a scoop.
**This post was updated 10 Jan 19 to reflect the change of Craftsy to BluPrint.