At last! I spent most of November and December sewing, but I couldn’t reveal anything, because they were all Christmas presents. I fear that I may have set too high a precedent for family Christmas gifts, but as I’ve made so much progress in my sewing in the past year I couldn’t resist showing it off this holiday.
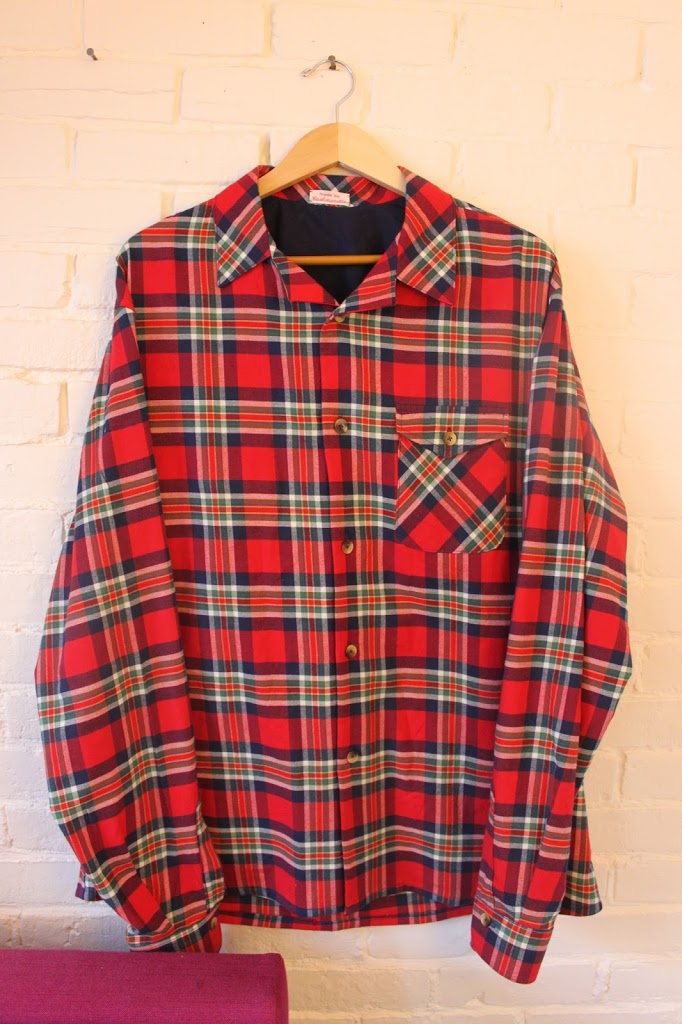
First up: button-down Negroni flannel shirts for my brothers! I made my first button down earlier this year (the
Parisienne Archer), so I felt I should finesse my shirt-making skills. I bought some incredibly soft flannel from Mood Fabrics, which feels great, but I must confess, was a bit of a b**** to sew with. It’s so springy! Not the best for flat fell seams.
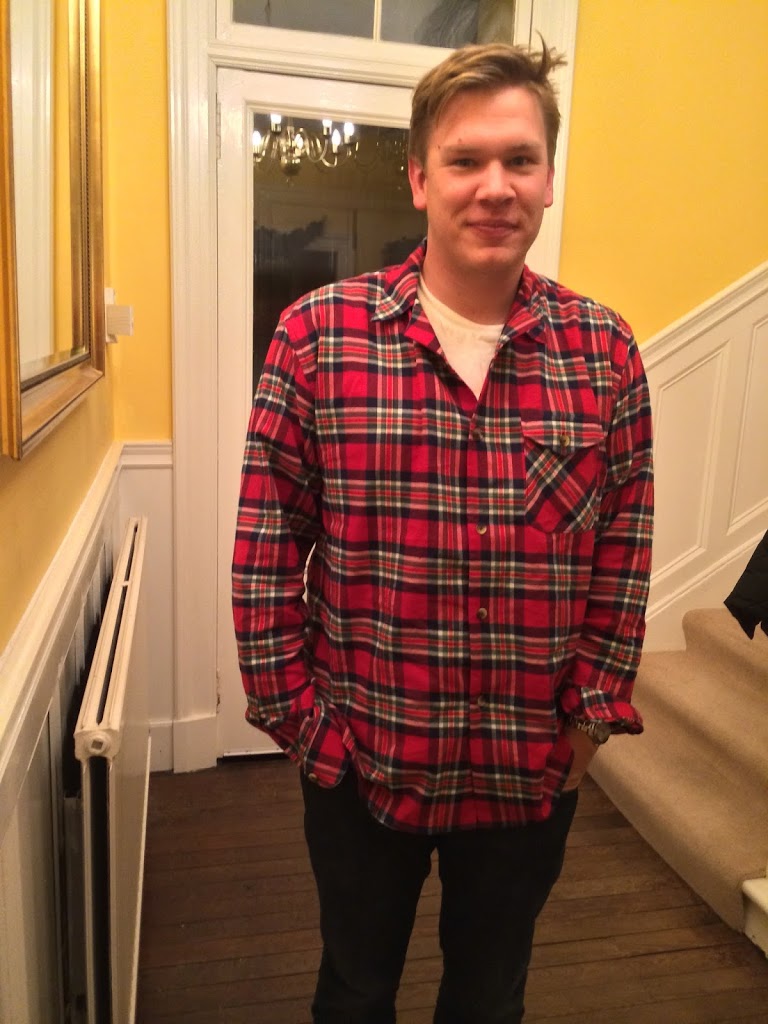
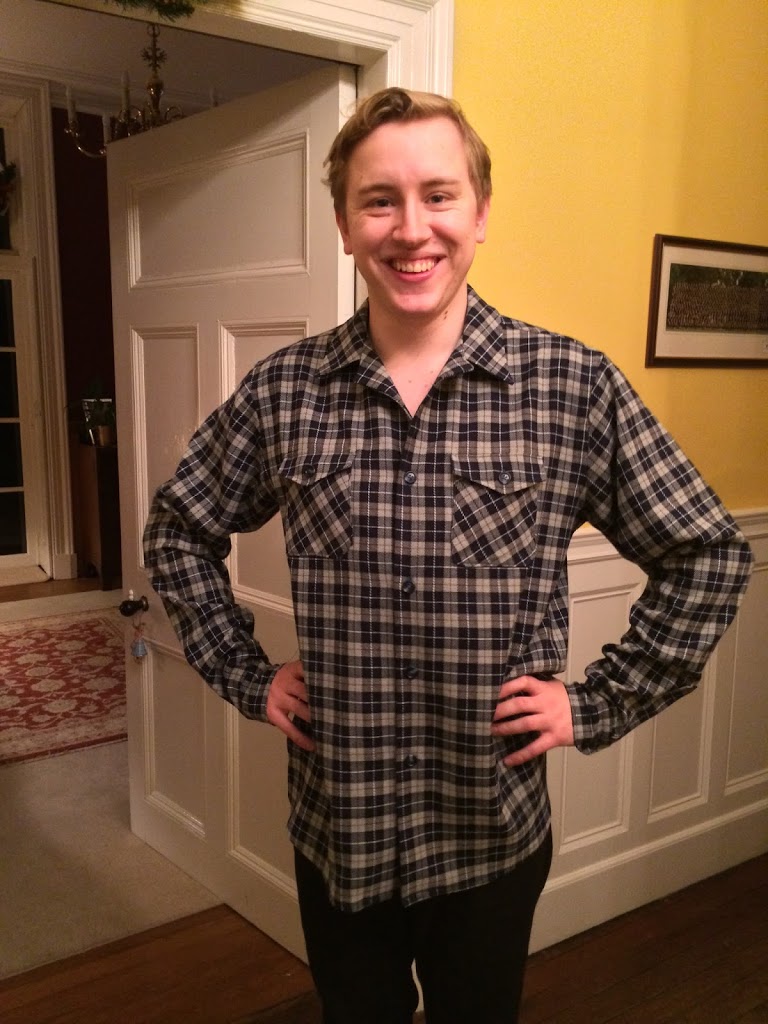
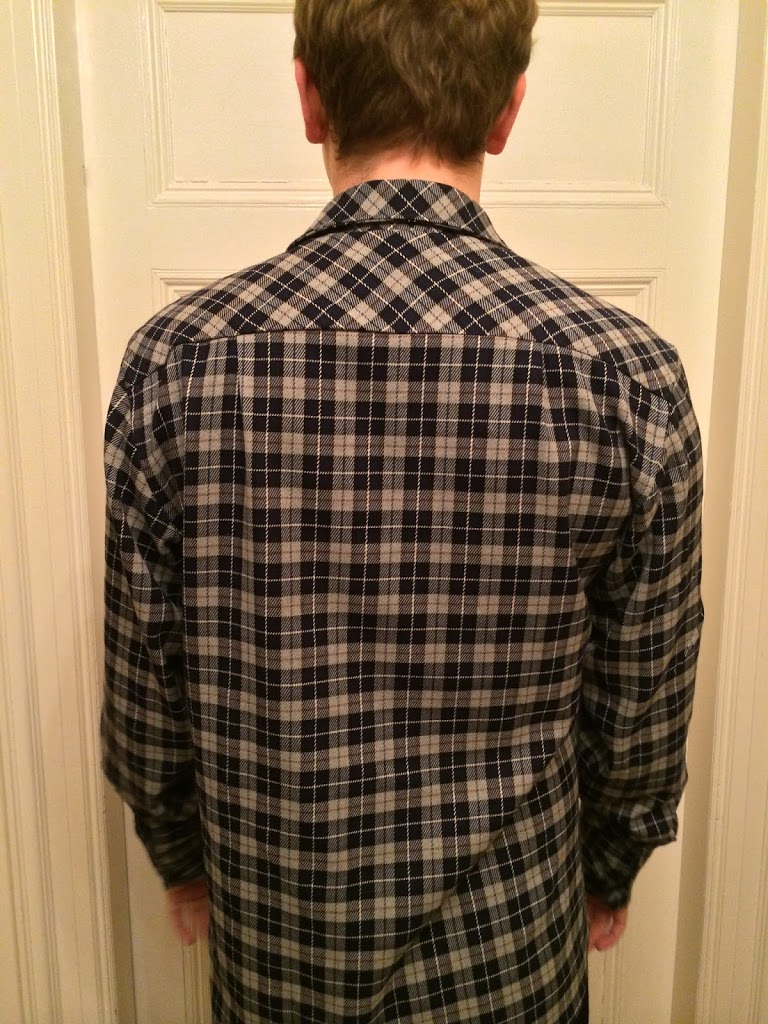
Here are my brothers doing their best modelling job after I bossed them around and made them put their shirts on for photos before I left home. In both cases, the shirts ended up being a bit on the big side – I’d heard the Negroni pattern runs small, and as both fell in the middle of the measurements, I sized up… but apparently a little too much.
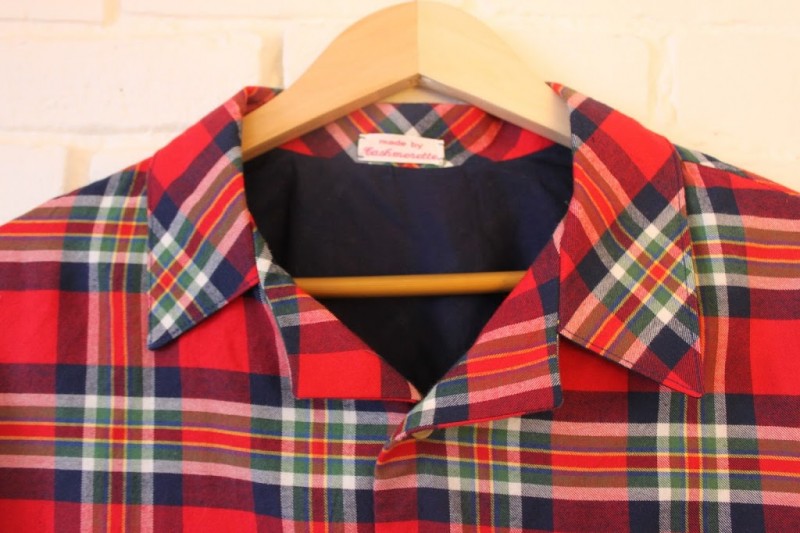
The Negroni is a great modern pattern for young chaps today, with a simple camp collar which is significantly easier than doing a traditional stand collar.
These shirts also represented my first attempt at flat fell seams which was… interesting. Flat fell seams are what you see on jeans and heavy shirts, where there are two stitching lines, and all the raw edges are totally enclosed inside the seam. They’re very hard-wearing, so tend to be used for “working” clothes. I love the look of them and would definitely like to do them again. But: the material wasn’t ideal for it (way too springy and hard to press flat), and I got a little confused and ended up doing the first shirt sleeves inside out: nightmare! It took over an hour to unpick all the seams before I could even start again.. oops. So top tip: don’t do that.
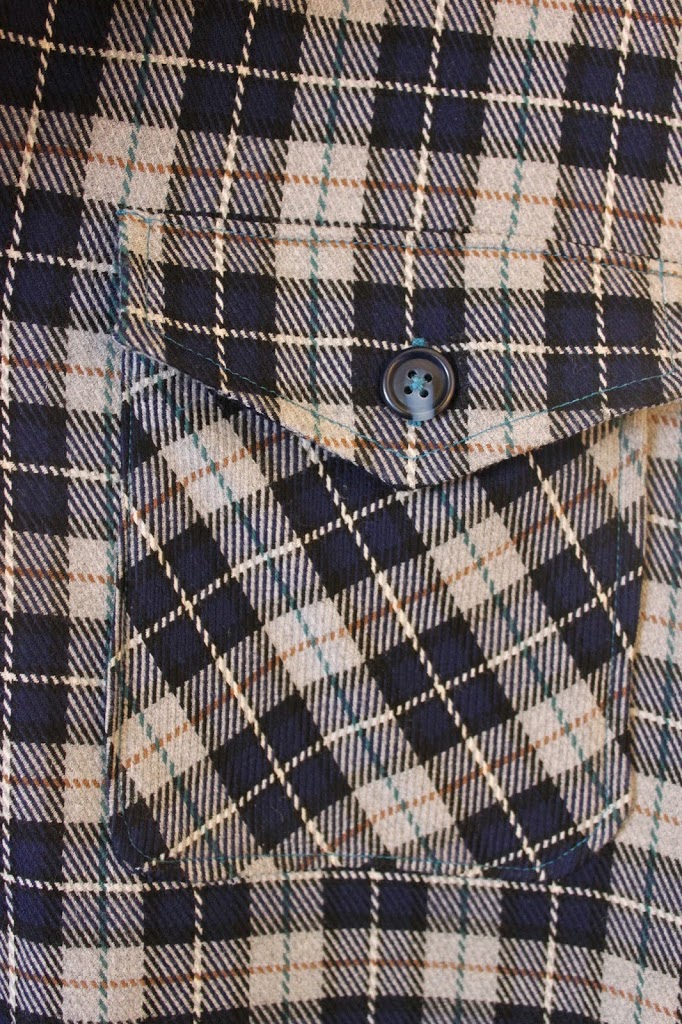
Here are a few details. I was pleased with my pattern matching on the plaid – I focused primarily on the horizontal matching (trying to think about vertical matching on the front gave me a headache), and it definitely worked pretty well on the front.
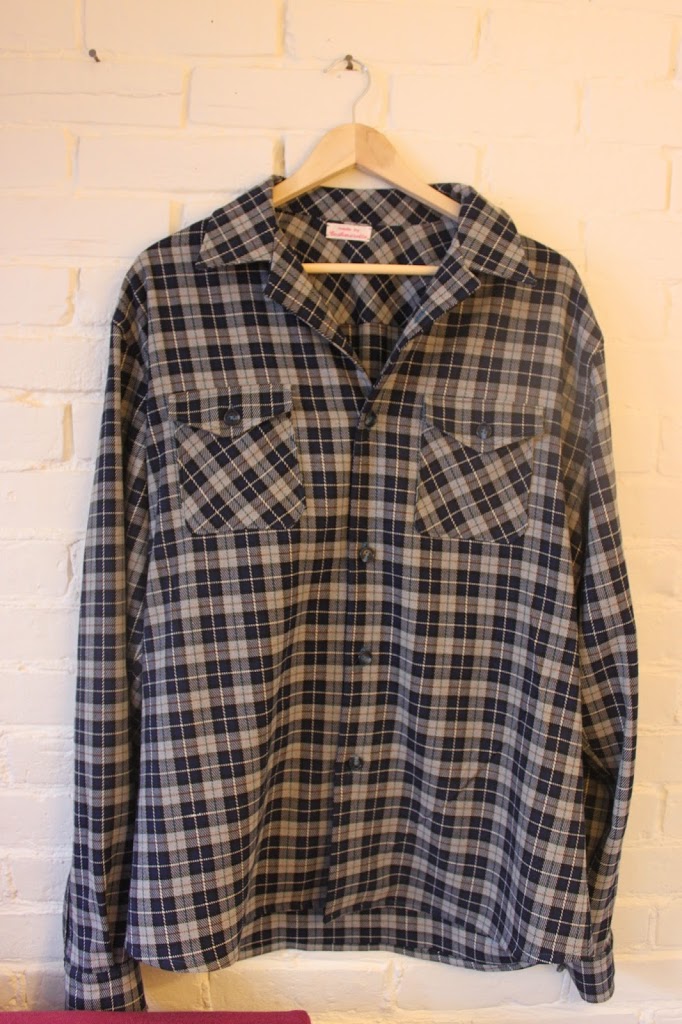
For the back yoke I cut the material on the bias, which definitely makes the shirts look more professional, and were much commented on…
The pockets were *meant* to be entirely on the bias, but I accidentally cut the pocket flaps on the straight and went for it – the only downside is that my slightly dodgy print matching skills were in evidence…
Given the springiness of the material, I used
Perfect Sew stabilizer to help make the sleeve plackets – you rub it into the fabric and leave it to dry hung up overnight, and the gel basically turns the fabric into the texture of cardboard. This makes it *super* easy to sew and press, as long as you make sure it dries flat. As a result, my plackets were pleasingly neat!
I used this little tutorial for getting sharp collar points, and it worked well! No excuse for rounded corners now, sweeties….
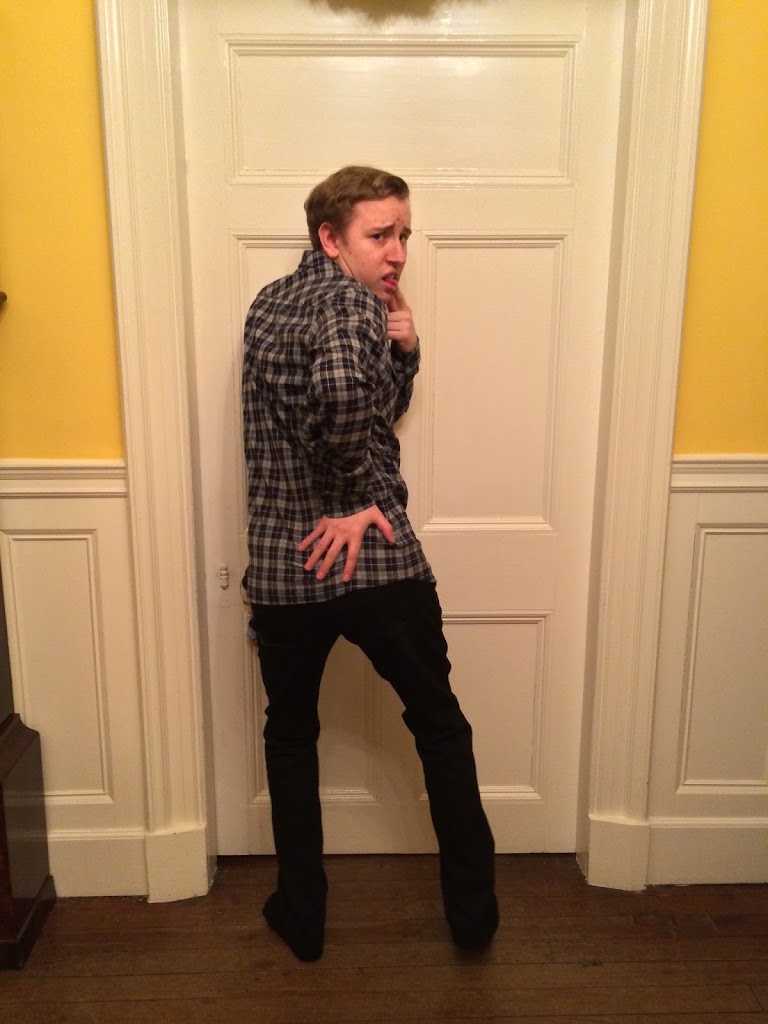
Phew! After all that work, the shirts were a success, as you can tell from this last illuminating photo:
Share:


The shirts look fantastic! What a great job you did making them.