Yay! Today we finally get to start sewing! Taking our time and prepping carefully should make the rest of our project go smoothly! Now, to sew the Appleton Dress, you can either use a serger or a standard sewing machine. I used my serger for this dress, but if you’re using a standard machine, make sure you’re using a ballpoint needle and sew the seams with a 2.5mm length, 0.5mm width zigzag stitch unless otherwise noted.
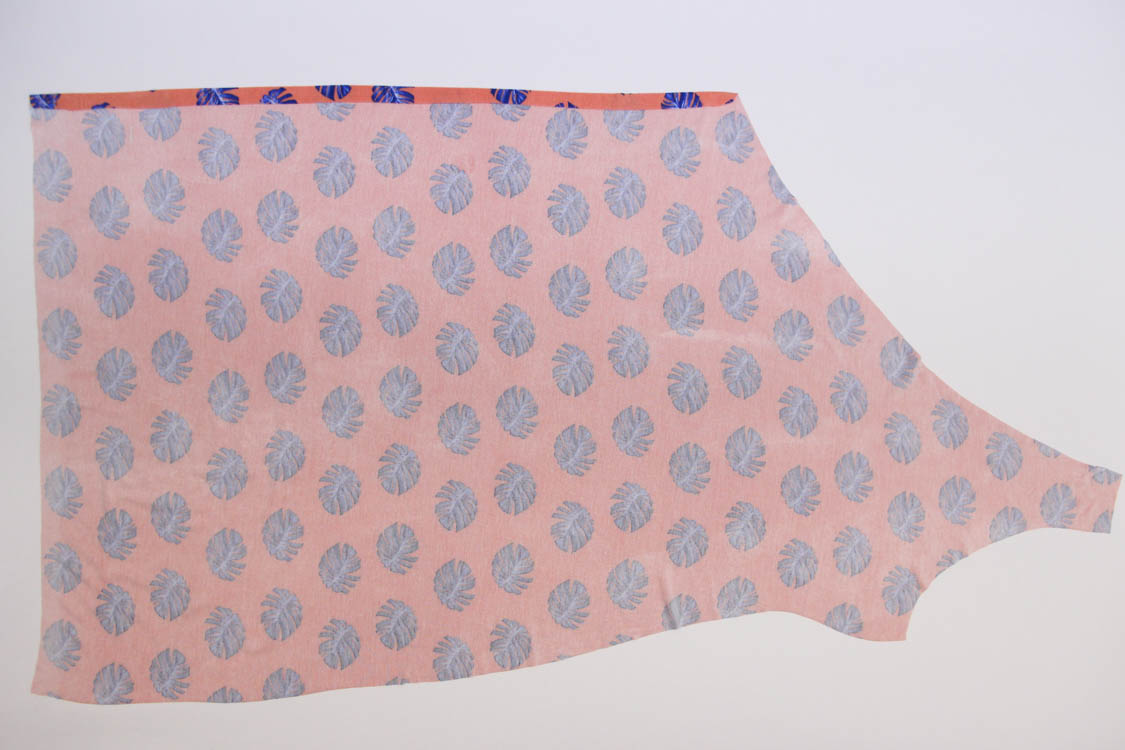
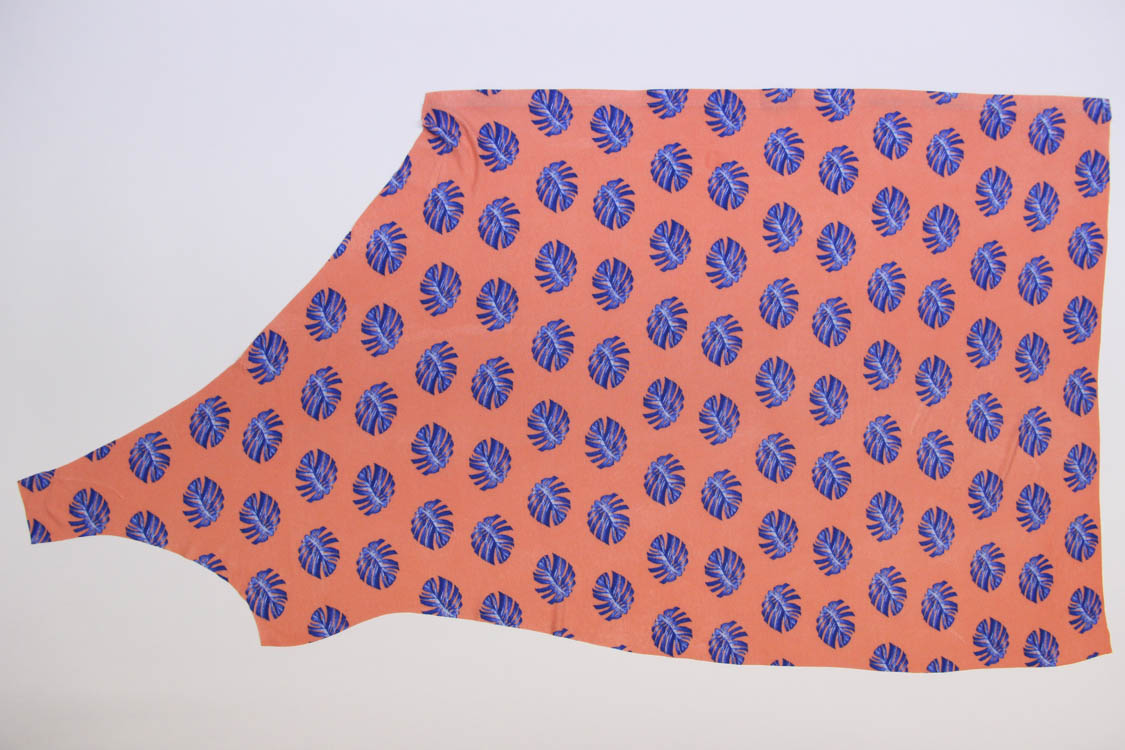
We are going to start our sewing by hemming our two front wraps. This step needs to be done on a standard sewing machine. First, press the vertical hem on both front wrap pieces to the wrong side by 5/8” (1.5 cm).
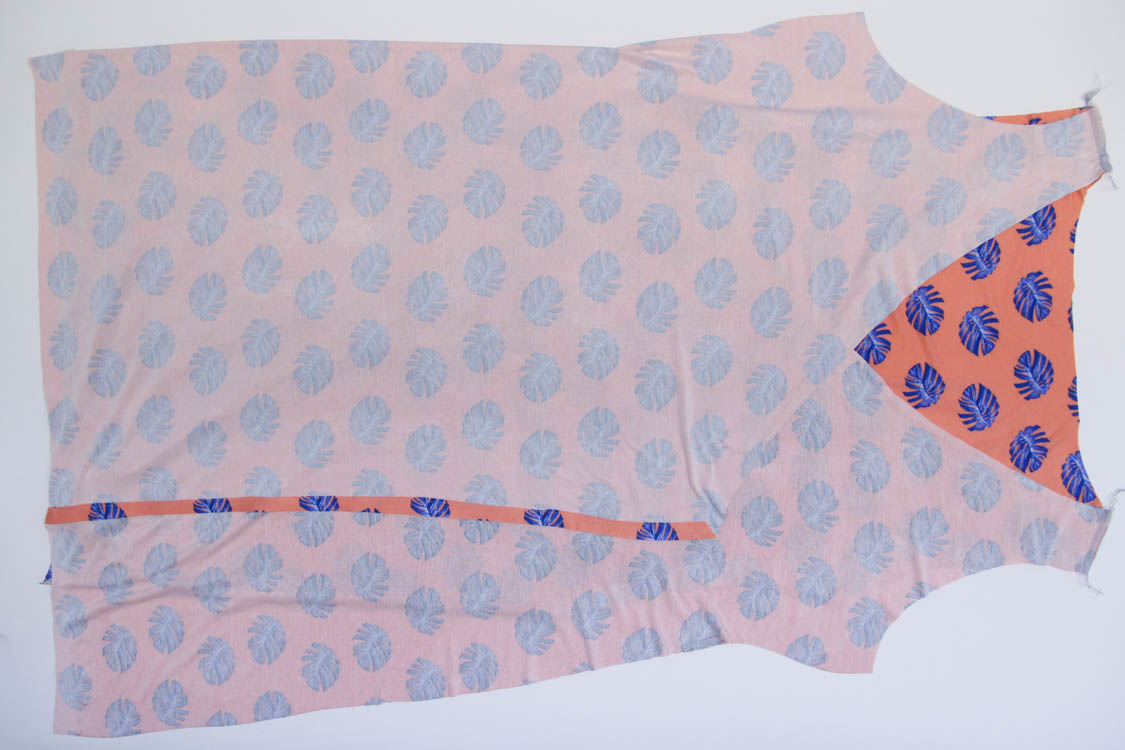
TIP: When pressing knits, use a low temperature iron and a press-cloth to prevent shiny spots.
Sew this hem at ½” (1 cm) using a straight stitch or a coverstitch if you have one (I don’t!). This hem does not stretch at all, so don’t worry about using a stretch stitch. (TIP: Water soluble tape is my best friend when hemming long pieces of slippery knit. Just place the double-sided tape on the wrong side of the edge of the hem, fold over and stick to the wrong side of the piece. Easy peasy.)
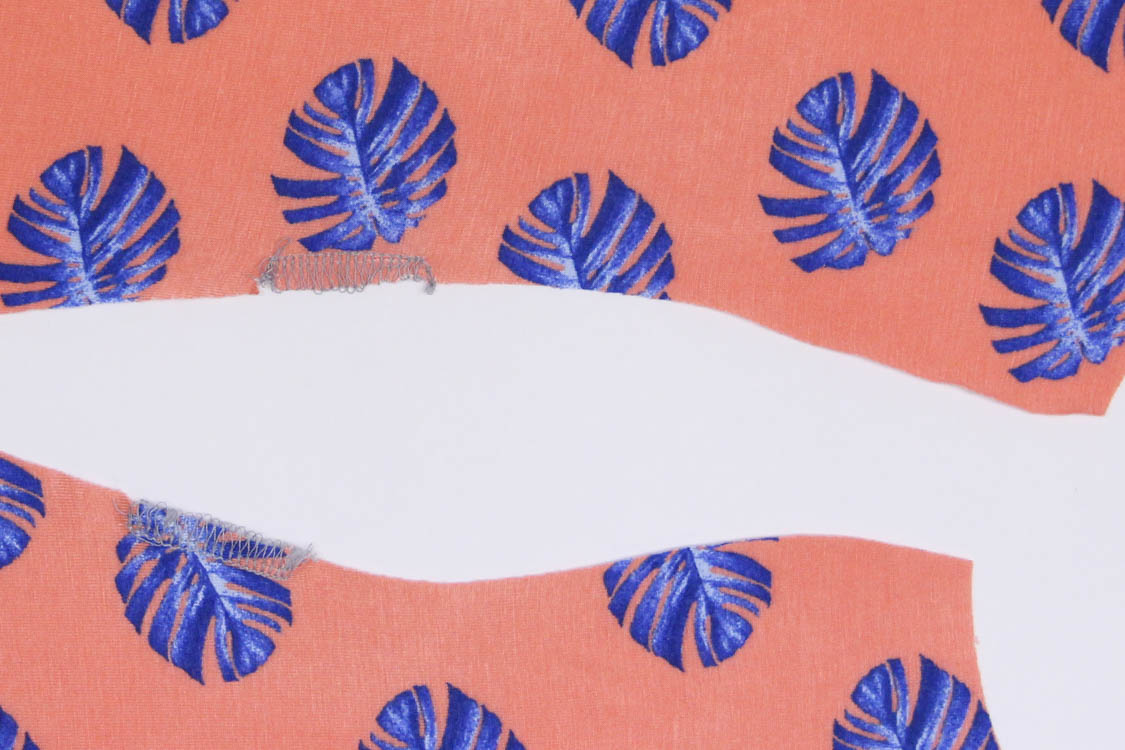
Next we will be reinforcing the waist tie hole. On the right front wrap, sew between the notches with a ¼” (6mm) seam allowance. On the serger, serge between the notches. On the standard sewing machine, sew with a 2.5mm length, 2.0mm width stitch.
Repeat this reinforcing on the right-hand side of the back piece. This will reinforce the hole that the waist tie passes through. If you used a serger, instead of snipping the serger threads, use a tapestry needle and thread them back into the serged stitches for a clean and secure finish.
Finally for today, we are going to sew the front wraps and back piece together at the shoulders. Pin the right front wrap and back together at the shoulder. Stretch a piece of clear elastic a few times and place it along the stitch line on the back piece. Sew through both layers and the elastic with either a serger or standard sewing machine (back to the 2.5mm length, 0.5mm width zigzag stitch.) Repeat with the left front wrap piece and the back. Press the seam allowance towards the back of the dress.
That’s it for today! Come back Wednesday and we’ll start working on our neckline and waist ties!

The triple layer of fabric and elastic makes it difficult for me to advance the fabric when sewing the shoulder seams together with a zigzag stitch. Any advice? I keep getting the thread and elastic tangled in a mess, and it’s almost impossible to undo the stitches. This is my first time working with knits, although I’ve done several pieces with woven fabrics.
Hi Marisa – well first, the elastic is optional, so if you have a fairly heavy knit, you could just skip it. Secondly, you could try to sew the elastic to one piece of the fabric first, and then sew the two pieces of fabric together. Let us know if that works!
Hello Jenny, I have made a couple of Appletons that I love. But the shoulder seam sits an inch or two forward of my shoulder seam line. It sits the same when it is on the hanger so I am not sure if this is the drafting or I need some kind of shoulder adjustment. This is not a common adjustment for me. Thanks for your guidance.
Jenny kindly includes a little bit of a forward sloping shoulder adjustment for us larger ladies. You may need to remove it. It’s not typically included in most patterns.
I think there is a typo in the instructions for the zigzag stitch. It says “sew with a 2.5mm length, 2.0mm width stitch” then it says “back to the 2.5mm length, 0.5mm width zigzag stitch”. Which width is correct?
For the part where you’re reinforcing the waist tie hole, you want to use the 2.5mm length, 2.0mm width stitch. But most of the construction steps are done with a 2.5mm length, 0.5mm width zigzag.
-Ayelet at Cashmerette