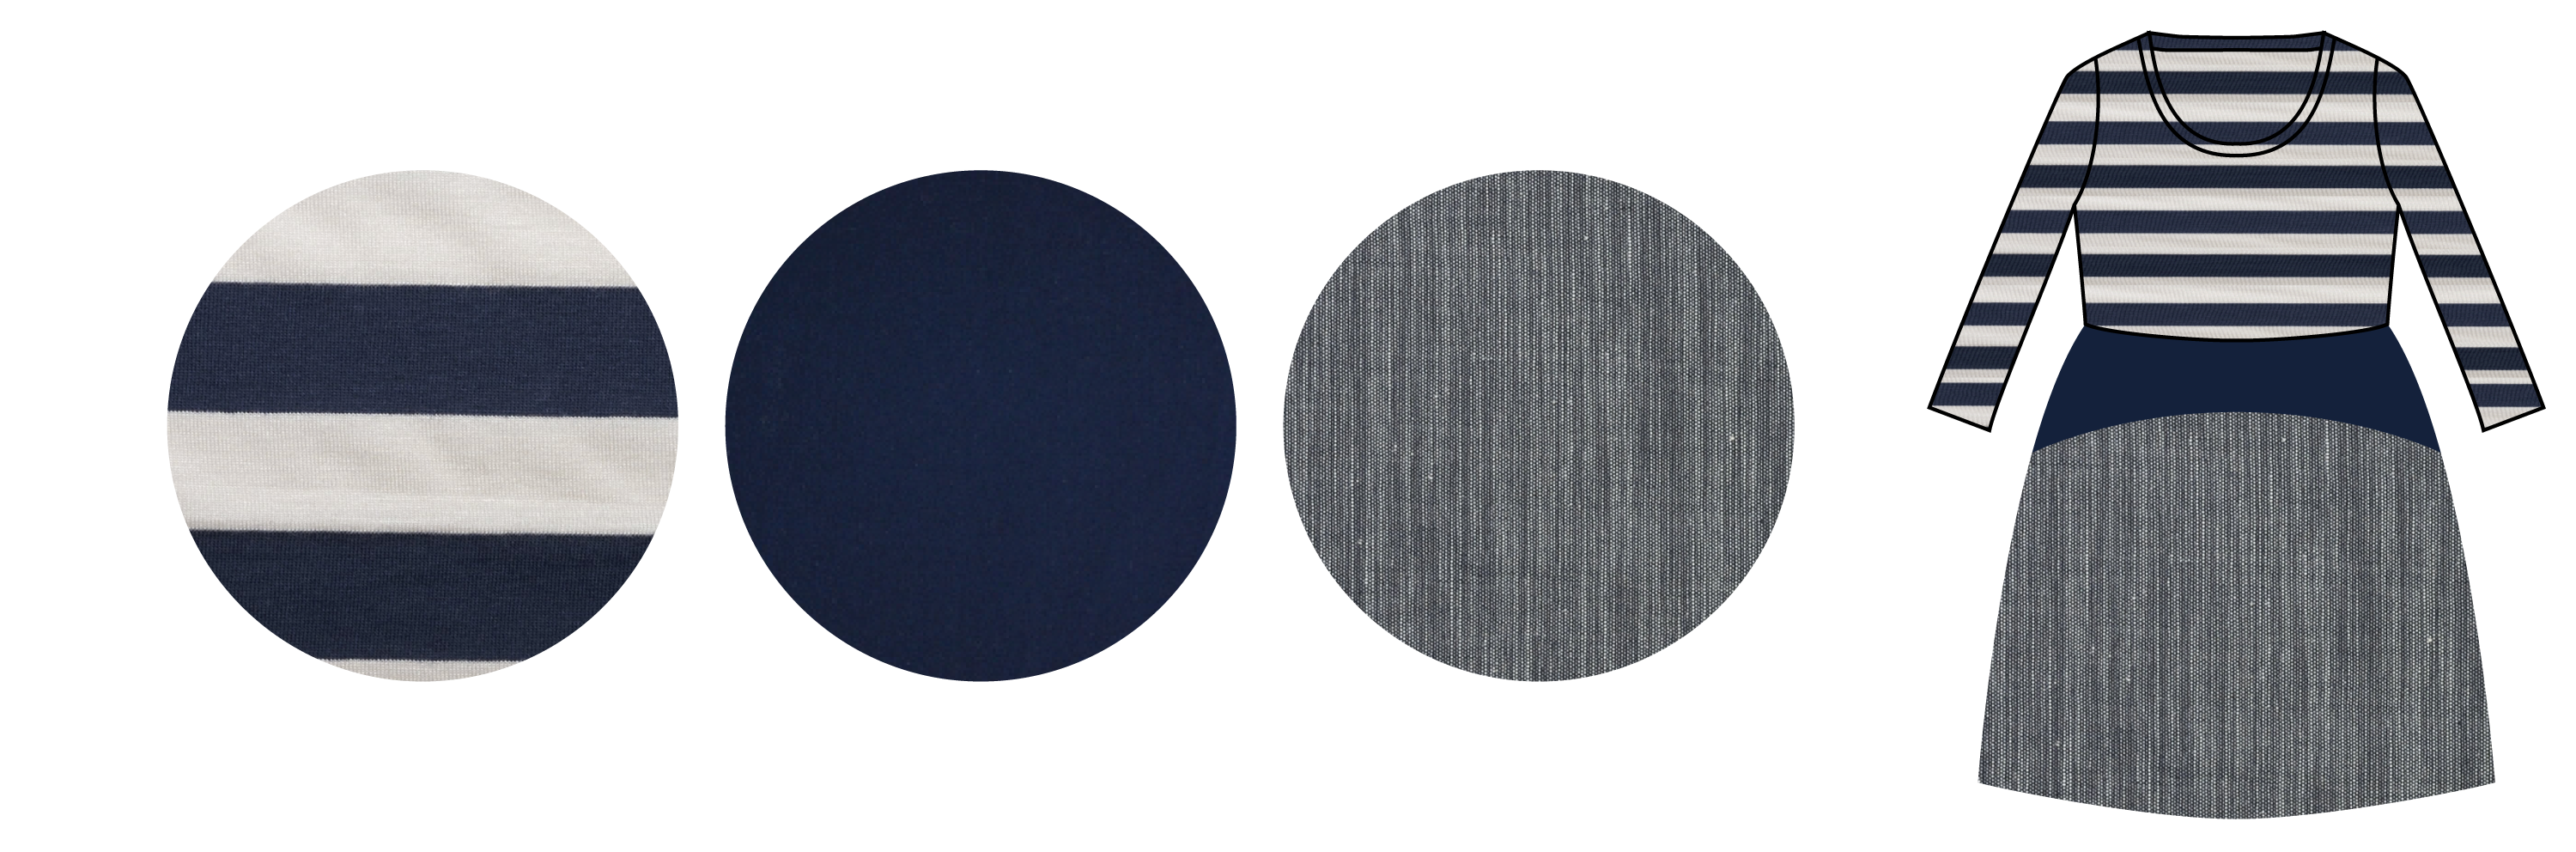
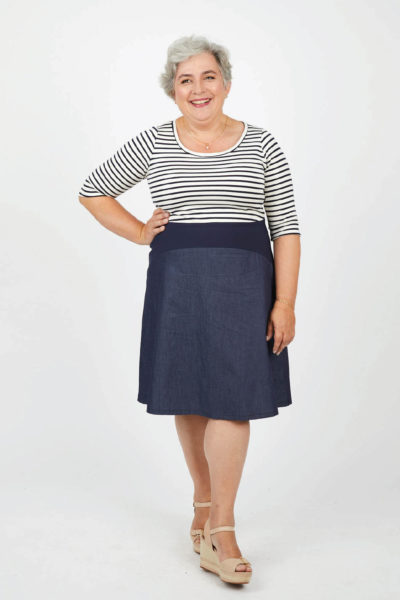
Hurray, we start sewing our Washington Dress today!
So first up we’ll be doing the shoulders and neckband.
Step 1 is simple: put the bodice pieces right sides together and sew across the shoulders. If you want, you can add short strips of elastic to the back shoulders before sewing – the elastic helps stabilize the shoulders as you wear the dress over time. Once they’re sewn, press the seams towards the back. I’m going to be using a serger (overlocker) during this sewalong but you can also use a sewing machine.
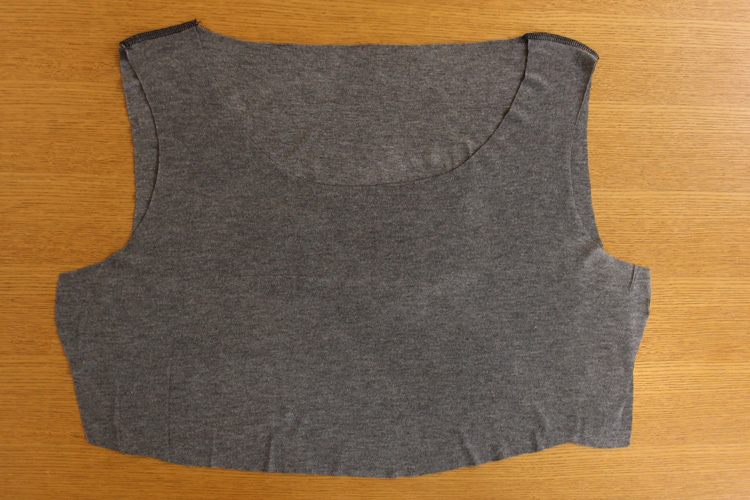
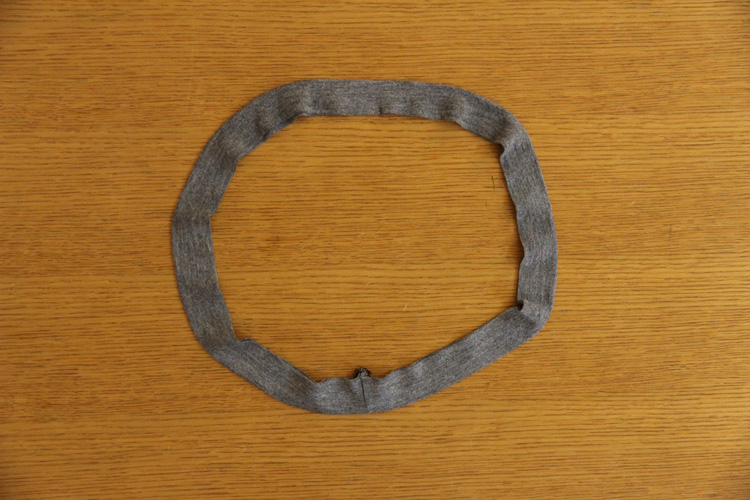
Now, we’re going to make and install the neckband.
Fold your neckband in two, right sides together, matching the short ends, and sew across.
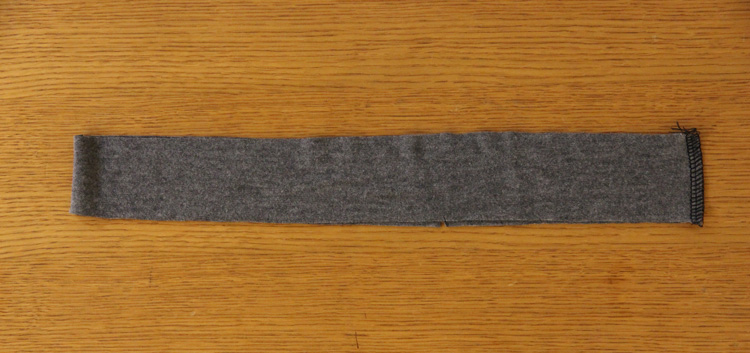
Press open the neckband and then fold in half lengthways along the fold line and press. If you’re using a serger, make a little snip halfway down the serged seam allowance at the short end (just shy of the main stitching) and then fold the seam allowance different ways before pressing in half – that will make your seam allowance sit much flatter.
Now, pin the neckband to the neckline of the bodice with the raw open edge of the neckband lined up with the bodice neckline. Match the seam in the neckline with the back center notch, and the opposite neckband notch to the front center bodice notch. The two other neckband notches will match up with the shoulder seams. First, pin at all the notches. Then, add some more pins between them if you want. You’ll find the neckband is shorter than the neckline: no problem! We’ll get to that in a second.
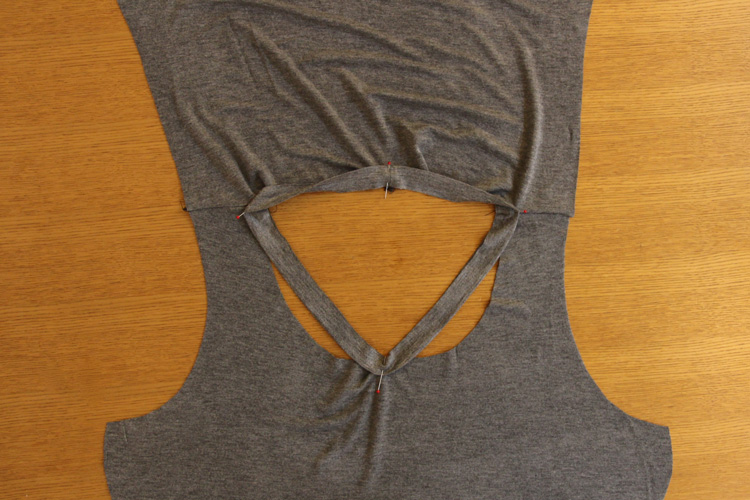
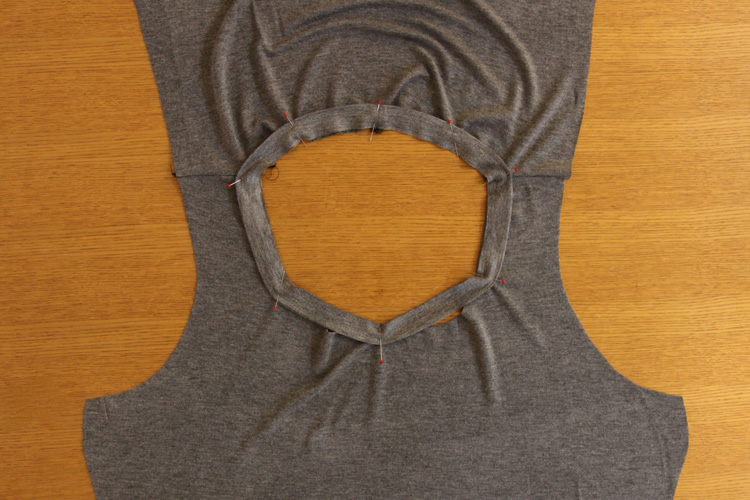
Over to the sewing machine/serger! Starting at the back, carefully and slowly sew the neckband to the neckline. As the neckband is shorter than the neckline you’ll need to gently stretch the neckband as you’re sewing. Go section by section between the pins, carefully making sure that you’re sewing through all the layers and that there are no puckers. This takes a little bit of practice but if you go very slowly you’ll be good!
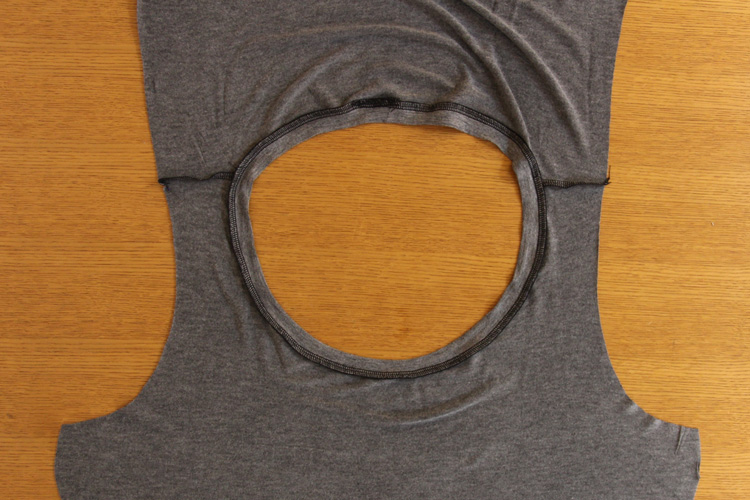
Press the neckband, with the seam allowance going outward towards the bodice. Make sure you use a low temperature on your iron and a press cloth to avoid leaving a shine on the jersey.
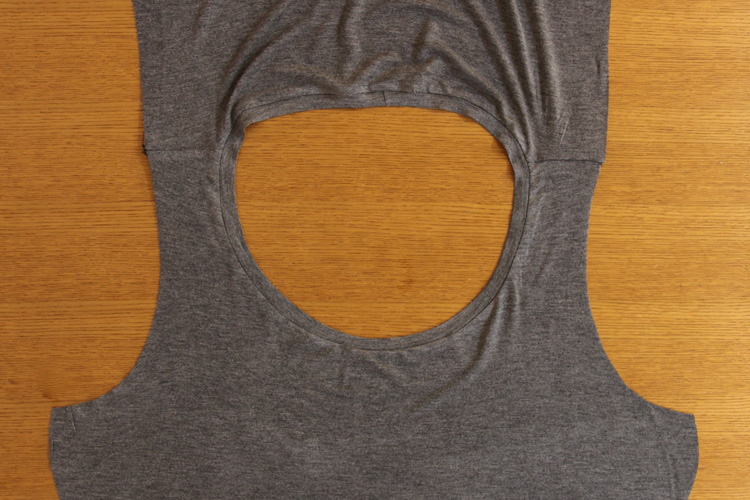
Beautiful! Come back on Monday when we’ll be inserting the sleeves and finishing the side seams.
Do you have any questions on what we’ve done on your Washington Dress today?

Oops. Booboo in 3rd & 4th major paragraphs/steps. “You’ll find the neckband is shorter”, and “As the neckband is longer “.
Good catch, thanks! Fixed now.
Jenny,
Just a note to let you know I have been reading you for years. I am a business attorney and seamstress and have watched the evolution of your business, you are doing a great job.
Just an idea for the Washington Dress, I had a nice t-shirt with a stain on the bottom I just re cut it for the bodice, I also have a denim skirt I made but never wear which is going to be used for the bottom.
I thought your readers should know the pattern really lends itself to reusing and recycling.
.