Update 2/1/2021: An updated Upton Sewalong is available here.
We’ve got a fun step today: attaching the bodice and lining so we get a lovely clean finish at the neckline and armholes.
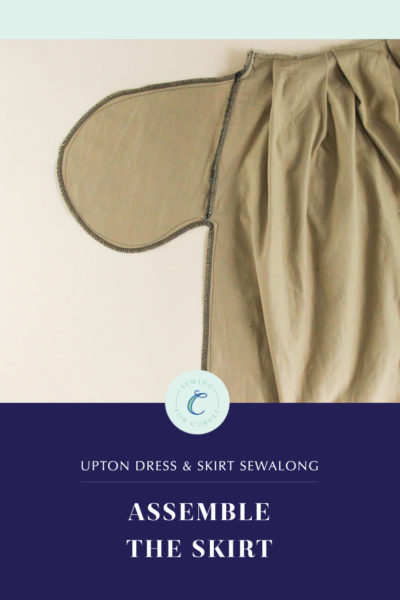
Start by laying the bodice shell out flat, right side up.
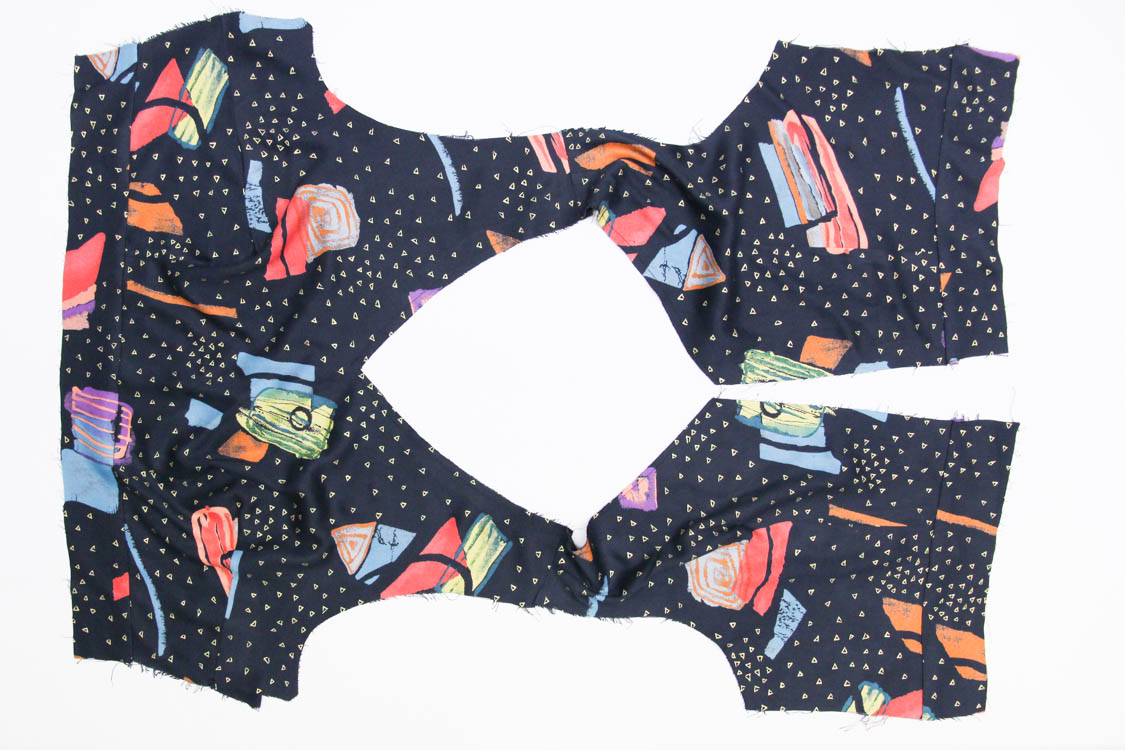
Lay the bodice lining on top of the bodice shell, with right sides together (so the wrong side of the lining is facing up).
Now, there are two options depending on whether you want to understitch the neckline (which isn’t in the instructions). Understitching is an additional trick to stop the bodice lining peeking out when worn.
If you want to understitch, first pin the bodice shell and lining together ONLY around the neckline. If you don’t want to understitch, pin also around the armholes, as shown.
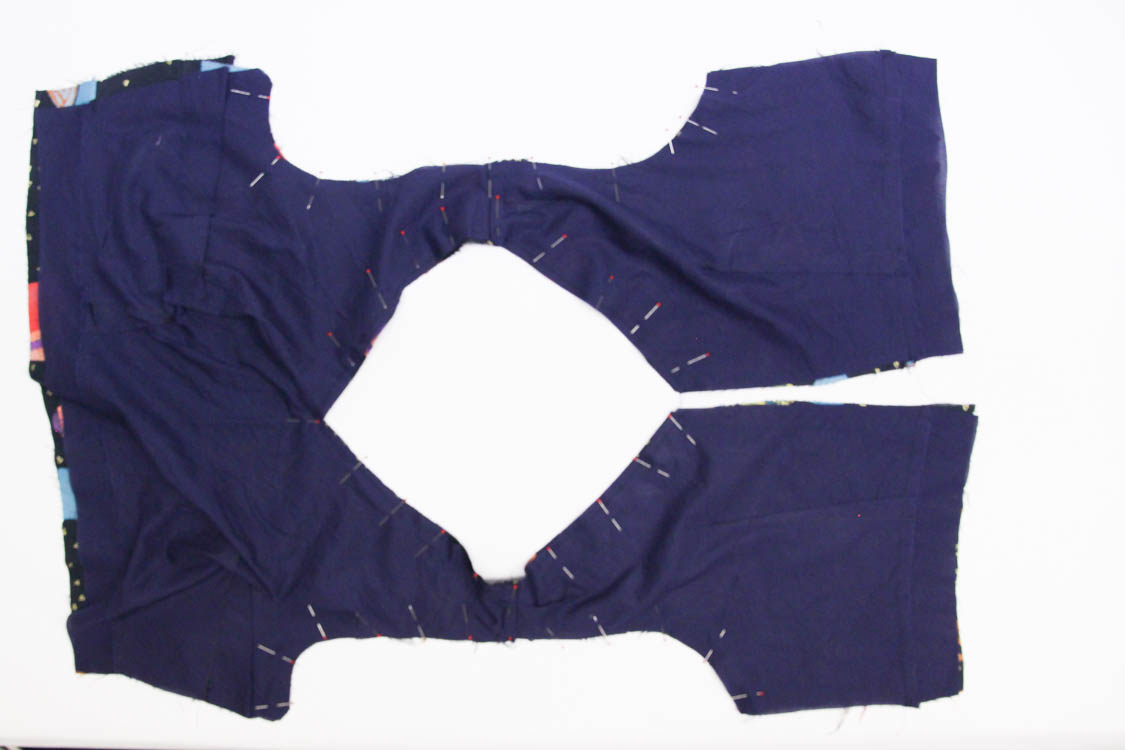
Sew lining to bodice shell around the neckline, leaving 1 inch unsewn at each end (this will help with zipper insertion later).
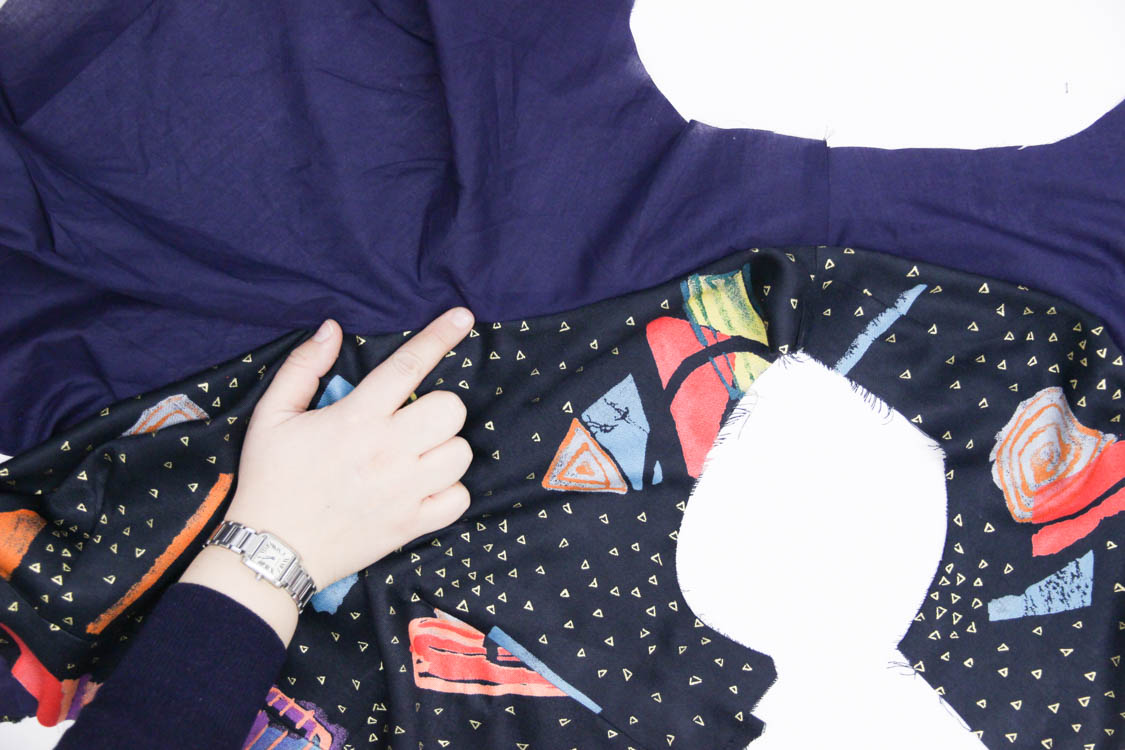
To understitch, you now want to “spread out” the lining from the shell, so that the seam you just sewed is laying flat, and the seam allowance is pressed underneath to the lining side. Then, using an edgestitch foot if you have one, carefully sew the seam allowance down to the lining (again, leaving 1 inch at either end), sewing on the lining side of the seam.
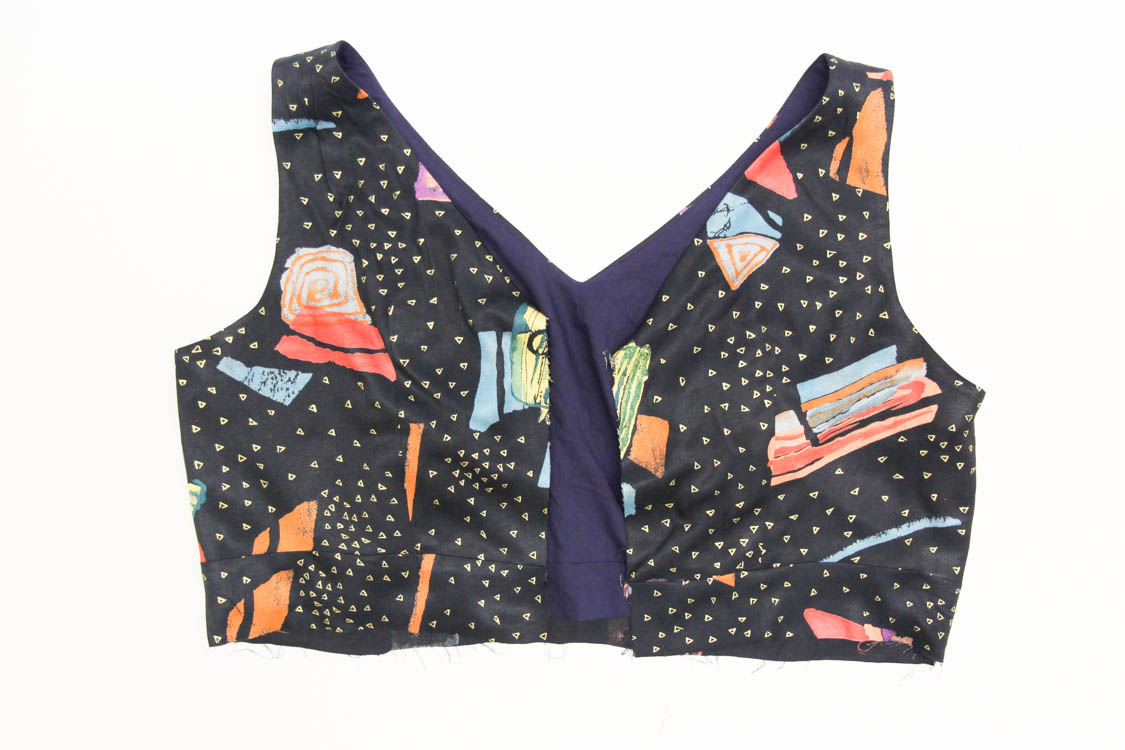
Trim the seam allowance around the neckline to 1/4″ (6mm), and clip into the seam allowance of the V if you’re making View B, right up to (but not beyond) the stitching. If you’re using a lightweight fabric, you can reinforce the V with a bit of interfacing or silk organza first.
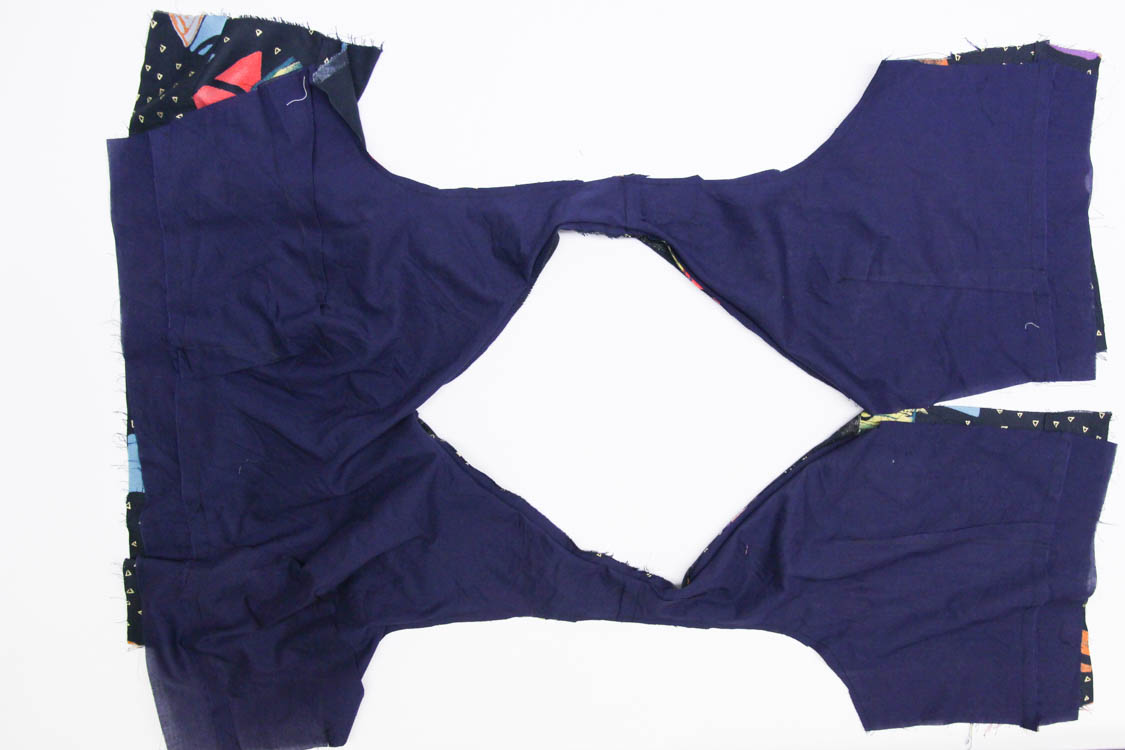
Now, whether you’re understitching or not, sew the shell to the lining at the armholes in the same way as the neckline (except you don’t have to leave the 1 inch at either end). Again, press and trim the seam allowance.
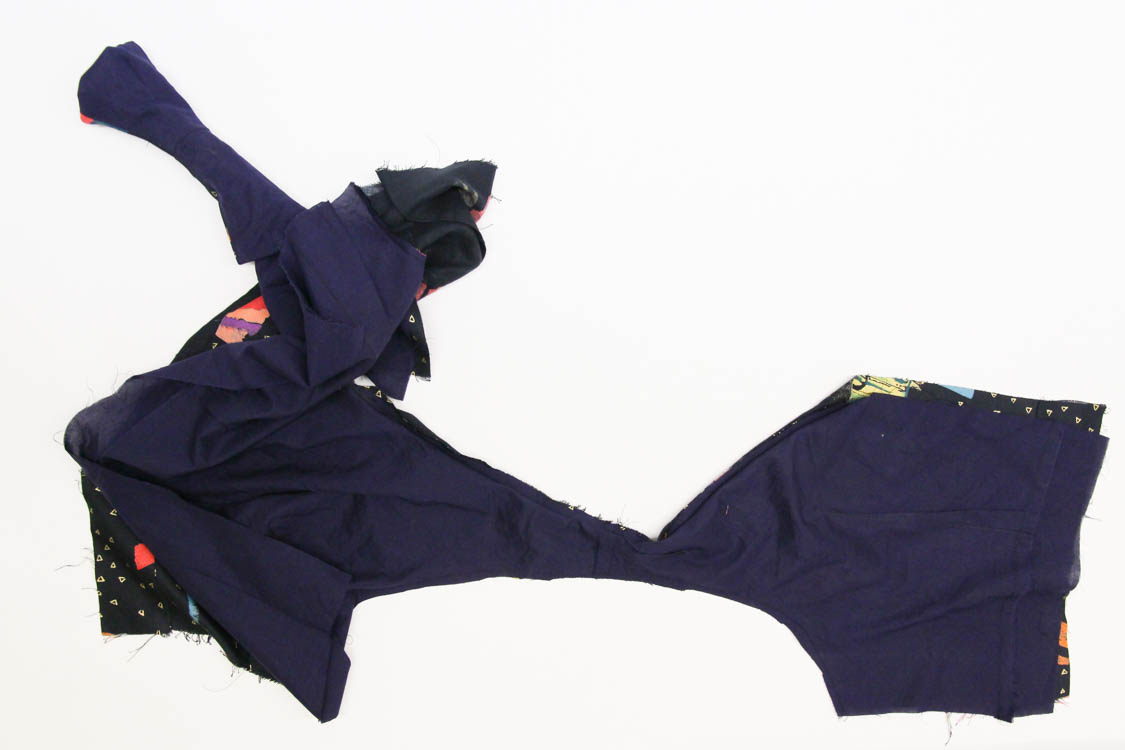
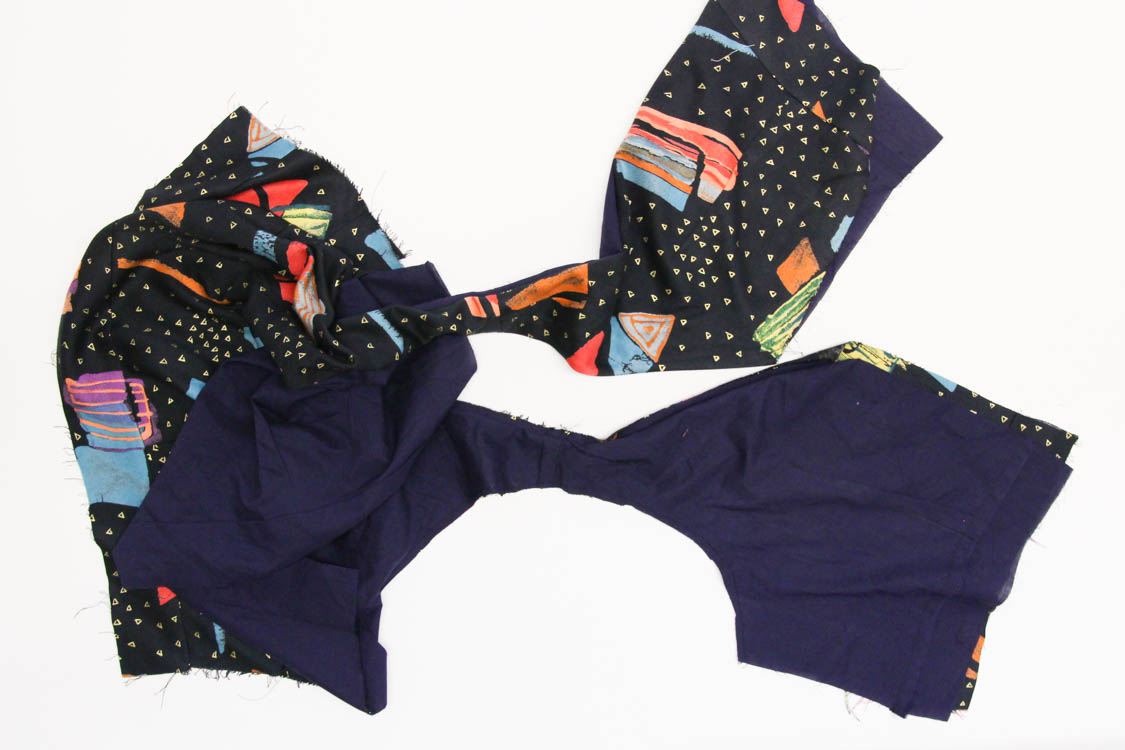
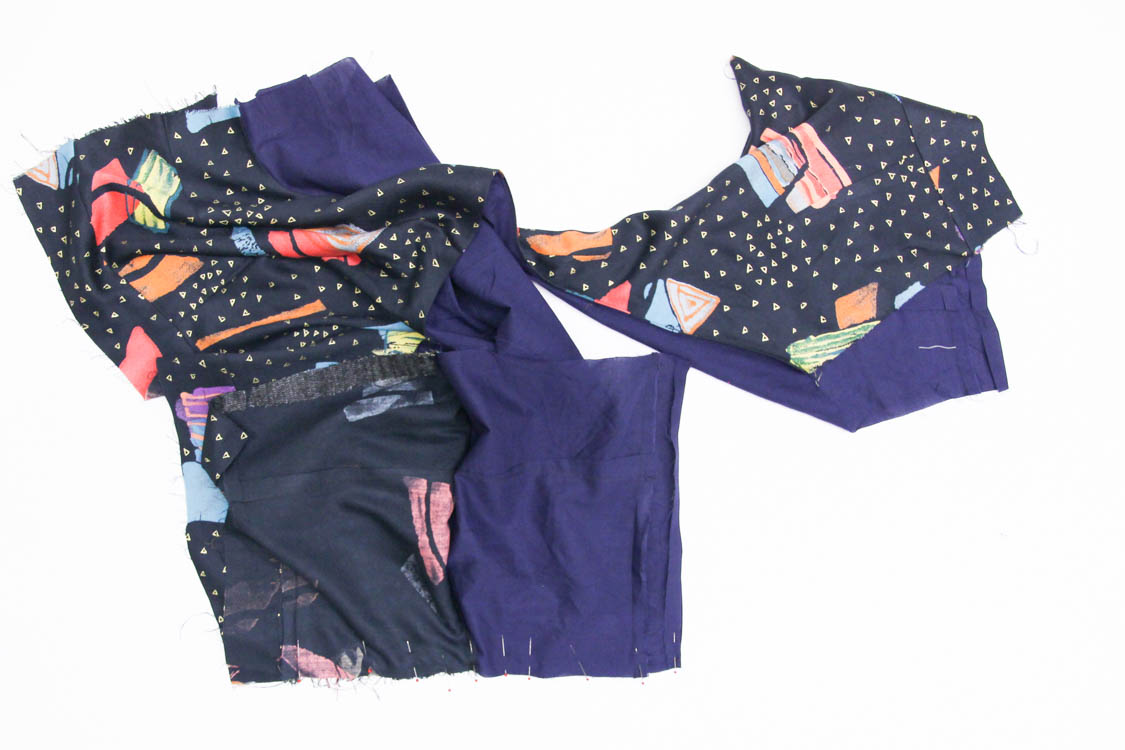
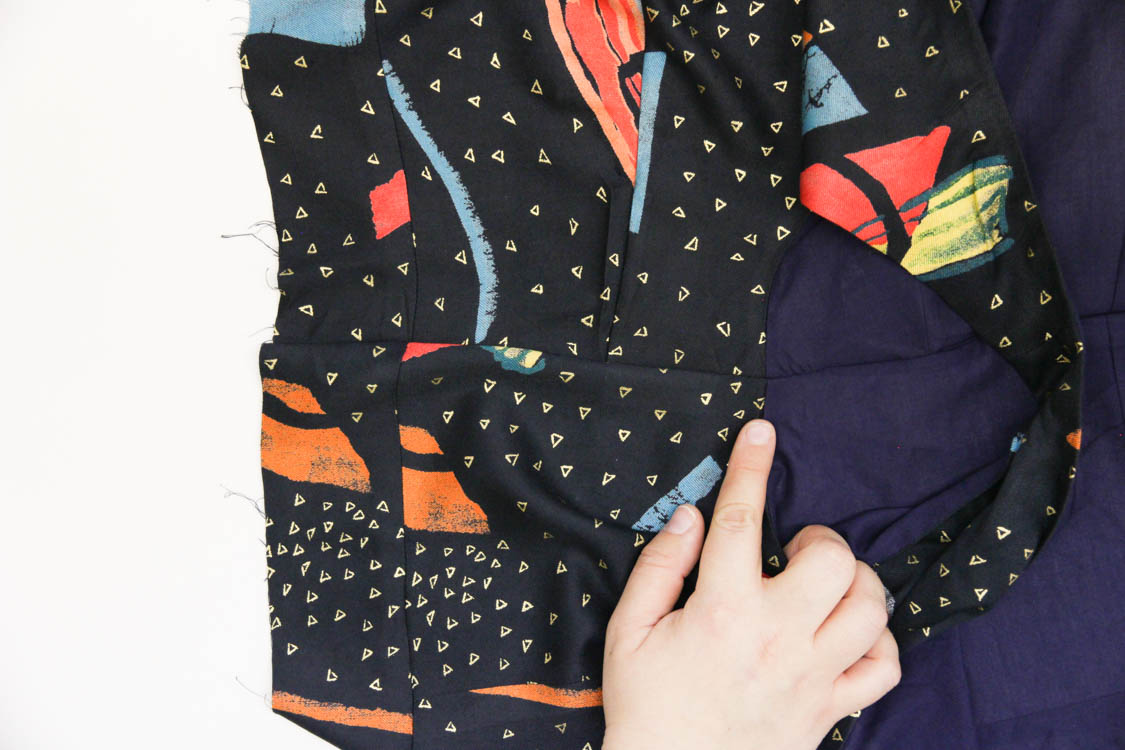
Now we’re going to turn it right side out! Lay the bodice flat on a table. Now, push one of the back bodice pieces through the hole in the shoulder seam. It’s a bit hard to illustrate this, but here are some “in progress” shots of what it will look like! You need to then repeat this for the second back bodice piece, and you’ll end up with your bodice right side out, and all the neckline and armhole seams enclosed.
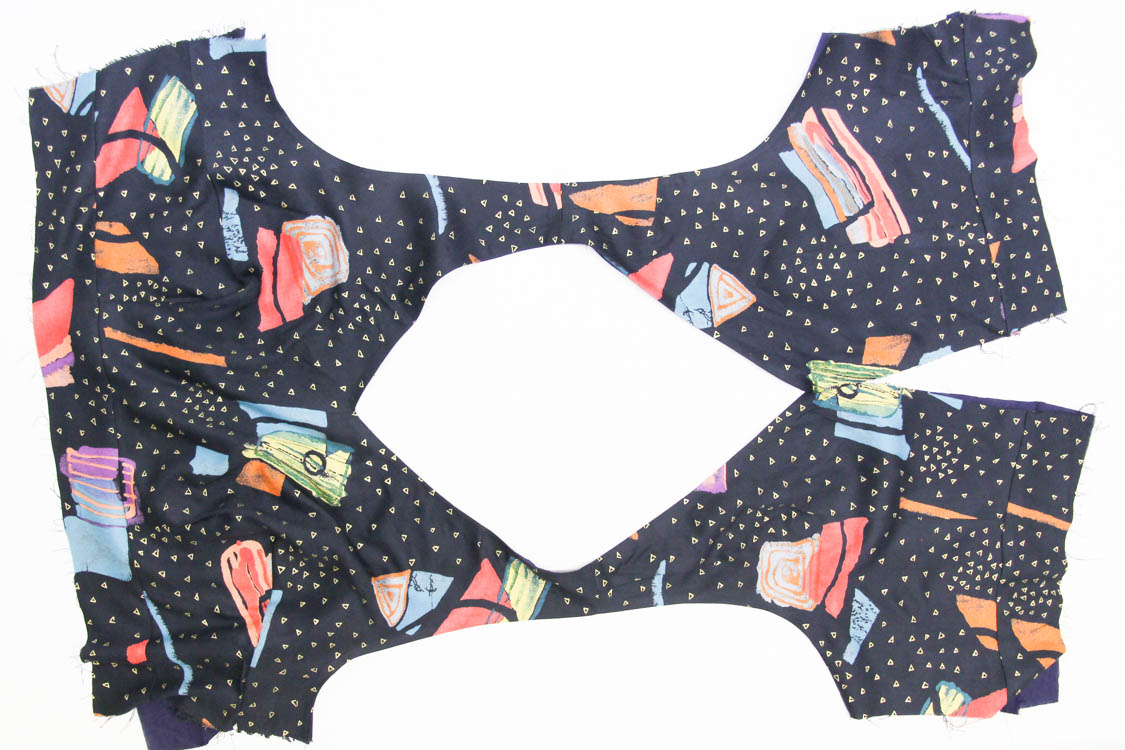
Here’s the turned bodice! Press, slightly rolling the seams to the lining side (this will be helped by the understitching, if you went that route). At this stage, you also want to press up the seam allowances of the 3 lining waistband pieces to the wrong side (so they are folded 1/2″ to the inside).
Now for the final step: sewing the bodice together at the side seams. To do this, you’re going to pick up one side seam of the shell of the back bodice, and bring it over to meet the side seam of the shell of the front bodice, like so:
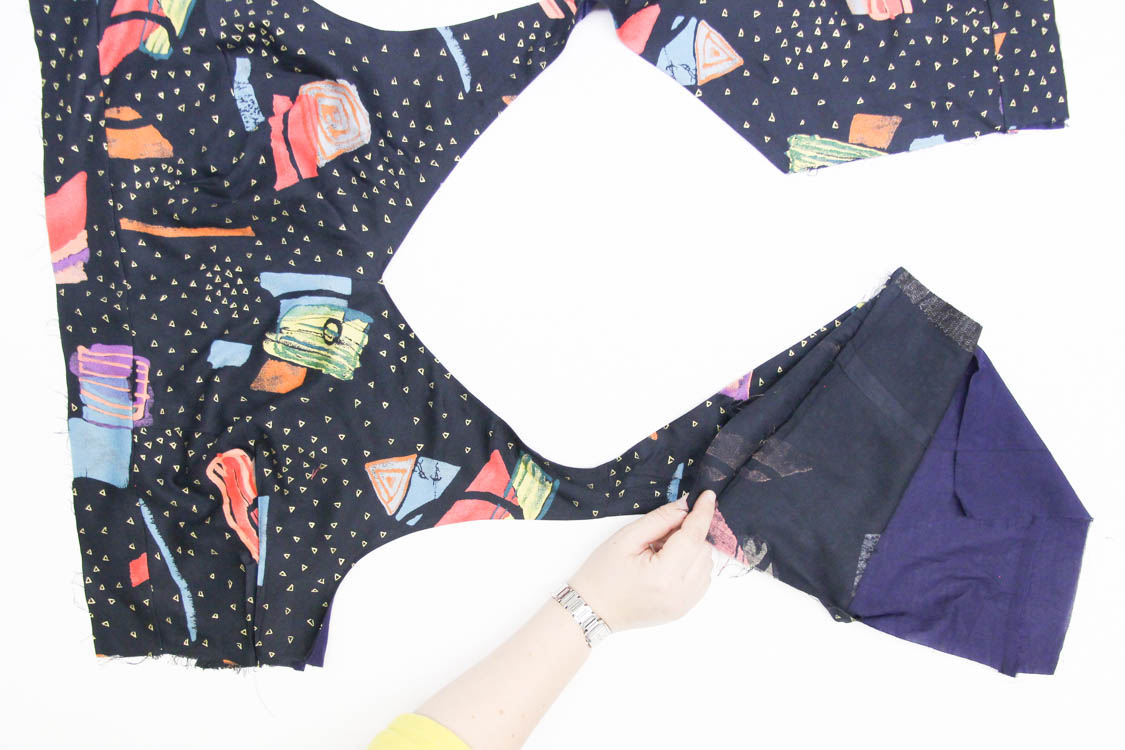

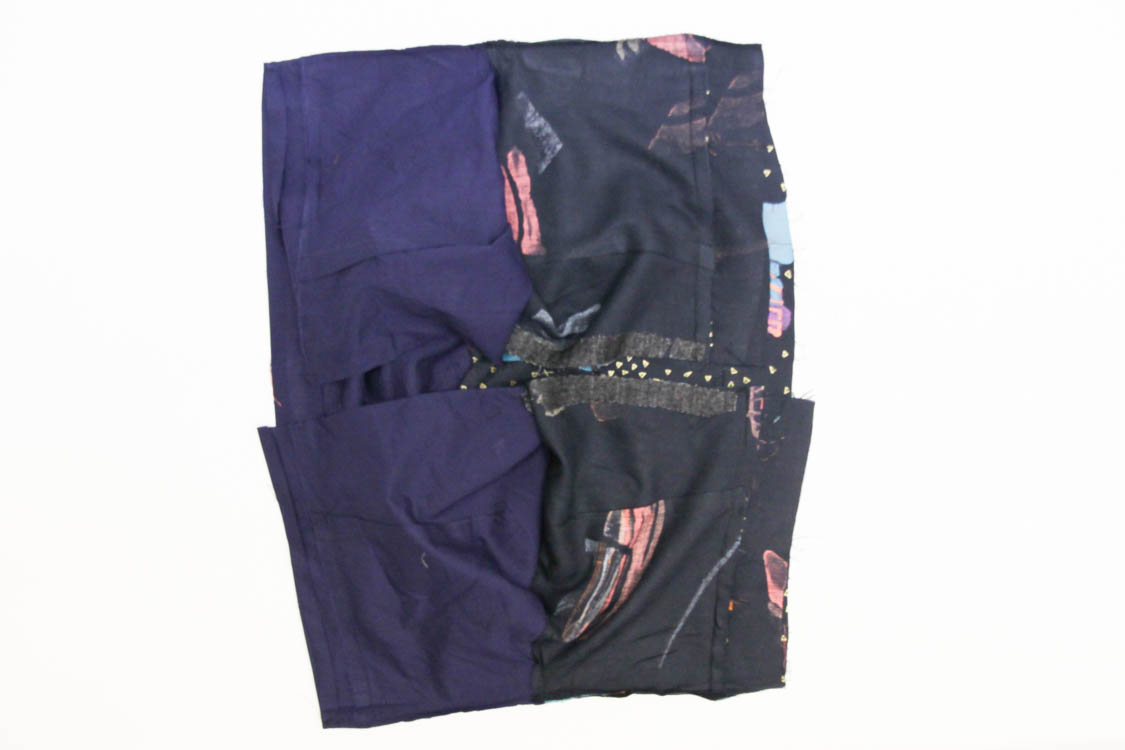
You should now have the side seams of the front and back shell right sides together, and the side seams of the front and back lining right sides together. Pin, and then sew all along the side seam in one go.
Press, and trim. The goal is to have a great intersection at the bodice shell and lining at the underarm, and at the front and back waistband- make sure to use lots of pins or wonder tape, or you can even baste those parts of the seam first for accuracy. If it goes well, it should look like this when you open it:
Repeat with the second side seam, and your bodice will look like this:
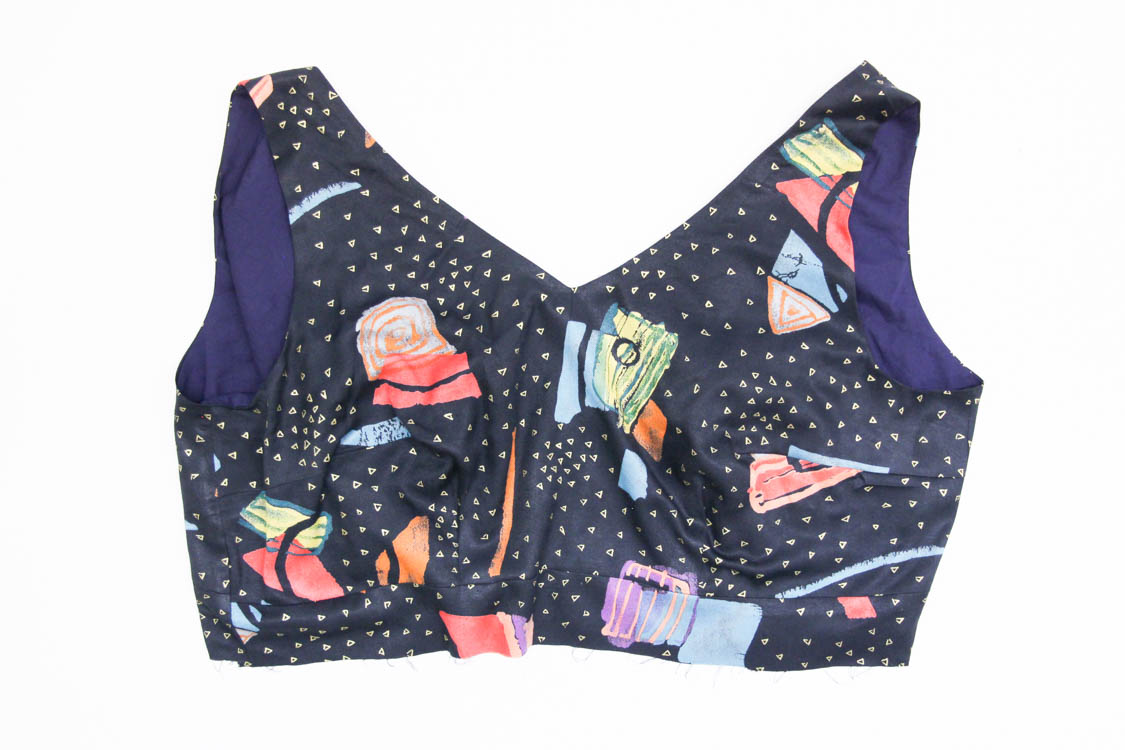
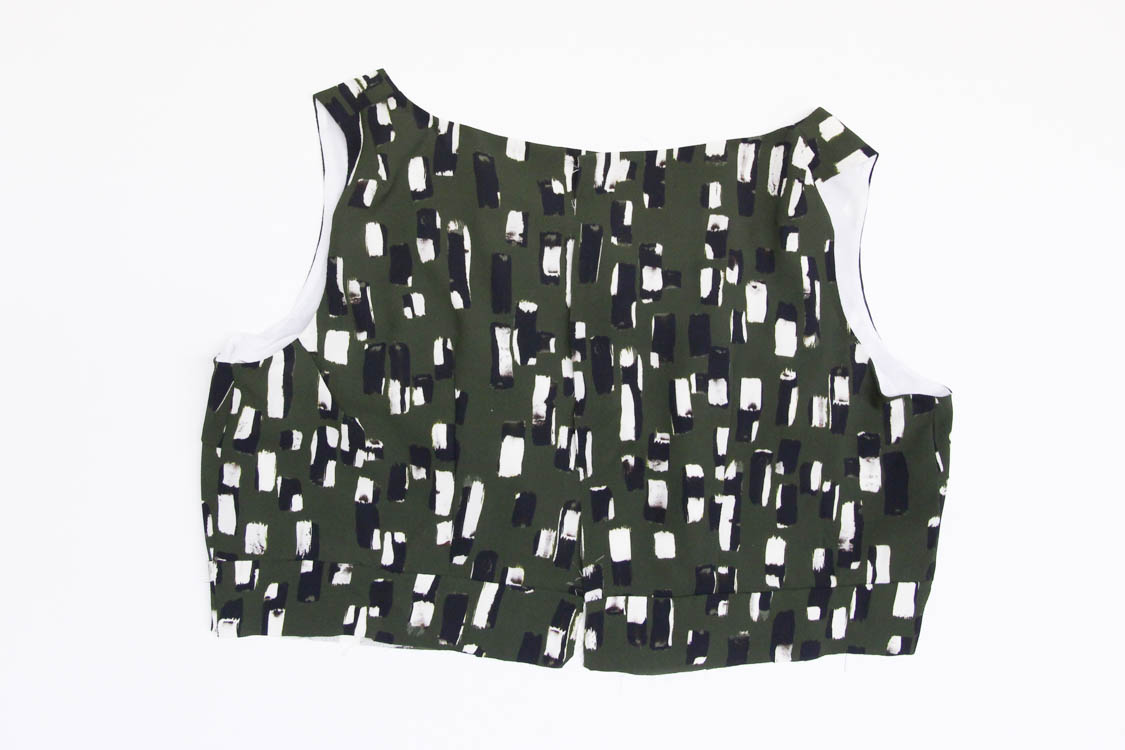
Turn right sides out, and voila! We have a constructed bodice, ready for a skirt and zip. At this point I like to try it on and waltz around my sewing room pretending I have a little crop top on. Each to their own.
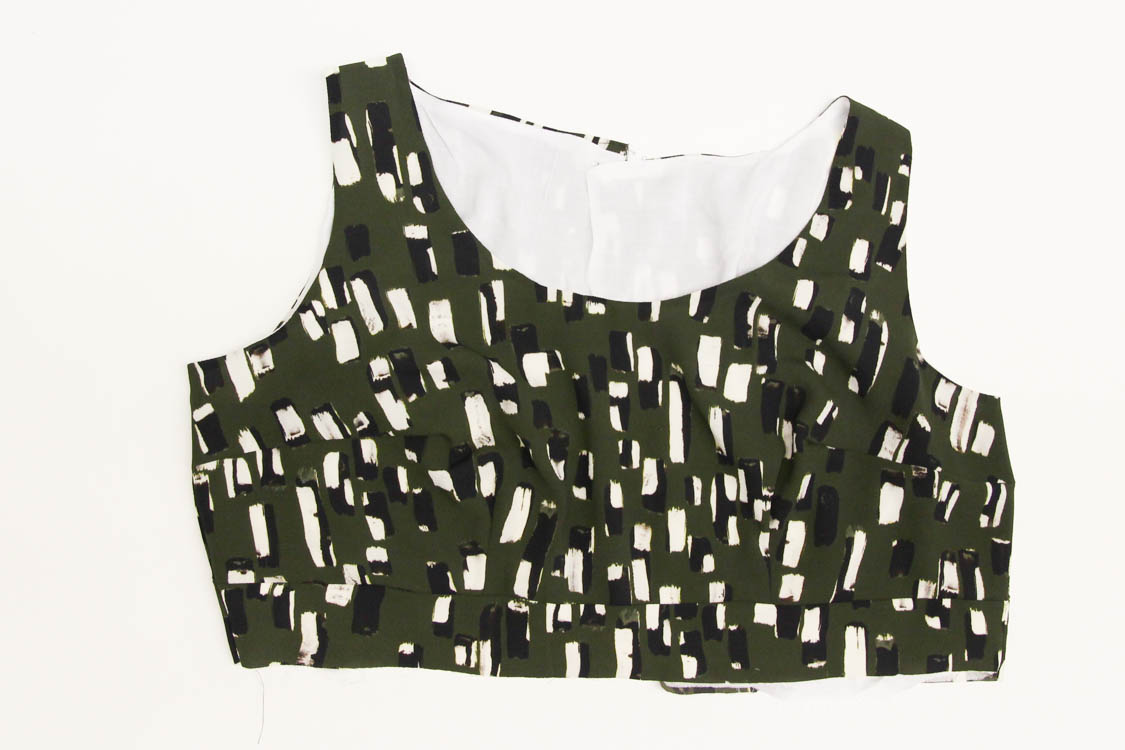
And here’s what the View A scoop neckline/high back bodice looks like, using exactly the same steps.
Next, we start our skirts! Any questions on this step? Much like the burrito method for shirts, this construction technique takes a little time to get your head around it, but once you’ve figured it out you’ll never go back!

I’ve found that I don’t need the zipper, as I can slip the dress over my head comfortably. If I cut the back pieces on the fold to omit the seam is there still a way to do this method of sewing and flipping to encase the seams?
Hi- this technique only works if you have a split back, unfortunately. If you keep the back seam there you can still do it, but if you cut on the fold you’ll have to use an alternative method like using binding.
it is a fiddle but do-able to avoid binding and (I will always avoid putting in a zip wherever I can) careful manipulation/wrangling of the fabrics in the arm curve at this point and feeling like you are boldly sewing where no woman has sewn before can make for a really nice smart finish. There is enough ease/space to do this so do give it a go. Trying to find an online explanation but nothing I can immediately find.
I am about to sew up my bodice side seams and realized that I missed the under bust / waist darts on the front. Is this a deal breaker? I need to take a look at the fit without them, but WWJD (what would jenny do)? Seam rip the front waistband and add the darts or go with it?
You will need to sew the darts, otherwise the waistband won’t fit and it will overall be too big for you. Seam rip the front and sew them now!
This method is brilliant! Thank you, Jenny, for explaining illustrating it so well. I was having a little anxiety about how to add the cap sleeve (from the sleeve extension pattern) and eventually figured out that if I sewed and understitched the neckline first, THEN pinned and basted the sleeve cap to the shell, and THEN sewed the shell to the lining at the armhole, I didn’t have to worry as much about catching the sleeve into the neckline seam. Thought I’d share in case anyone else is trying to figure this out.