Update 2/1/2021: An updated Upton Sewalong is available here.
Now the bodice is done, it’s on to the skirt. The two skirt views are constructed differently, so I’ll cover each in turn.
View A: Pleated skirt
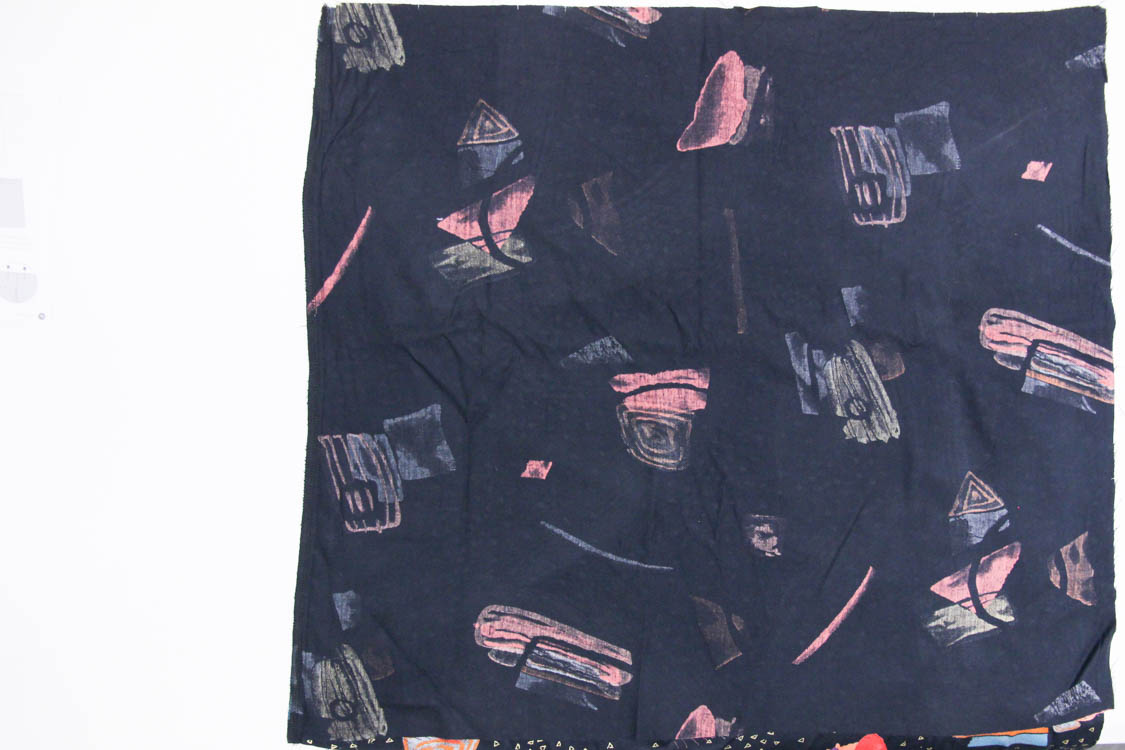
Make sure you have your skirt pieces clearly marked and the pleat markings notched before you start – it makes things a lot easier! Place the two front skirt pieces right sides together, and sew along the middle (straight) edge. Finish the seam – I’m using a serger – as the skirt seams will be exposed on the inside of the garment.
Let’s start the pleating at the center. The center seam acts as the middle notch for the center pleat.
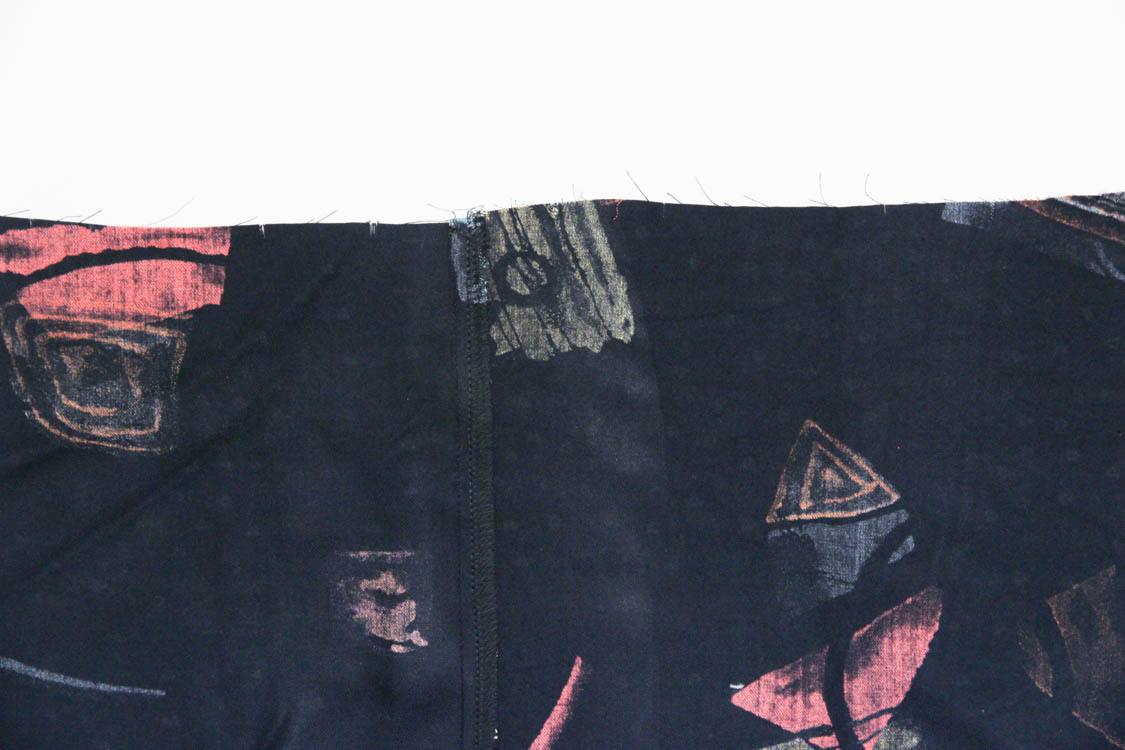
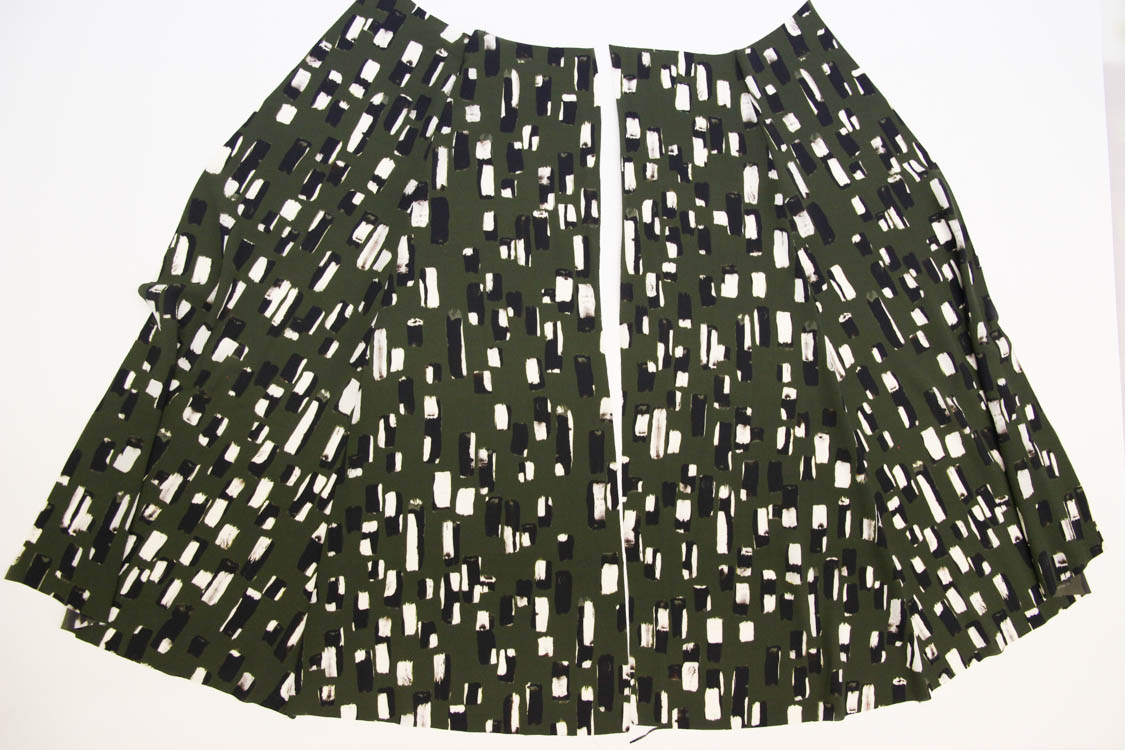
There are two notches either side of the center seam – you want to bring the outer notch on each side to meet the center seam (so the other notch will be on the edge of the fold). This will form a fold on the wrong side of the fabric, like so:
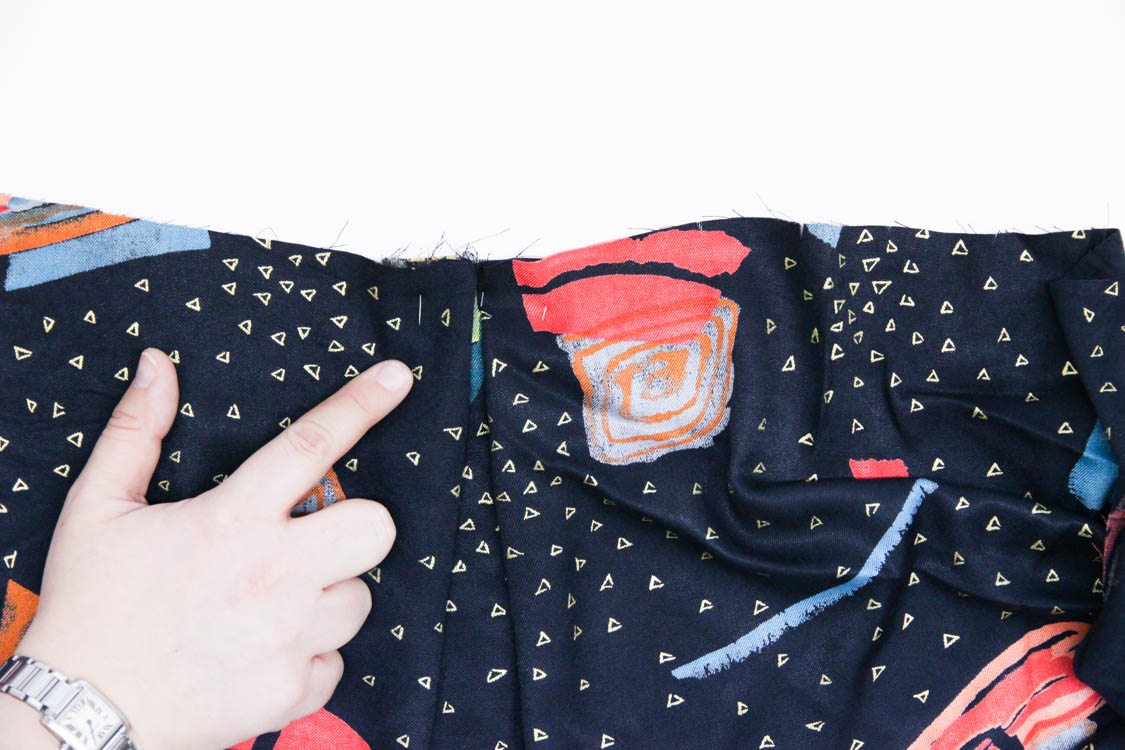
From the right side, it should look like this.
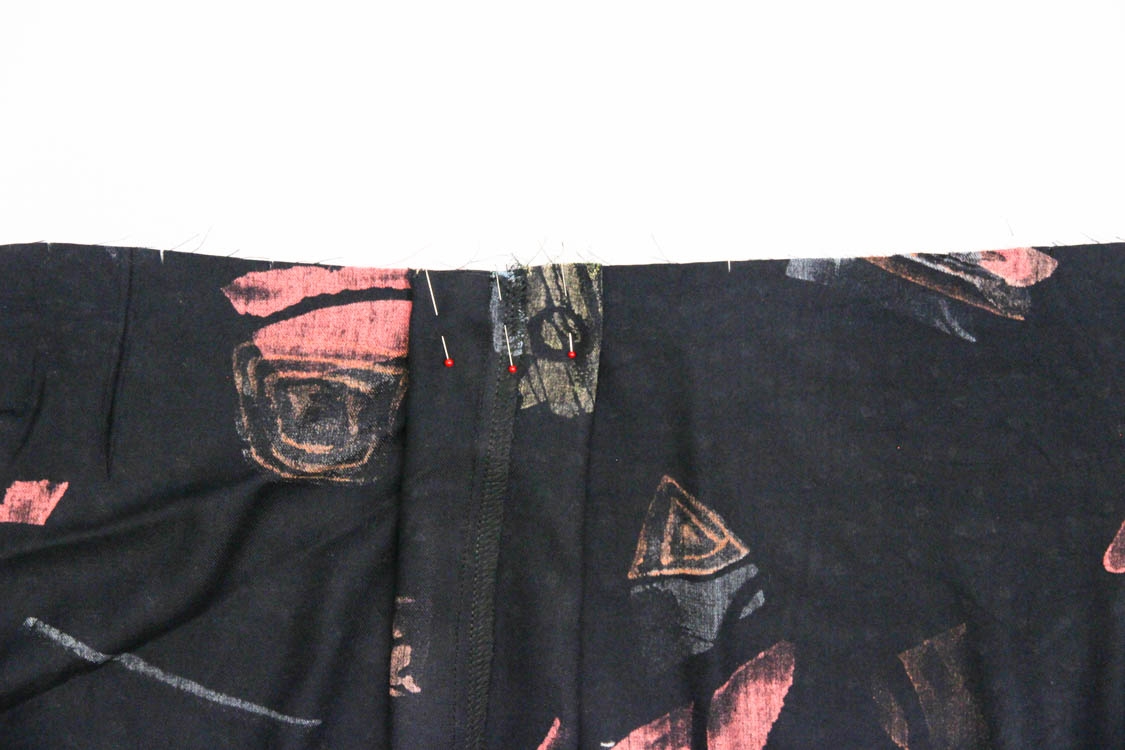
Now continue pinning the other two pleats on either side of the center seam.
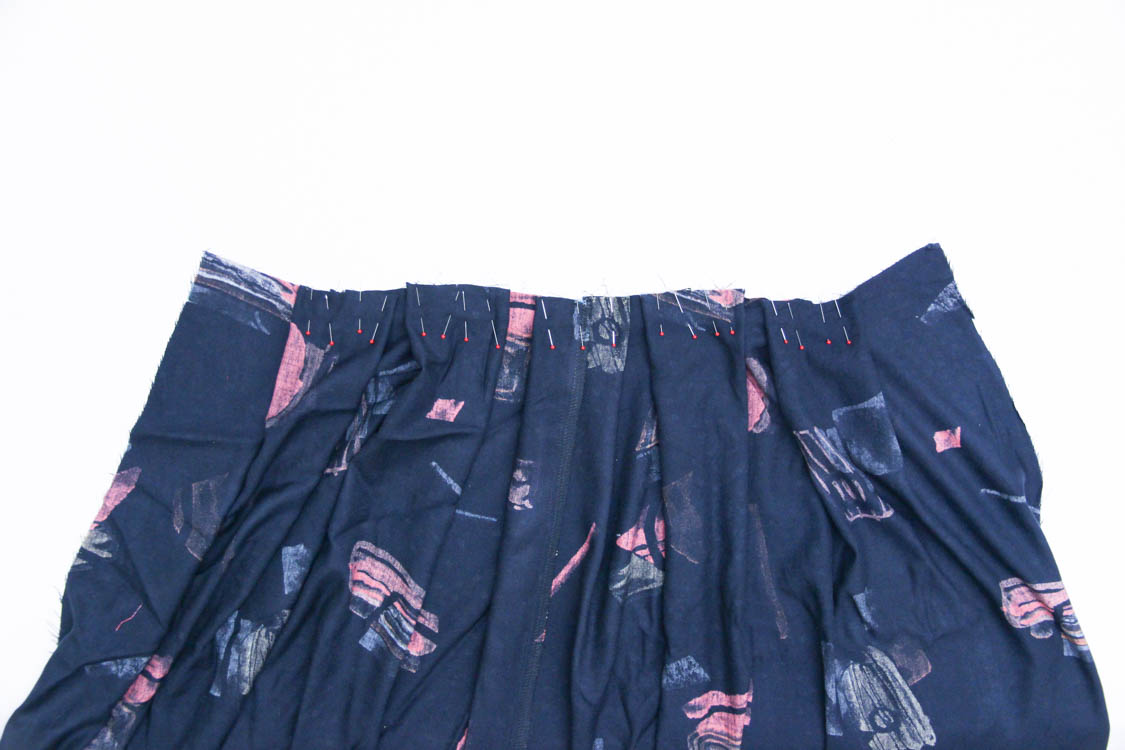
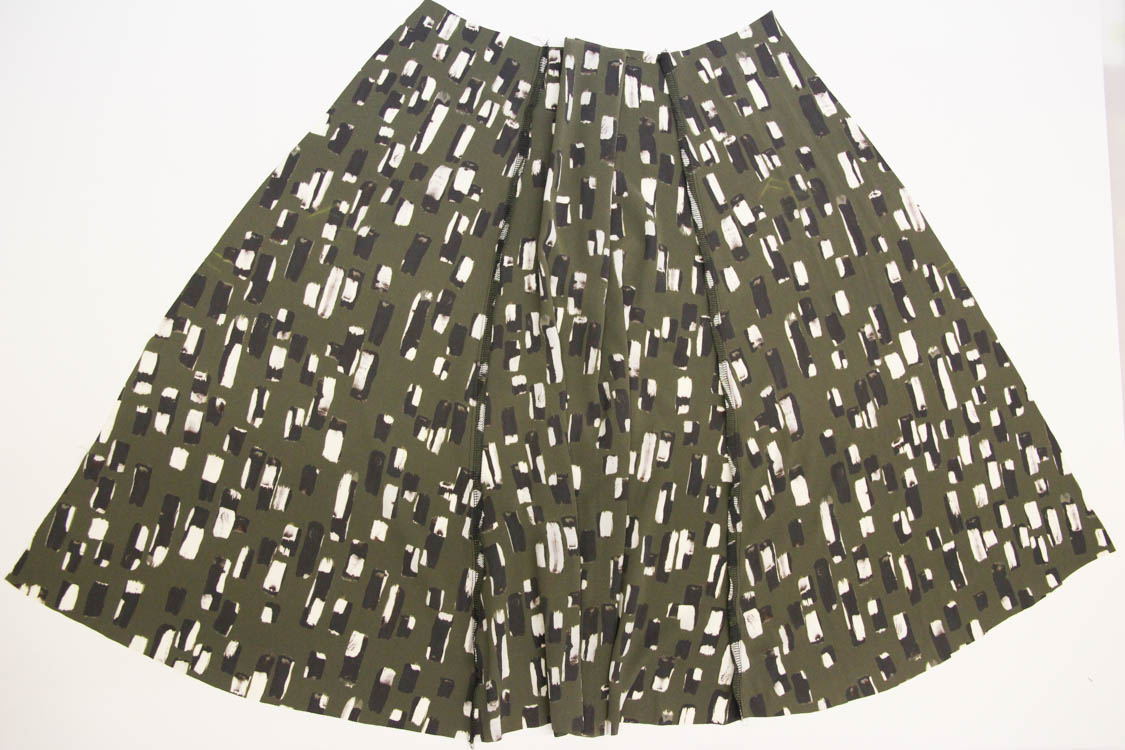
Sew at a 1/4″ (6mm) seam allowance across the top of all the pleats to secure them in place, making sure that the sides of the pleats meet up on the right hand side of the fabric (there shouldn’t be gaps between them). If you have problems with the fabric shifting as you sew, you can use a walking foot, and/or pin and sew from the right side which will allow you to see and control the pleats as you sew them.
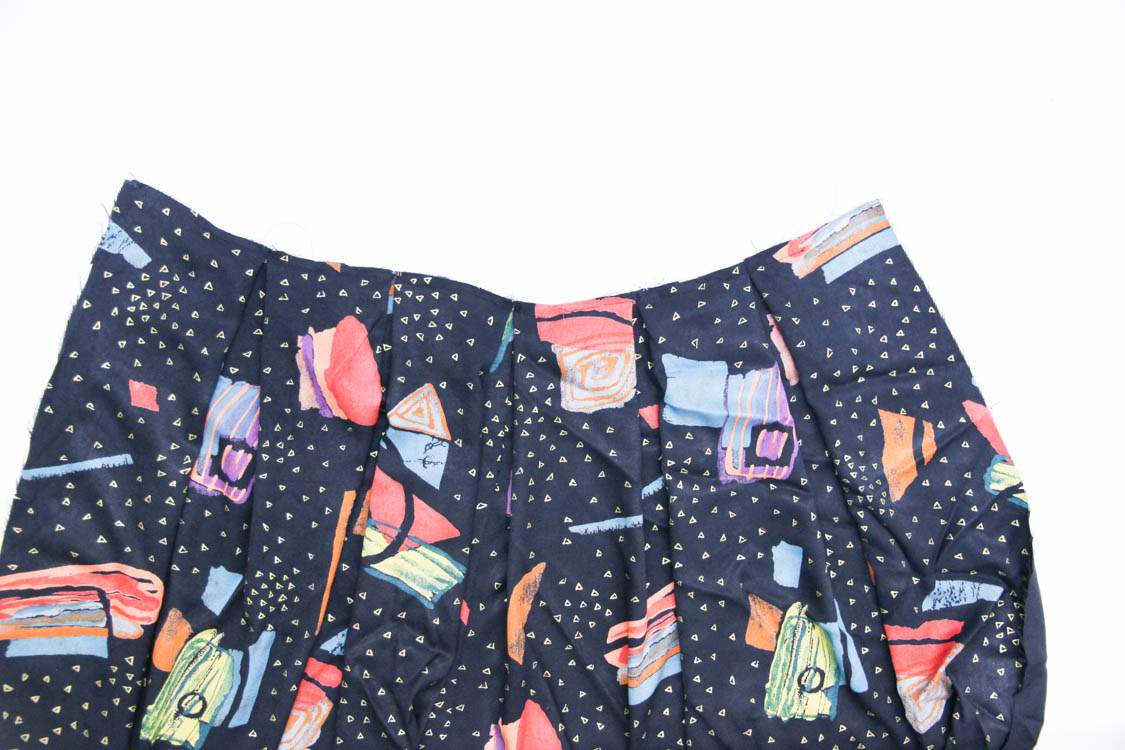
Lightly press within the seam allowance.
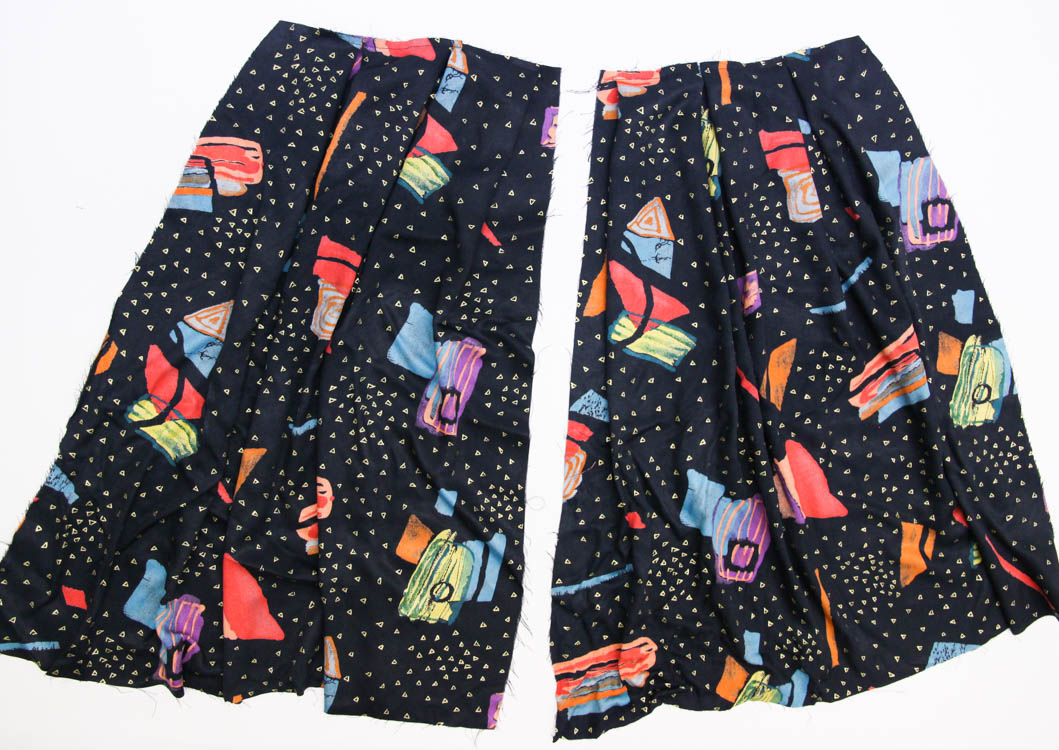
Now repeat the same process with the two back pieces:
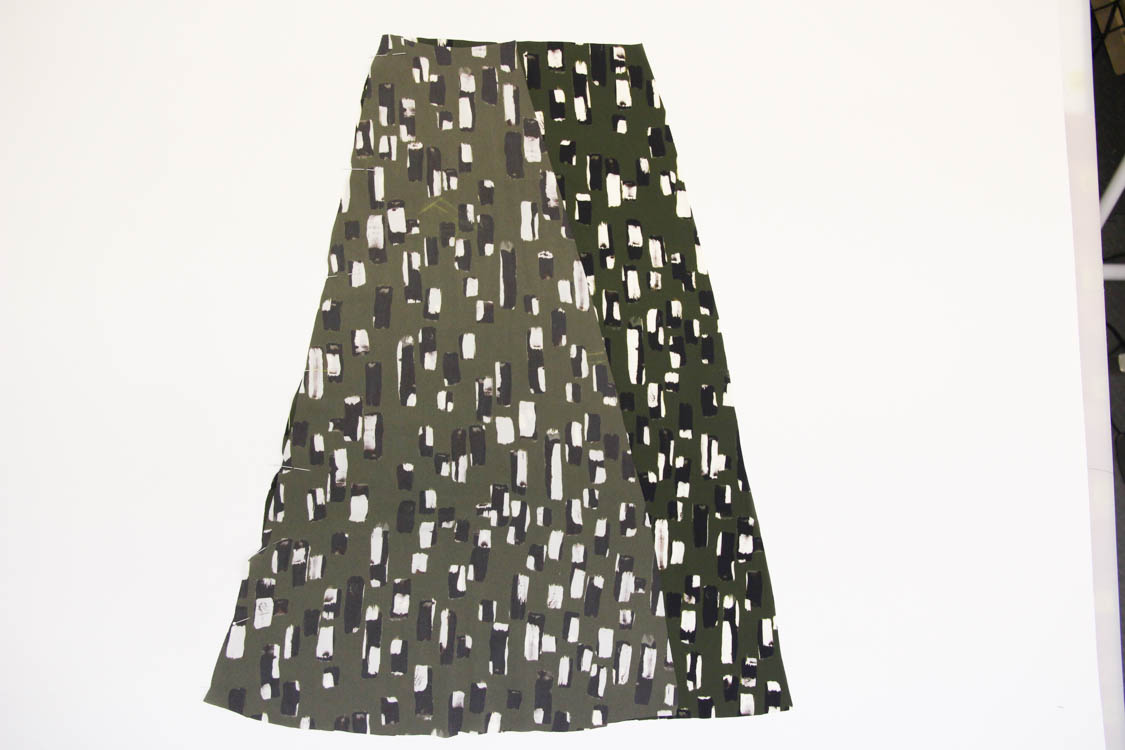
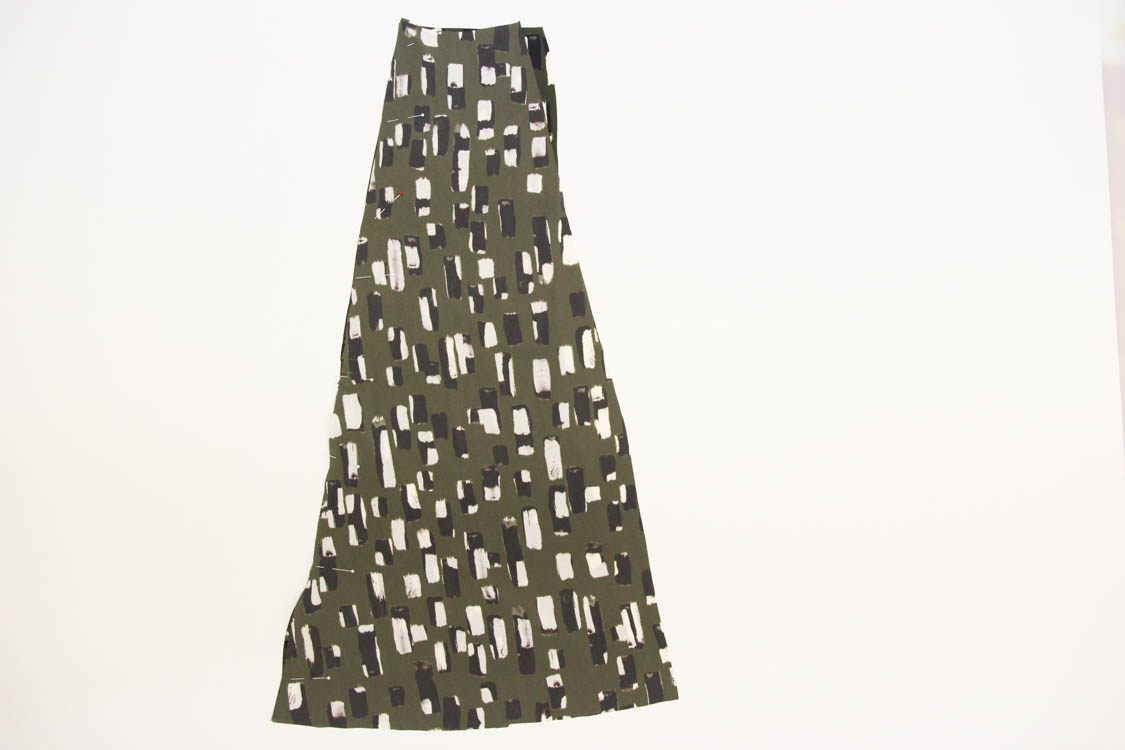
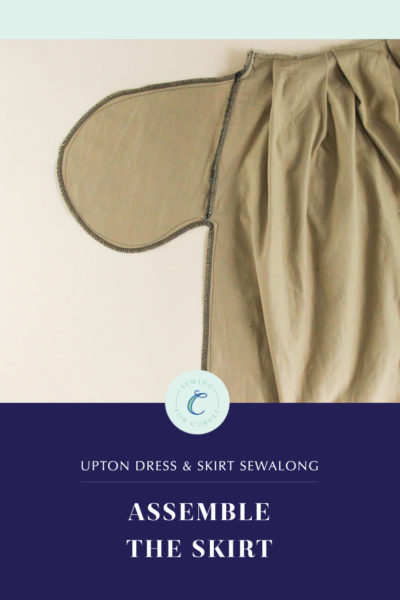
View B: Gored skirt
Alright! On to View B. These pieces can get a bit confusing because they’re all so similar, so make sure you keep the fabric pieces with your pattern pieces, or mark them with chalk.
Pin the front side piece to the front center (matching notches to make sure you have them the right way around), sew and finish, then repeat with the second front side piece.
Now, sew the side back to the center back piece:
And repeat with the second side back and center back piece:
Come back for pockets, side seams and attaching the bodice. Do you have any questions for me today?
If my fabric is wide enough, is there a reason to cut the front skirt (pleated) in two pieces rather than on the fold (removing the seam allowance)?
Is there any reason why underlining can’t be utilized for the skirt? I want a skirt lining as well, and thought I might go the underlining route instead of a true lining.
Yup, you can underline the skirt (or line it) if you would like. Underlining adds a bit of bulk to the seams and is generally used when the outer fabric is sheer. If your fabric is heavy weight or not sheer, a true lining might be the way to go.
-Ayelet at Cashmerette
Thanks, Ayelet. Yeah, my linen is light weight but not sheer and to me a true lining is a little less work than the underlining method with the mock Hong Kong finish.