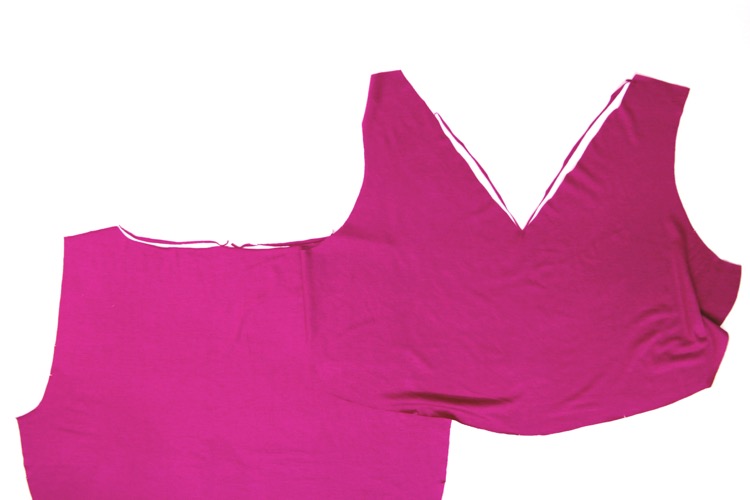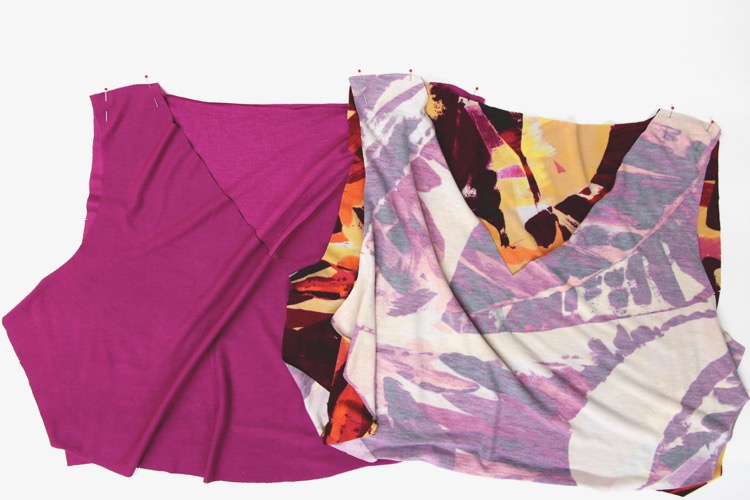
Today we’ll assemble the fully lined bodice of the Turner Dress. The lining makes this so comfortable to wear and gives the bodice a little extra structure to support the weight of the skirt. You can either line the bodice in the same fabric or use a similar to slightly lighter weight knit for the lining. (For this sewalong, I’m using a solid fabric for the lining; it is a nice weight and helps to see what I’m doing!)
If you’re using a light-weight knit, you may want to fuse strips of interfacing to the neckline of the shell fabric on the wrong side.
Start by trimming the neckline seam allowance of your lining pieces by 1/8”. Do this for both the front and back bodice lining pieces. This allows the lining to stay neatly tucked inside the bodice when you’re wearing the dress.

Pin the front and back bodices together at the shoulder seams and sew using a 3/8” seam allowance. Finish the seams if your knit frays and you’re using a sewing machine, and press the seam allowance towards the back. Repeat these steps for the bodice lining as well.

NB: For the next step, you’ll need to use a sewing machine, even if you’re sewing the rest of the dress on a serger.
Place the bodice lining on top of the bodice shell, right sides together, and pin around the whole neckline.

Using a straight stitch on your sewing machine, sew the bodice shell and lining together at the neckline, pivoting carefully at the point of the V. To get the V-neck to lie flat, carefully clip the seam allowance to but not through the stitch line at the point of the V.


To ensure the lining stays nicely tucked away, we’re going to understitch along the neckline. This is the fiddliest bit of this whole garment! Turn the bodice right sides out and spread the shell and lining apart.

Make sure the neckline seam allowance is on the lining side and carefully stitch, using a straight stitch, 1/8” from the neckline seam on the lining side, catching the seam allowance underneath.

Press the neckline seam, while gently rolling the lining to the inside.


For our final step today, baste the lining and shell together at the armholes at ¼” seam allowance with wrong sides together.

Next time, we’ll attach the sleeves and sew the side seams of the bodice!

Hi Jenny,
I’m just reading through the sewalong before I start a Turner tomorrow. I think you meant to understitch the neckline at 1/8″ (or even less) and not 1/4″. ??
Yep that was a typo – corrected.
Thanks Jenny. My former life as a technical editor rears its ugly head all the time when reading directions. 🙂
That 1/4″ (6mm) understitch is still in the pdf instructions, page 9
When lining up the neckline of the bodice shell and lining to sew them together, after cutting off 1/8” of the lining, do you line the edges up evenly or set the lining in 1/8”? Not sure how to phrase this.
Hi Patricia, after trimming the lining, you line up the edges evenly.
-Ayelet at Cashmerette
Good morning Turner Dress Makers! (years after the original sew-a-long!),
I am determined to try my hand at making a Turner Dress all by my lonesome and have been reading through all the instructions step by step and they’re really helpful! I am stuck at the moment (aka totally baffled!) by the following step:
“ Make sure the neckline seam allowance is on the lining side and carefully stitch, using a straight stitch, 1/8” from the neckline seam on the lining side, catching the seam allowance underneath.”
I am a novice seamstress and can’t figure out what this means? How do you make sure the neckline seam allowance is on the lining side?
Any help, from anyone, would be much appreciated!
Hi Sarah! On the wrong side of the garment where the seam allowance is, you would push the seam allowance towards the lining. If it’s easier for you to sew it from the wrong side so that you can better see what you’re doing, that’s totally fine!
Sometimes reading instructions can be really confusing but when you actually get to the step in the sewing process, it suddenly makes sense. But if you get there and you’re still not sure, you can skip that step because it’s optional. (Especially if you’re using the same lining as your outside fabric.)
-Ayelet at Cashmerette