
In our last step, we chose our size, prepared our pattern and fabric, and cut out our Lenox Shirtdress pieces. Today, we’ll start with interfacing and beginning the bodice assembly.

Start by cutting interfacing following the layout diagrams in your pattern. You’ll need one of each of the collar (if you’re making the traditional collar version), collar stand, and back waistband and two each of the button bands and front waistband.
Trim the seam allowance off the outer edges of the collar and collar stand as well as the long edges of the button bands (which I forgot to do…it’s alright, it just helps reduce bulk in the seam.) Then apply the interfacing following the manufacturer instructions. If you have a Lenox Shirtdress Kit, use a hot iron with plenty of steam and a press cloth to apply the interfacing to the wrong side of the fabric.
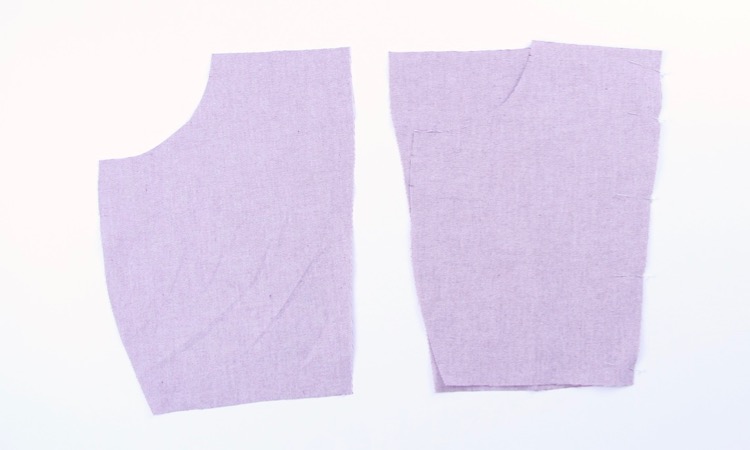
The other step for today is to sew, finish, and press the front and back princess seams so we’re ready to burrito our yokes next time!
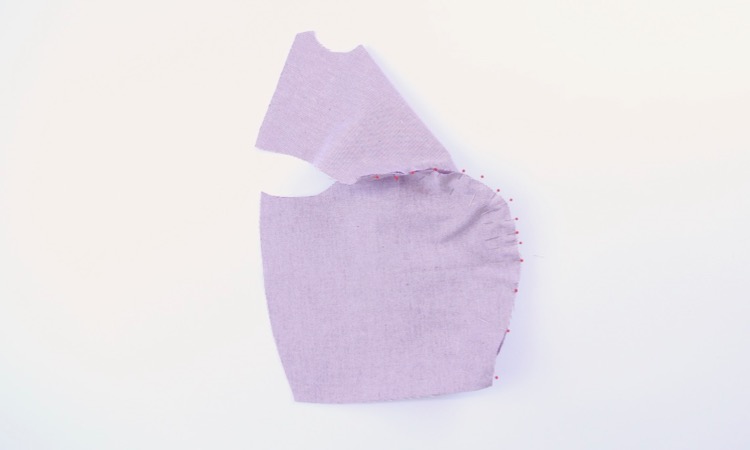
Pin the front side piece to the front center piece, distributing the excess fabric between the notches. I like to use lots of pins in this section to ease it in evenly. After you sew this seam, before finishing it, take a look from the right side to make sure you don’t have any tucks. Finish the seam allowance as close to the stitching line as possible. Press the seam allowance towards the center, which is how it will want to lay naturally.
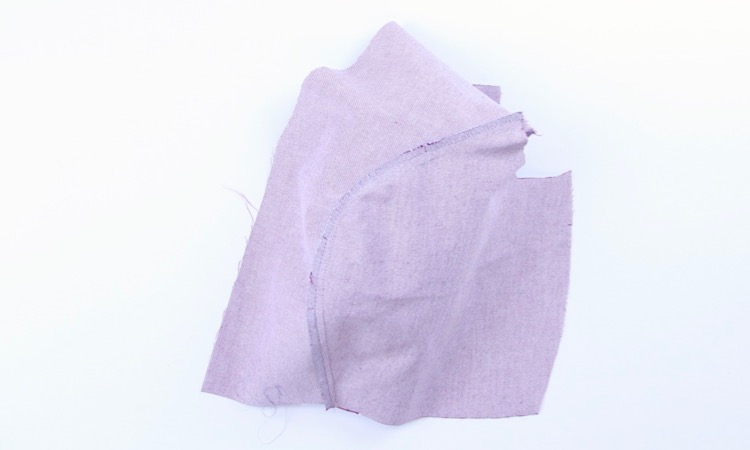
Flip the piece over and press from the right side as well. It’s easiest to press a curve like this over a ham or a rolled up towel if you don’t have one. Repeat these steps with the second front side and front center pieces. If you have fabric like this where it’s tricky to tell the right side from the wrong side, make sure you sew the opposite front!
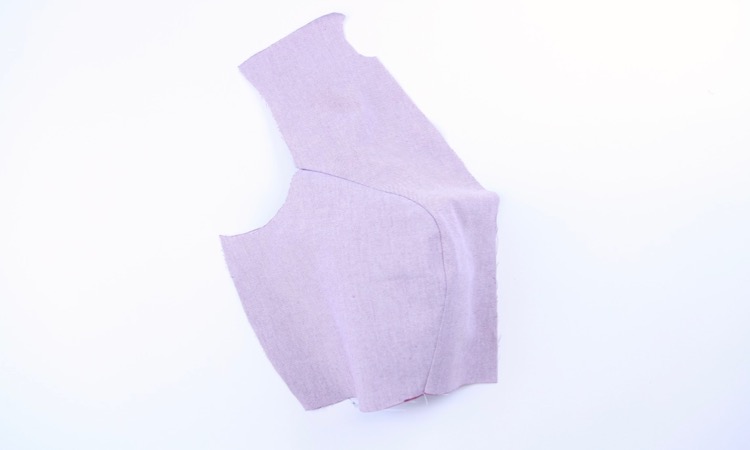
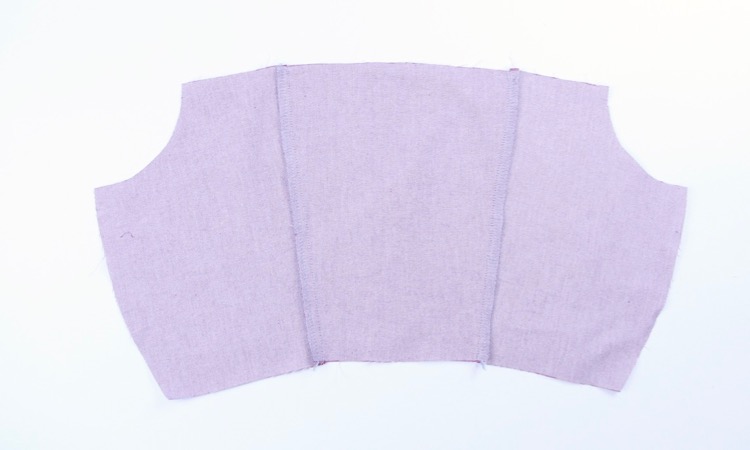
Now, let’s assemble the back princess seams. Pin one of the side backs to the center back, right sides together. You’ll have to manipulate it slightly to follow the curve.
Sew this seam, finish it close to the seam allowance, and press the seam allowance towards the side seam. Repeat with the second side back and give the whole back bodice a good press.
That’s it for today! Next time, we’ll attach the yokes and shoulder seams using the burrito method.
I wonder if anyone is lining their Lenox dresses? I searched around but saw no mention of it. It seems like most suitable cotton shirting fabric is generally lightweight, and I’m not much for slips, so I thought light lining such as voile or batiste might do the trick and help with wrinkling. Thoughts?
Hi, I know this is probably too late, but have you thought of underlining the bodice? It will be simpler than a lining, but will give you the structure and opacity that a lining provides. It’s also a great way to use up scrap pieces of fabric, as it’s not essential that they match (unless matching is important to you, which is completely understandable!). I find underlining to be the most underrated tool in a sewist’s skill set. Hope that helps!
I’m just starting a Lenox and It does help! I still would like to line the skirt as well. Thoughts on that? I just can’t imagine wearing n unlined skirt in a professional setting so I really hope this pattern is updated to include a lining!