My new year started with a totally new activity: sandal-making! I’ve been keen to branch out into other creative projects, as now I do *so* much sewing for Cashmerette Patterns during the day that I find I want a creative change in the evenings. Last year I did a fun glass-blowing class and started drawing again, and I have a letterpress workshop coming up in a few months I’m looking forward to.
But I’m not sure anything will compare with the intensity that is making your own sandals! It was a totally exhausting, but rewarding experience, and it was fascinating to try a craft which is so close to garment sewing, but different in so many ways. The process was long – eight 6 hour days – that I’m going to split my post into two, and I’ll share the details which lots of people were asking me about on Instagram at the time.
I took the winter session sandal-making class at MassArt, taught by Malika Green, a Brooklyn-based shoemaker and teacher. It turned out half the students in my class had already taken at least one class with her before, which boded well, and there were a fair few full time MassArt art students in there too, as well as a ceramicist and some other crafty types.
The class teaches how to make “made to measure” sandals, creating your own pattern rather than following another. In some ways this was awesome as there was huge freedom to make whatever you wanted, but on the other hand it was a little overwhelming, and I knew I really wanted to make something I’d wear as opposed to sandals more wacky and artistic. There are some basic considerations: do you want a strap over your whole foot, a little loop for your big toe, or something that goes between your toes like a flip flop? How do you want it to secure to your ankle (if at all)? What shape do you want your straps?
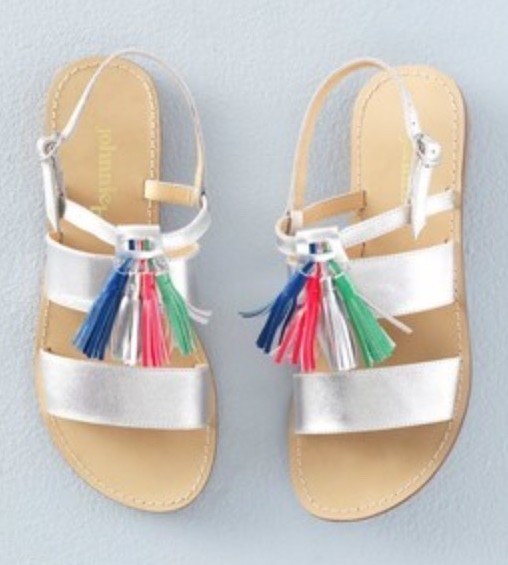
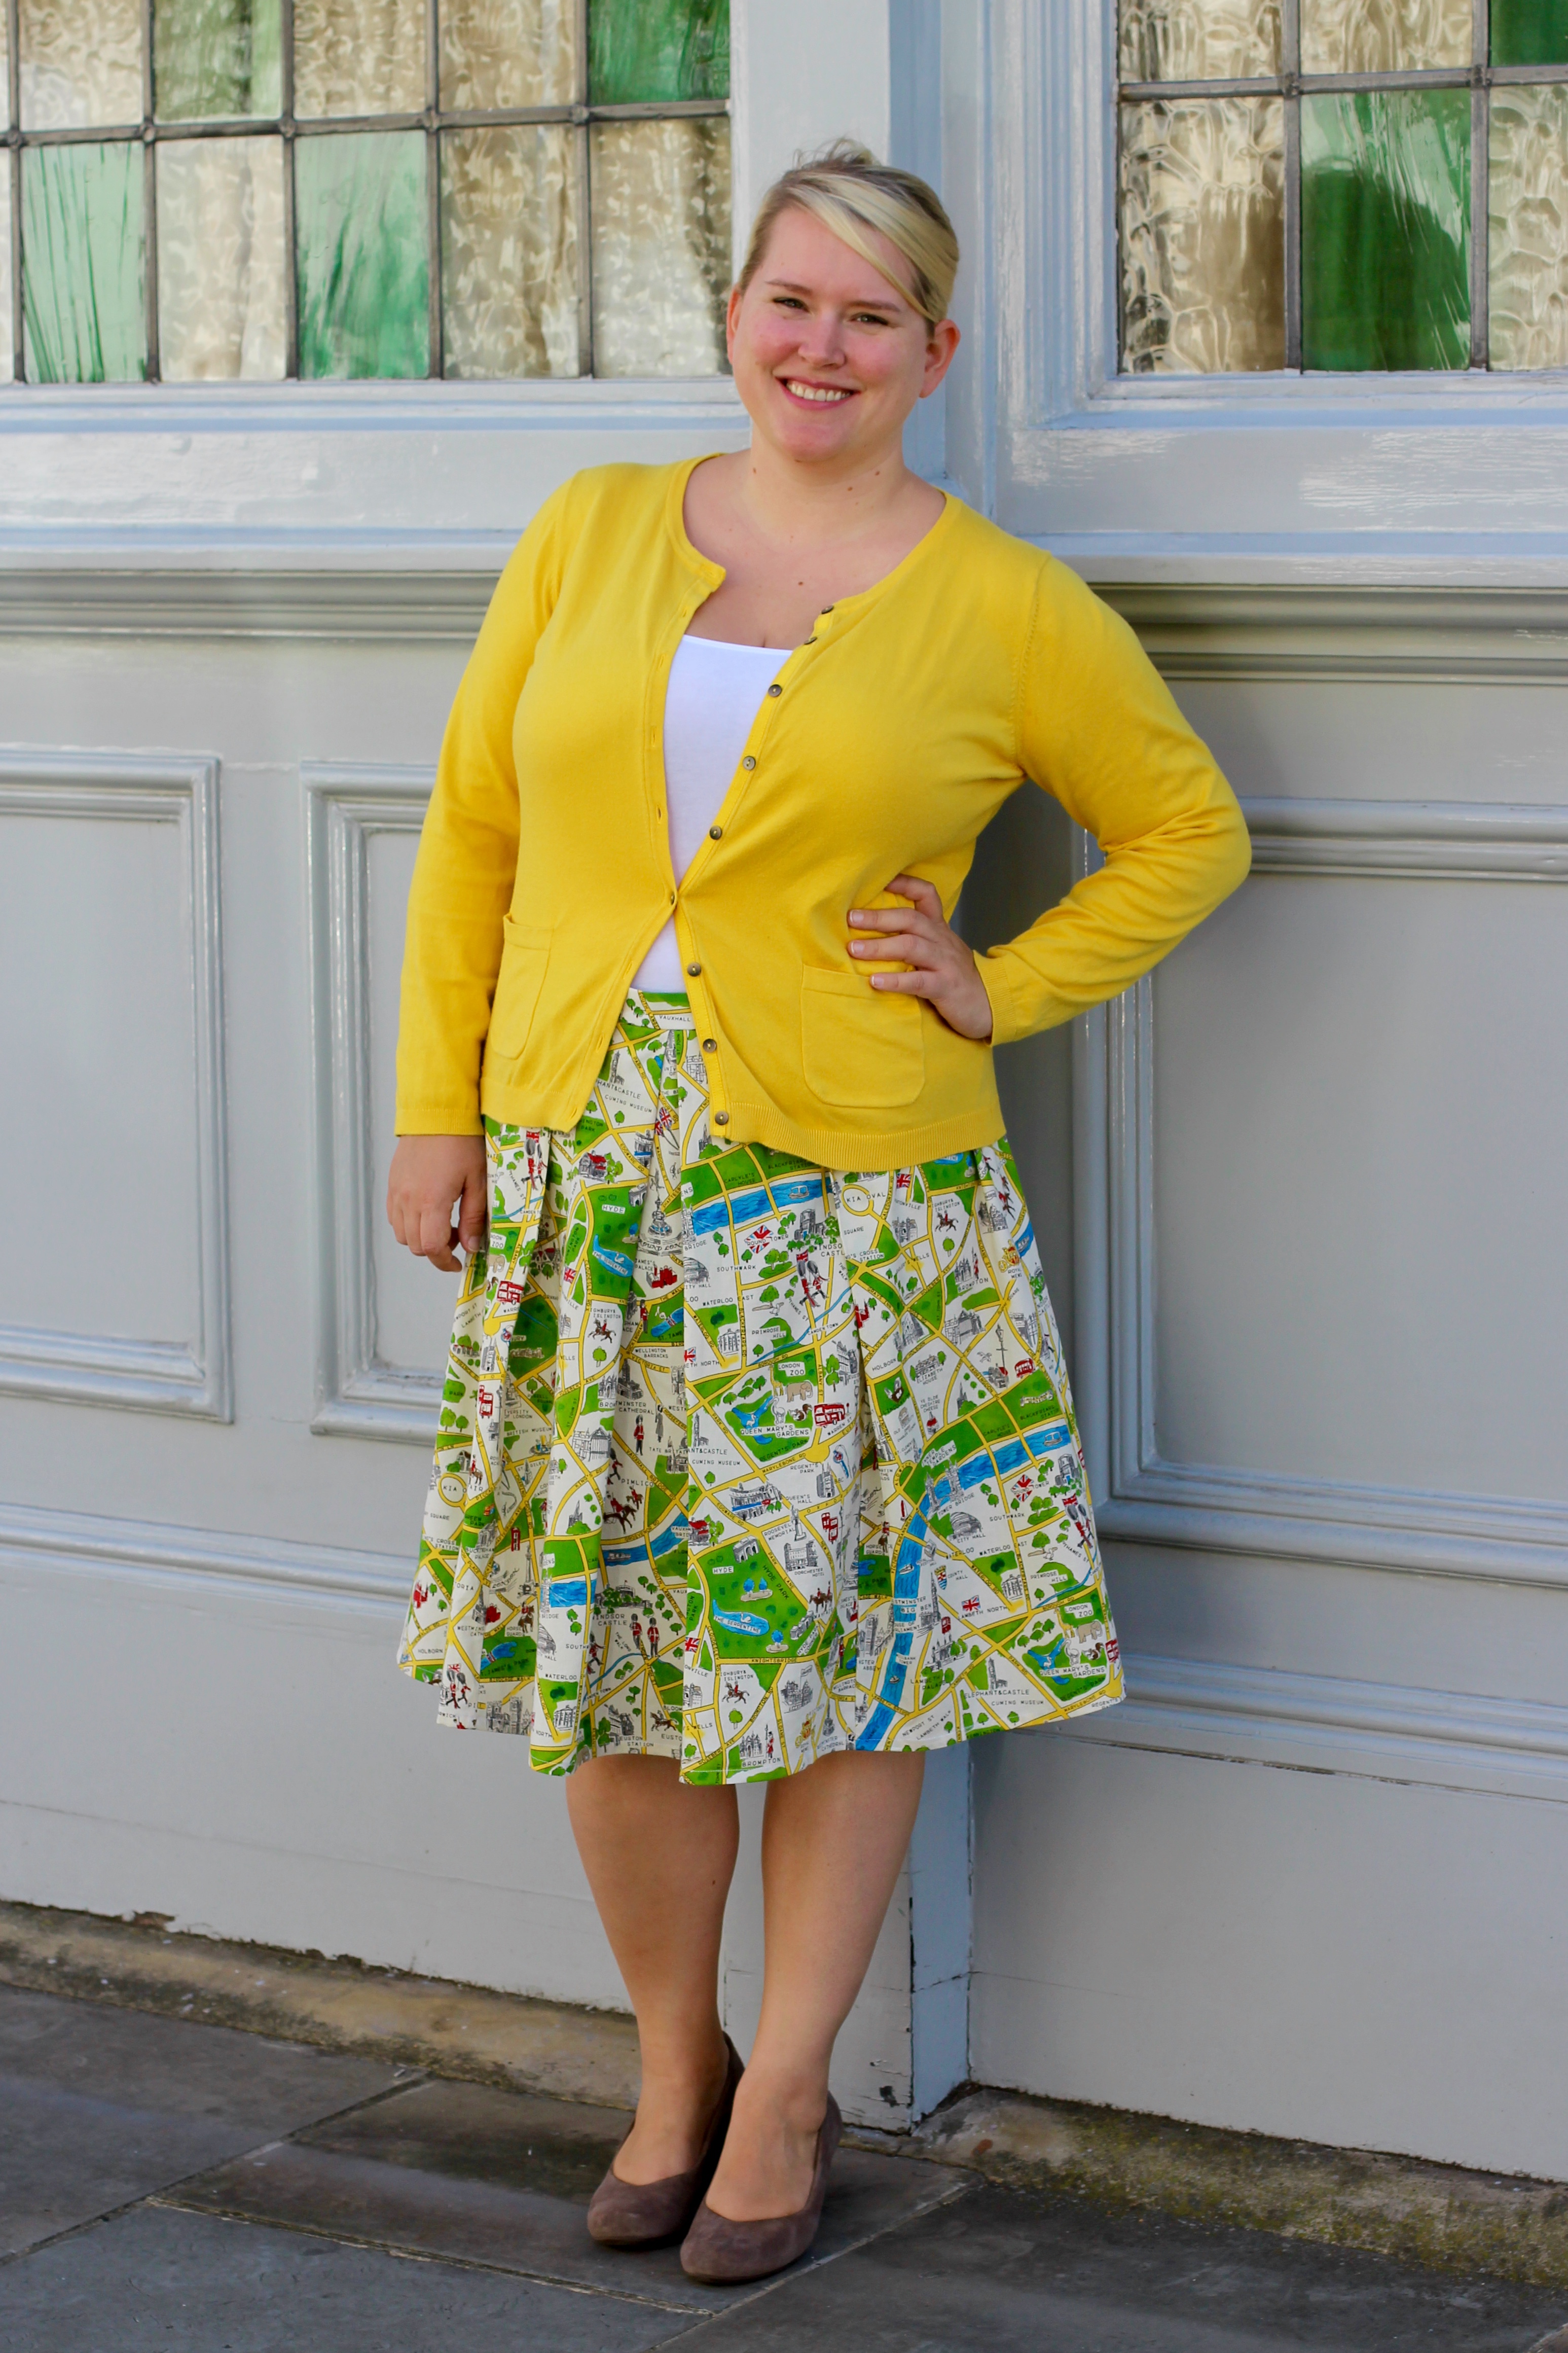
So, I popped over to the Boden website, found these beauties, and I had my inspiration!
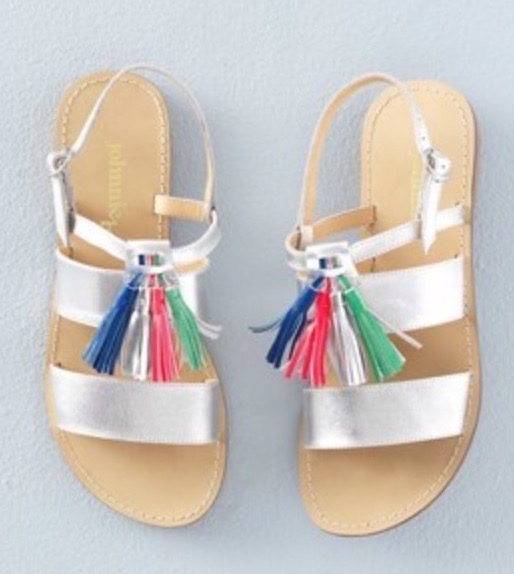
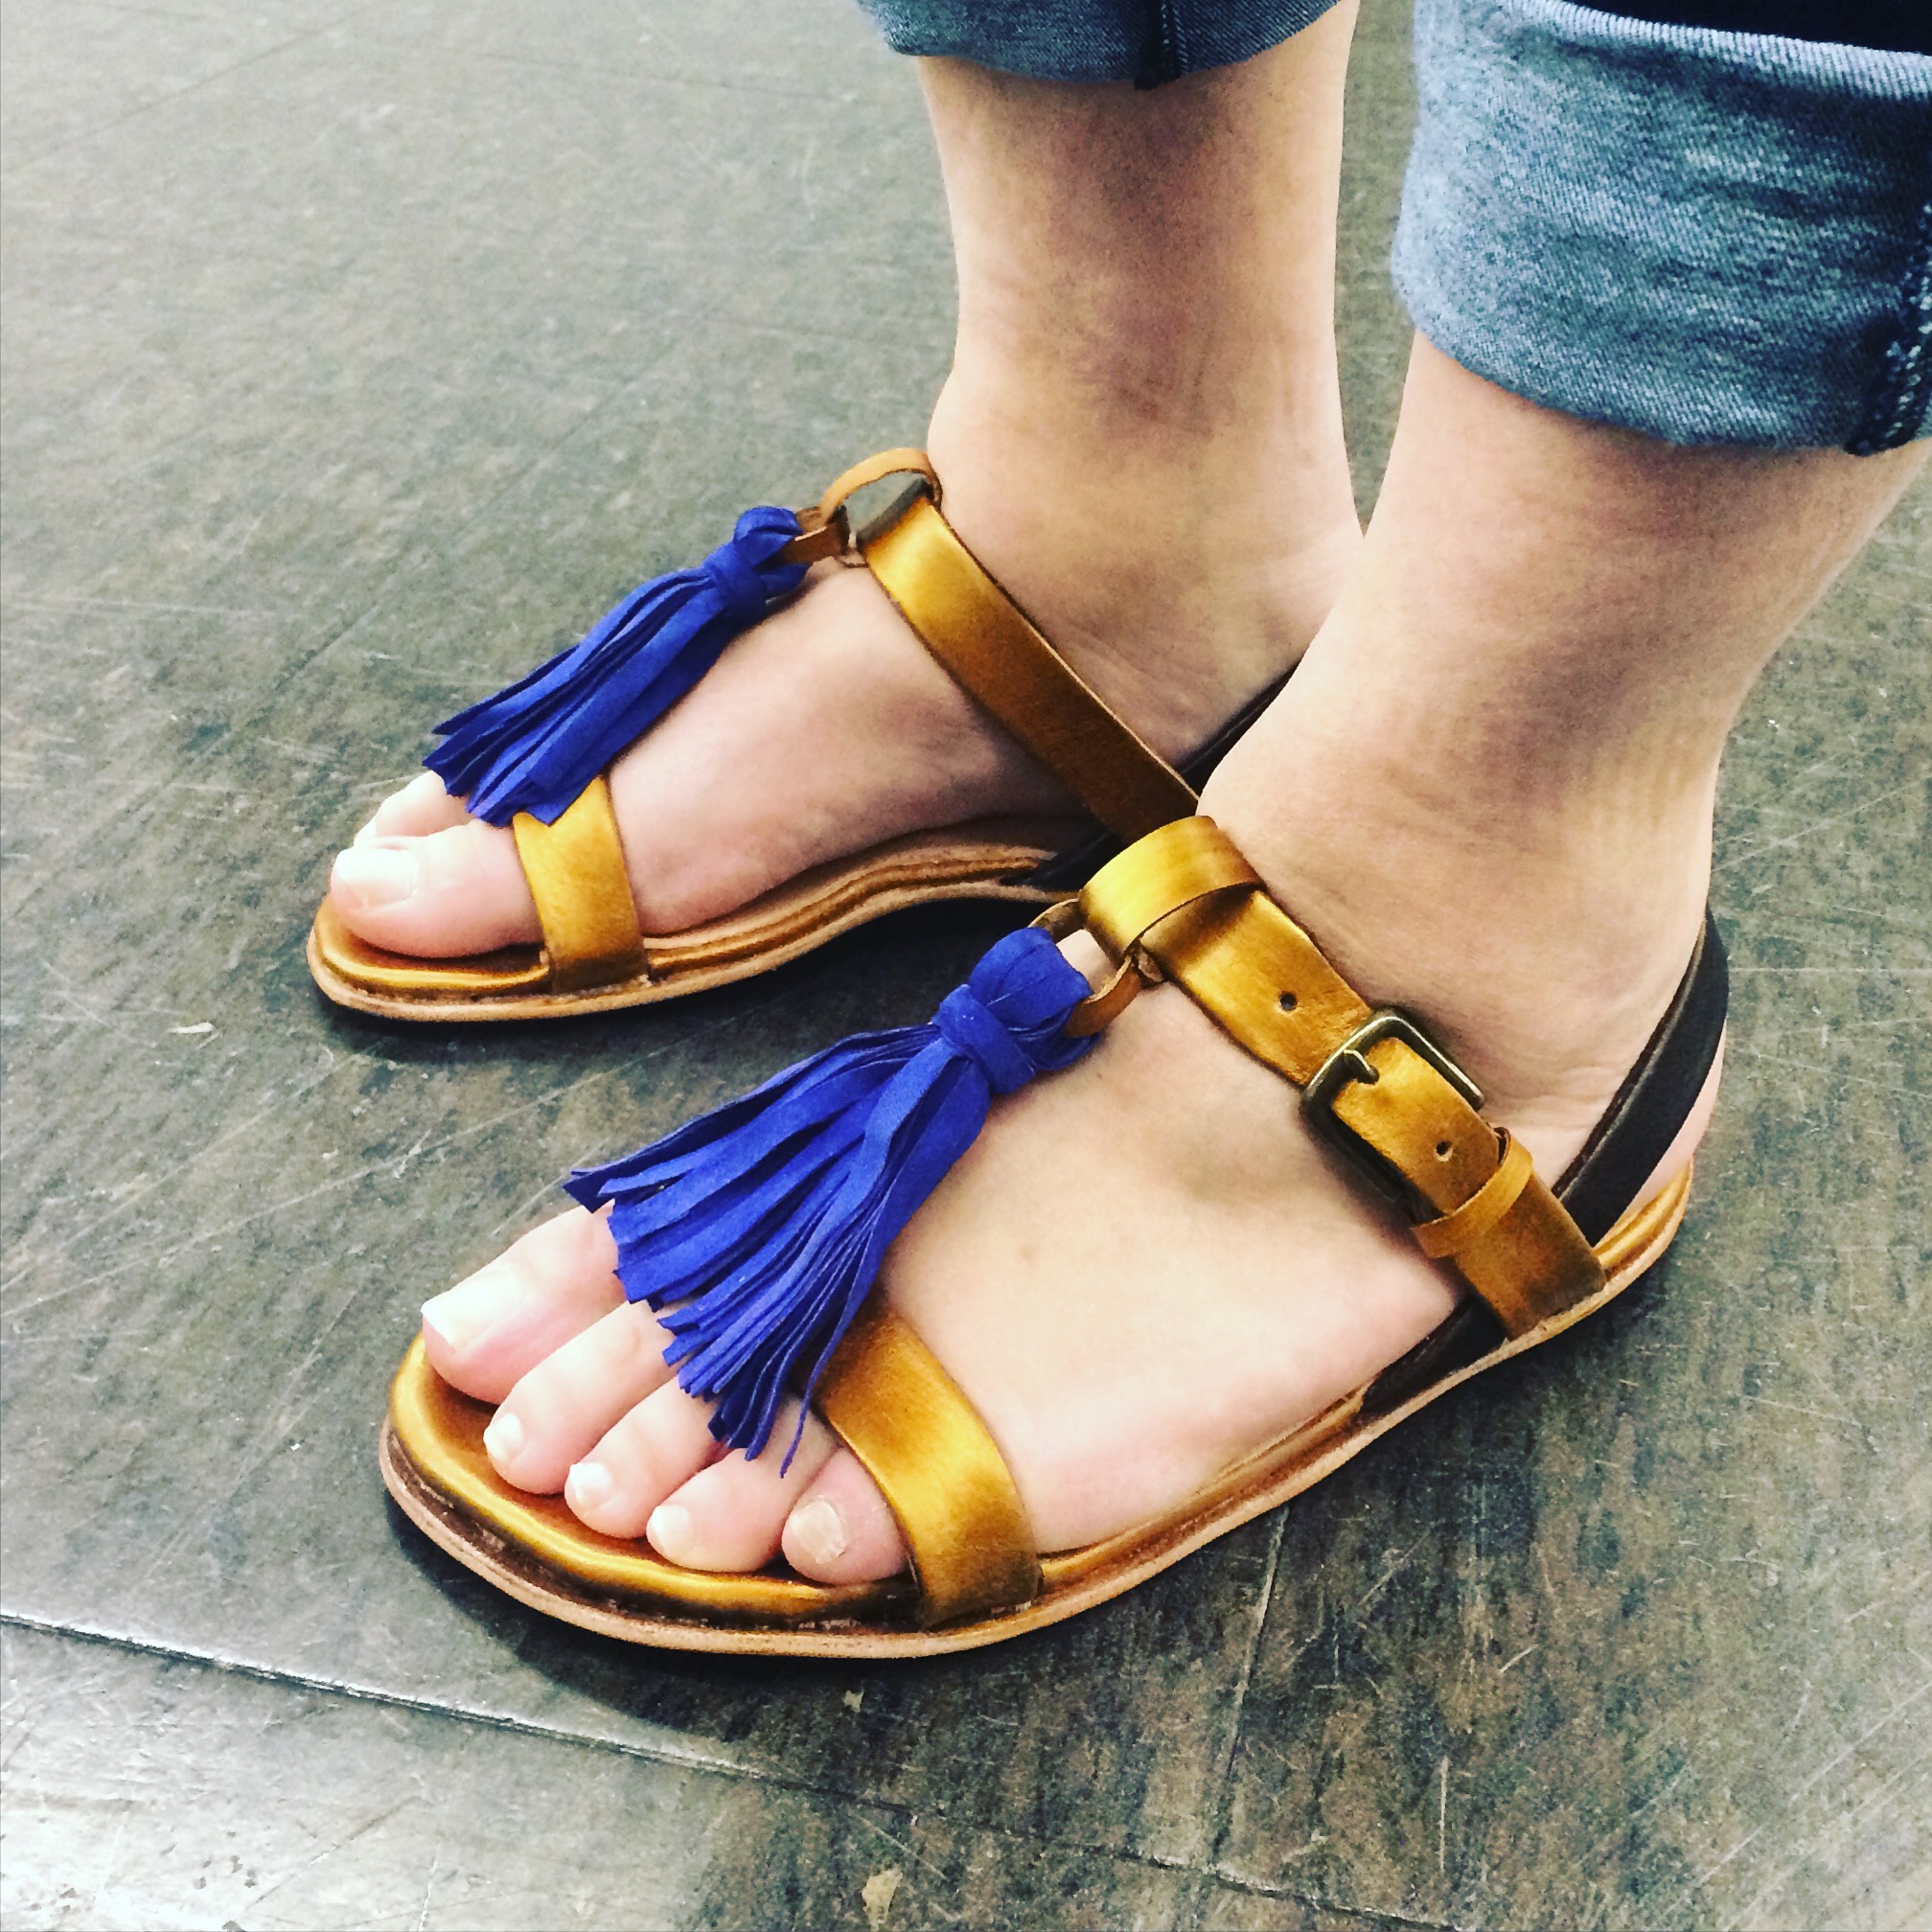
I did some sketches of different combinations of vamp strap (the one over your toes), ankle strap and tassel, and eventually settled on this design after some Instagram polling. I figured it would be fun to have the option to slip different coloured tassels on for different outfits.
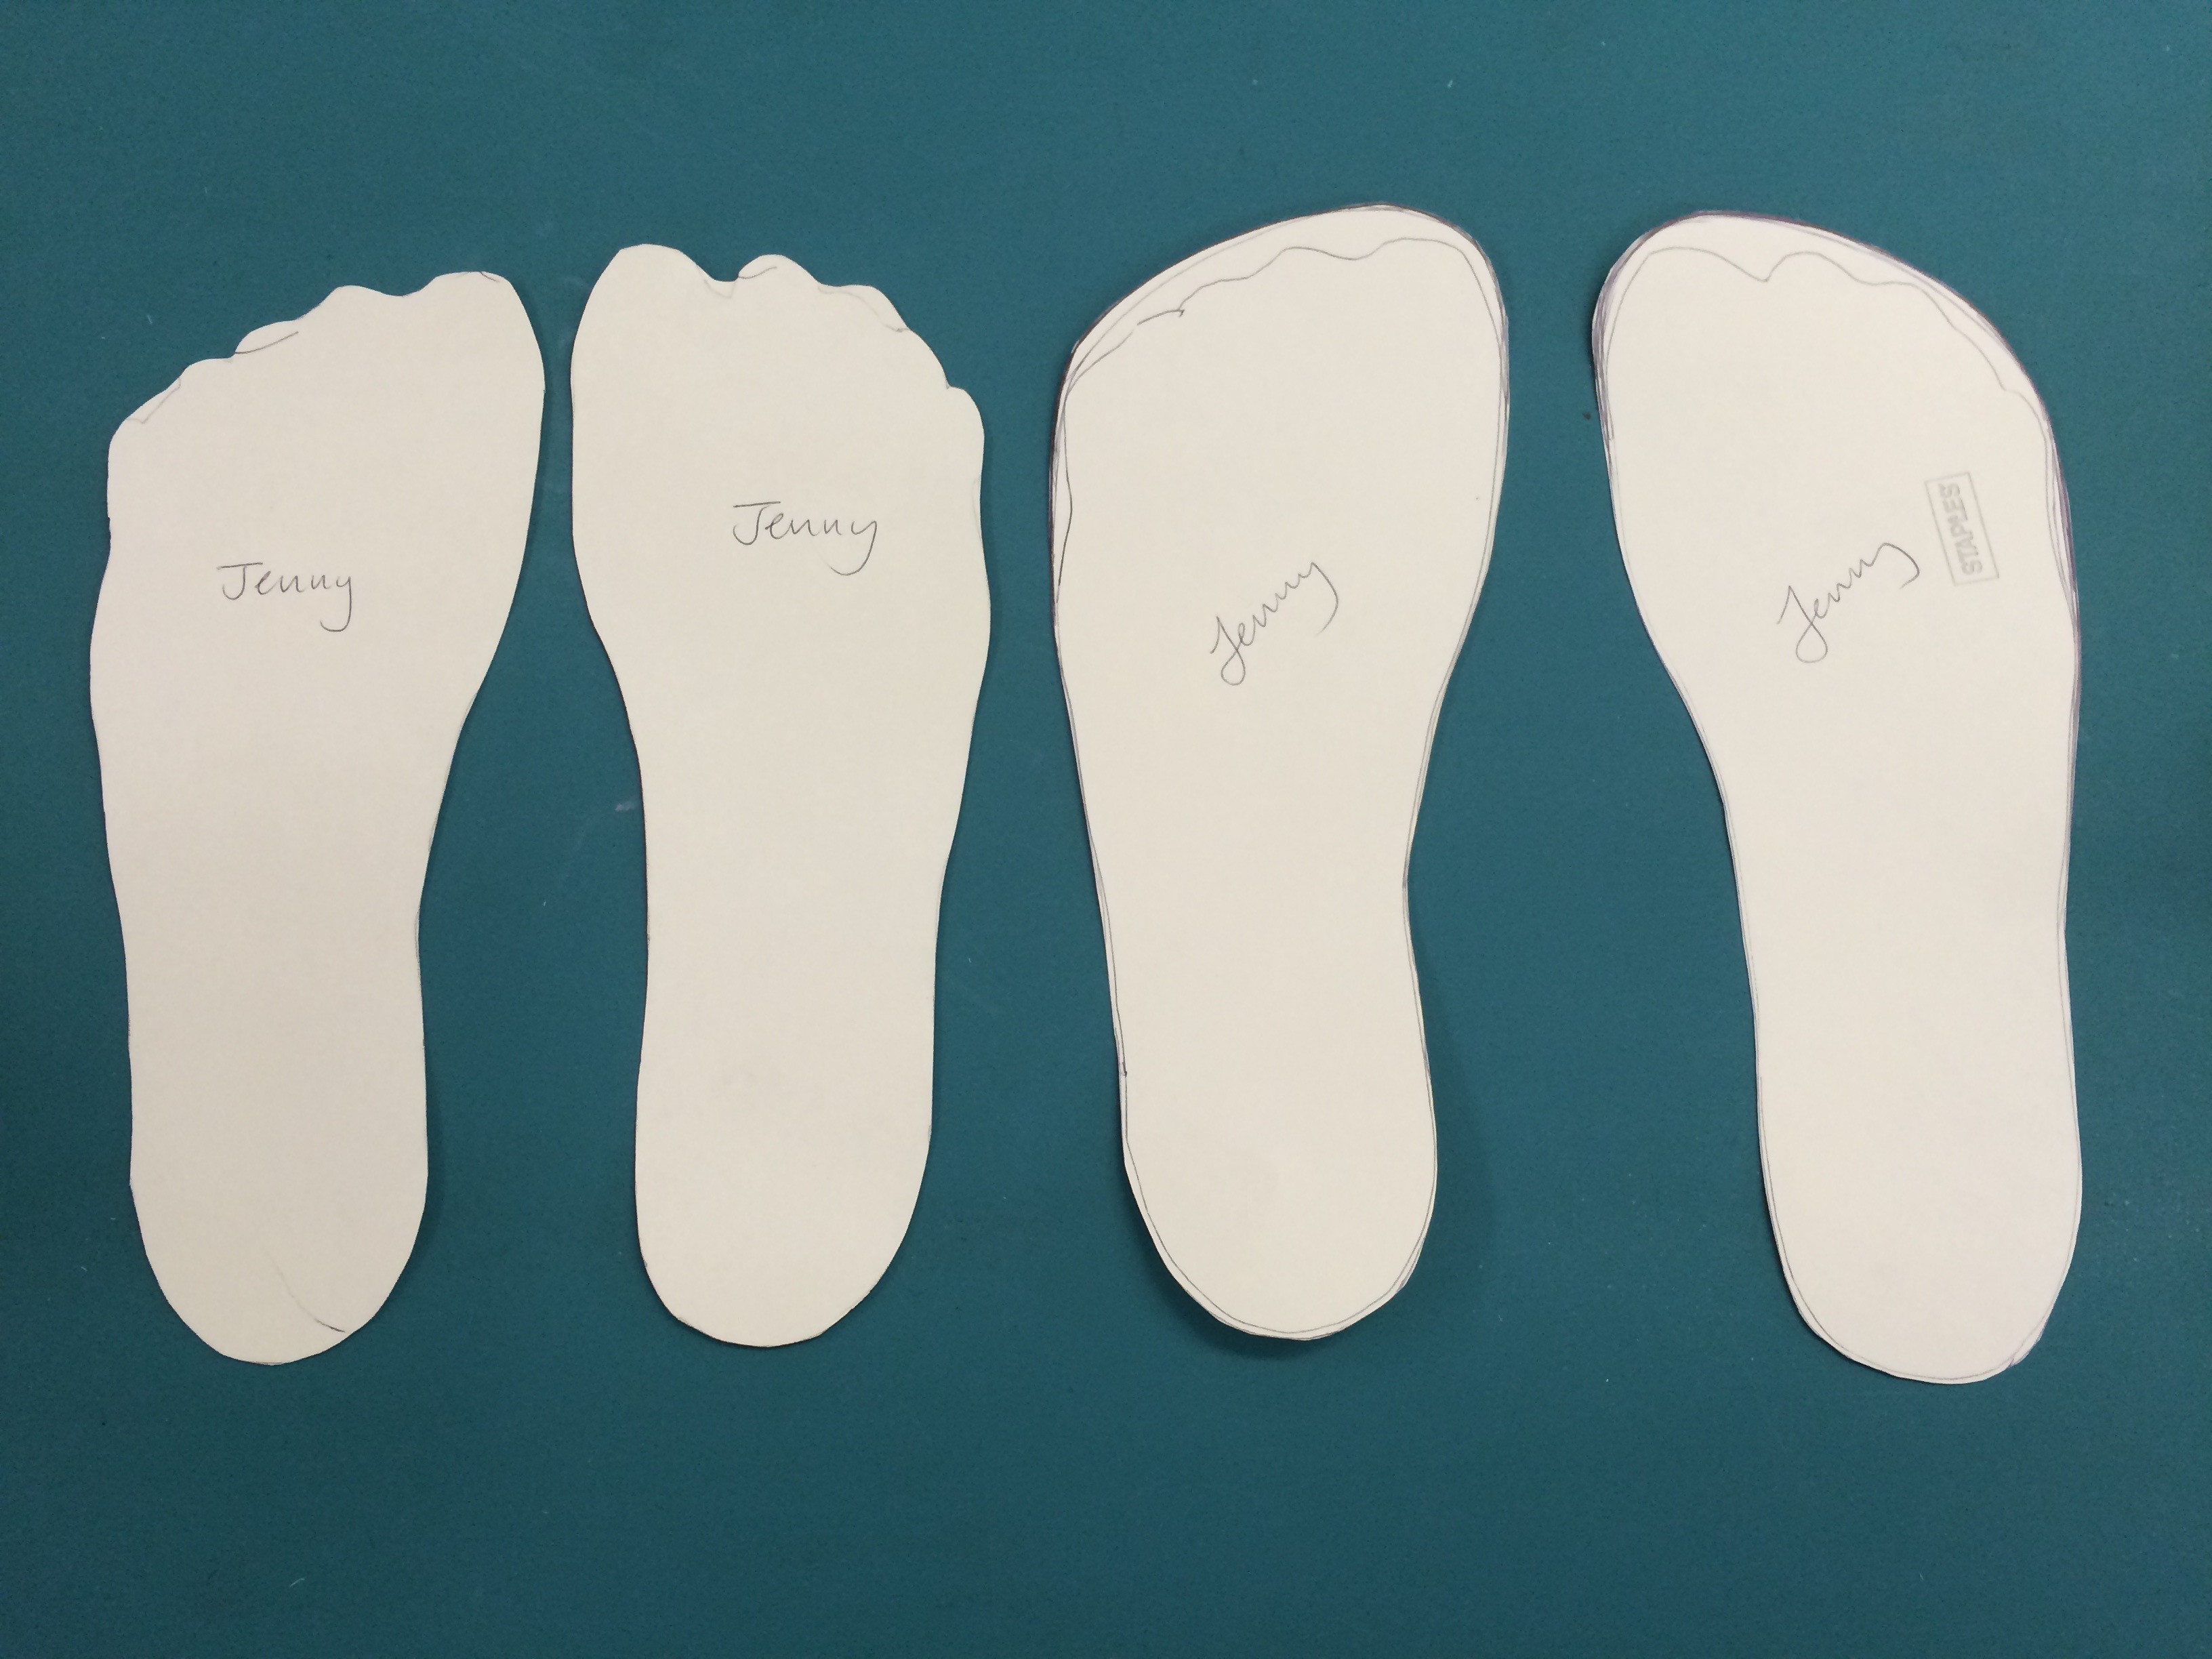
Sketches done, it was on to pattern-making! It began with tracing around our feet, which I’m pretty sure I haven’t done since I was 5. Confirmed: I have different sized and shaped feet. Joy of sandal-making: being able to make asymmetrical sandals that fit each foot perfectly! Then, we drew around our foot outlines to figure out our “midsole” shape (the midsole is the core piece of the sole around which the sandal is constructed – the leather insole goes on top, and the sole goes underneath).
Next came the straps, which was a case of trial and error and lots of masking tape. I think that sewing garments gave me a fairly decent sense of proportion so I started with 1 inch straps, and ended up with 1 inch over my toes, and scaled back the ankle straps to 3/4 inch which curiously looked the same size as the toe strap due to some optical illusion effect. I decided my straps would wrap around the edge of the midsole (rather than being inserted into holes in the sole), which meant I also had to cut little notches out at the side where they would go. We added seam allowances to the edges of the straps, and “lasting allowance” which was for the part of the straps which wraps around and ends up attaching to the underside of the sandal.
Here’s my paper sandal!
Paper shoe approved, it was on to the leather. Wowsers, working with leather is a lot harder than working with fabric. We cut our midsoles out of a heavy, stiff leather, which was then soaked in water and moulded with our fingers to come up a bit under the toes, arches and heel. The straps were cut out of a thinner veg tan leather.
However, it turns out that you can’t just use the leather like that. Oh no, that would be way too easy. The leather pieces have to be significantly thinned in many places – the edges of the toe in-lays, the edges of the straps, and basically everywhere. As I decided to do unstitched straps like leather bias tape, I had to do *tons* of thinning.
To do the thinning, you have to use a skiver, which is a tool which holds a razor blade. You scrape it along the back of the leather and it takes off tiny shavings to thin the leather down. Let’s put it this way: I will not miss skiving. So hard on the fingers! So easy to rip bits in the leather! And you have to press down so hard, with all your upper body weight, that by the end of the day you’re aching and exhausted. Clearly it’s something that one would improve at with time, but it was definitely one of my least favourite bits.
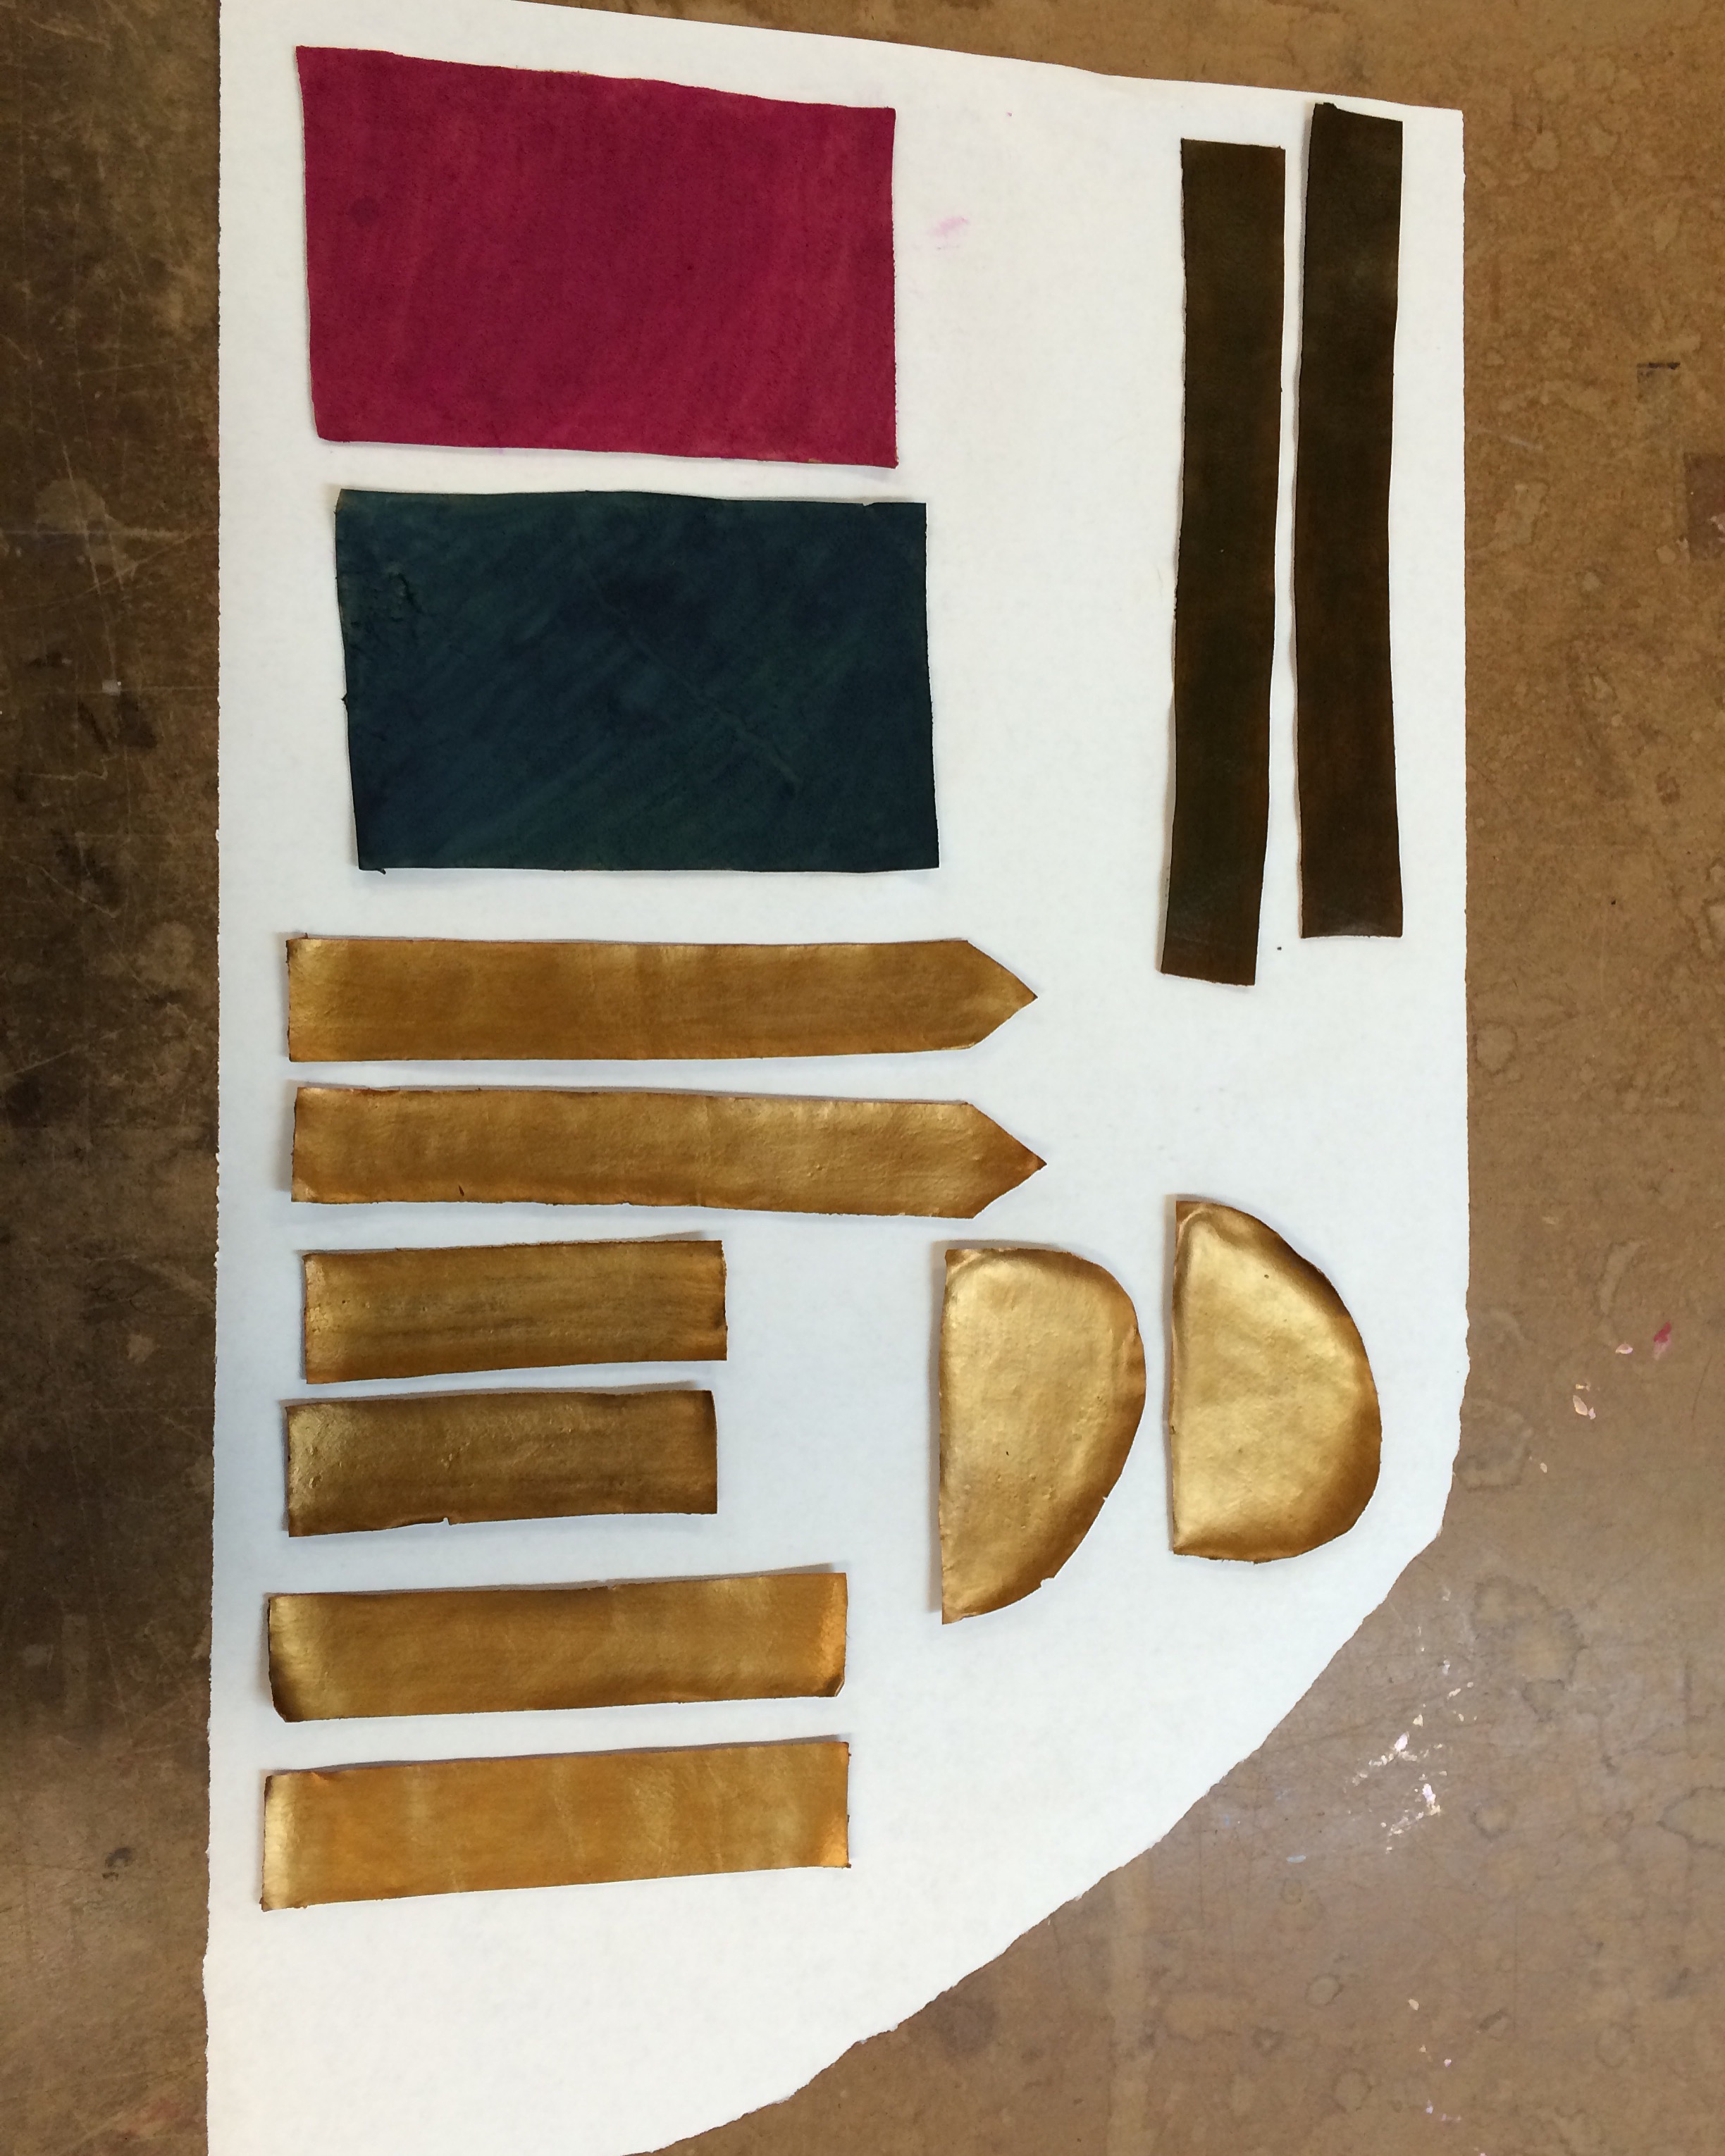
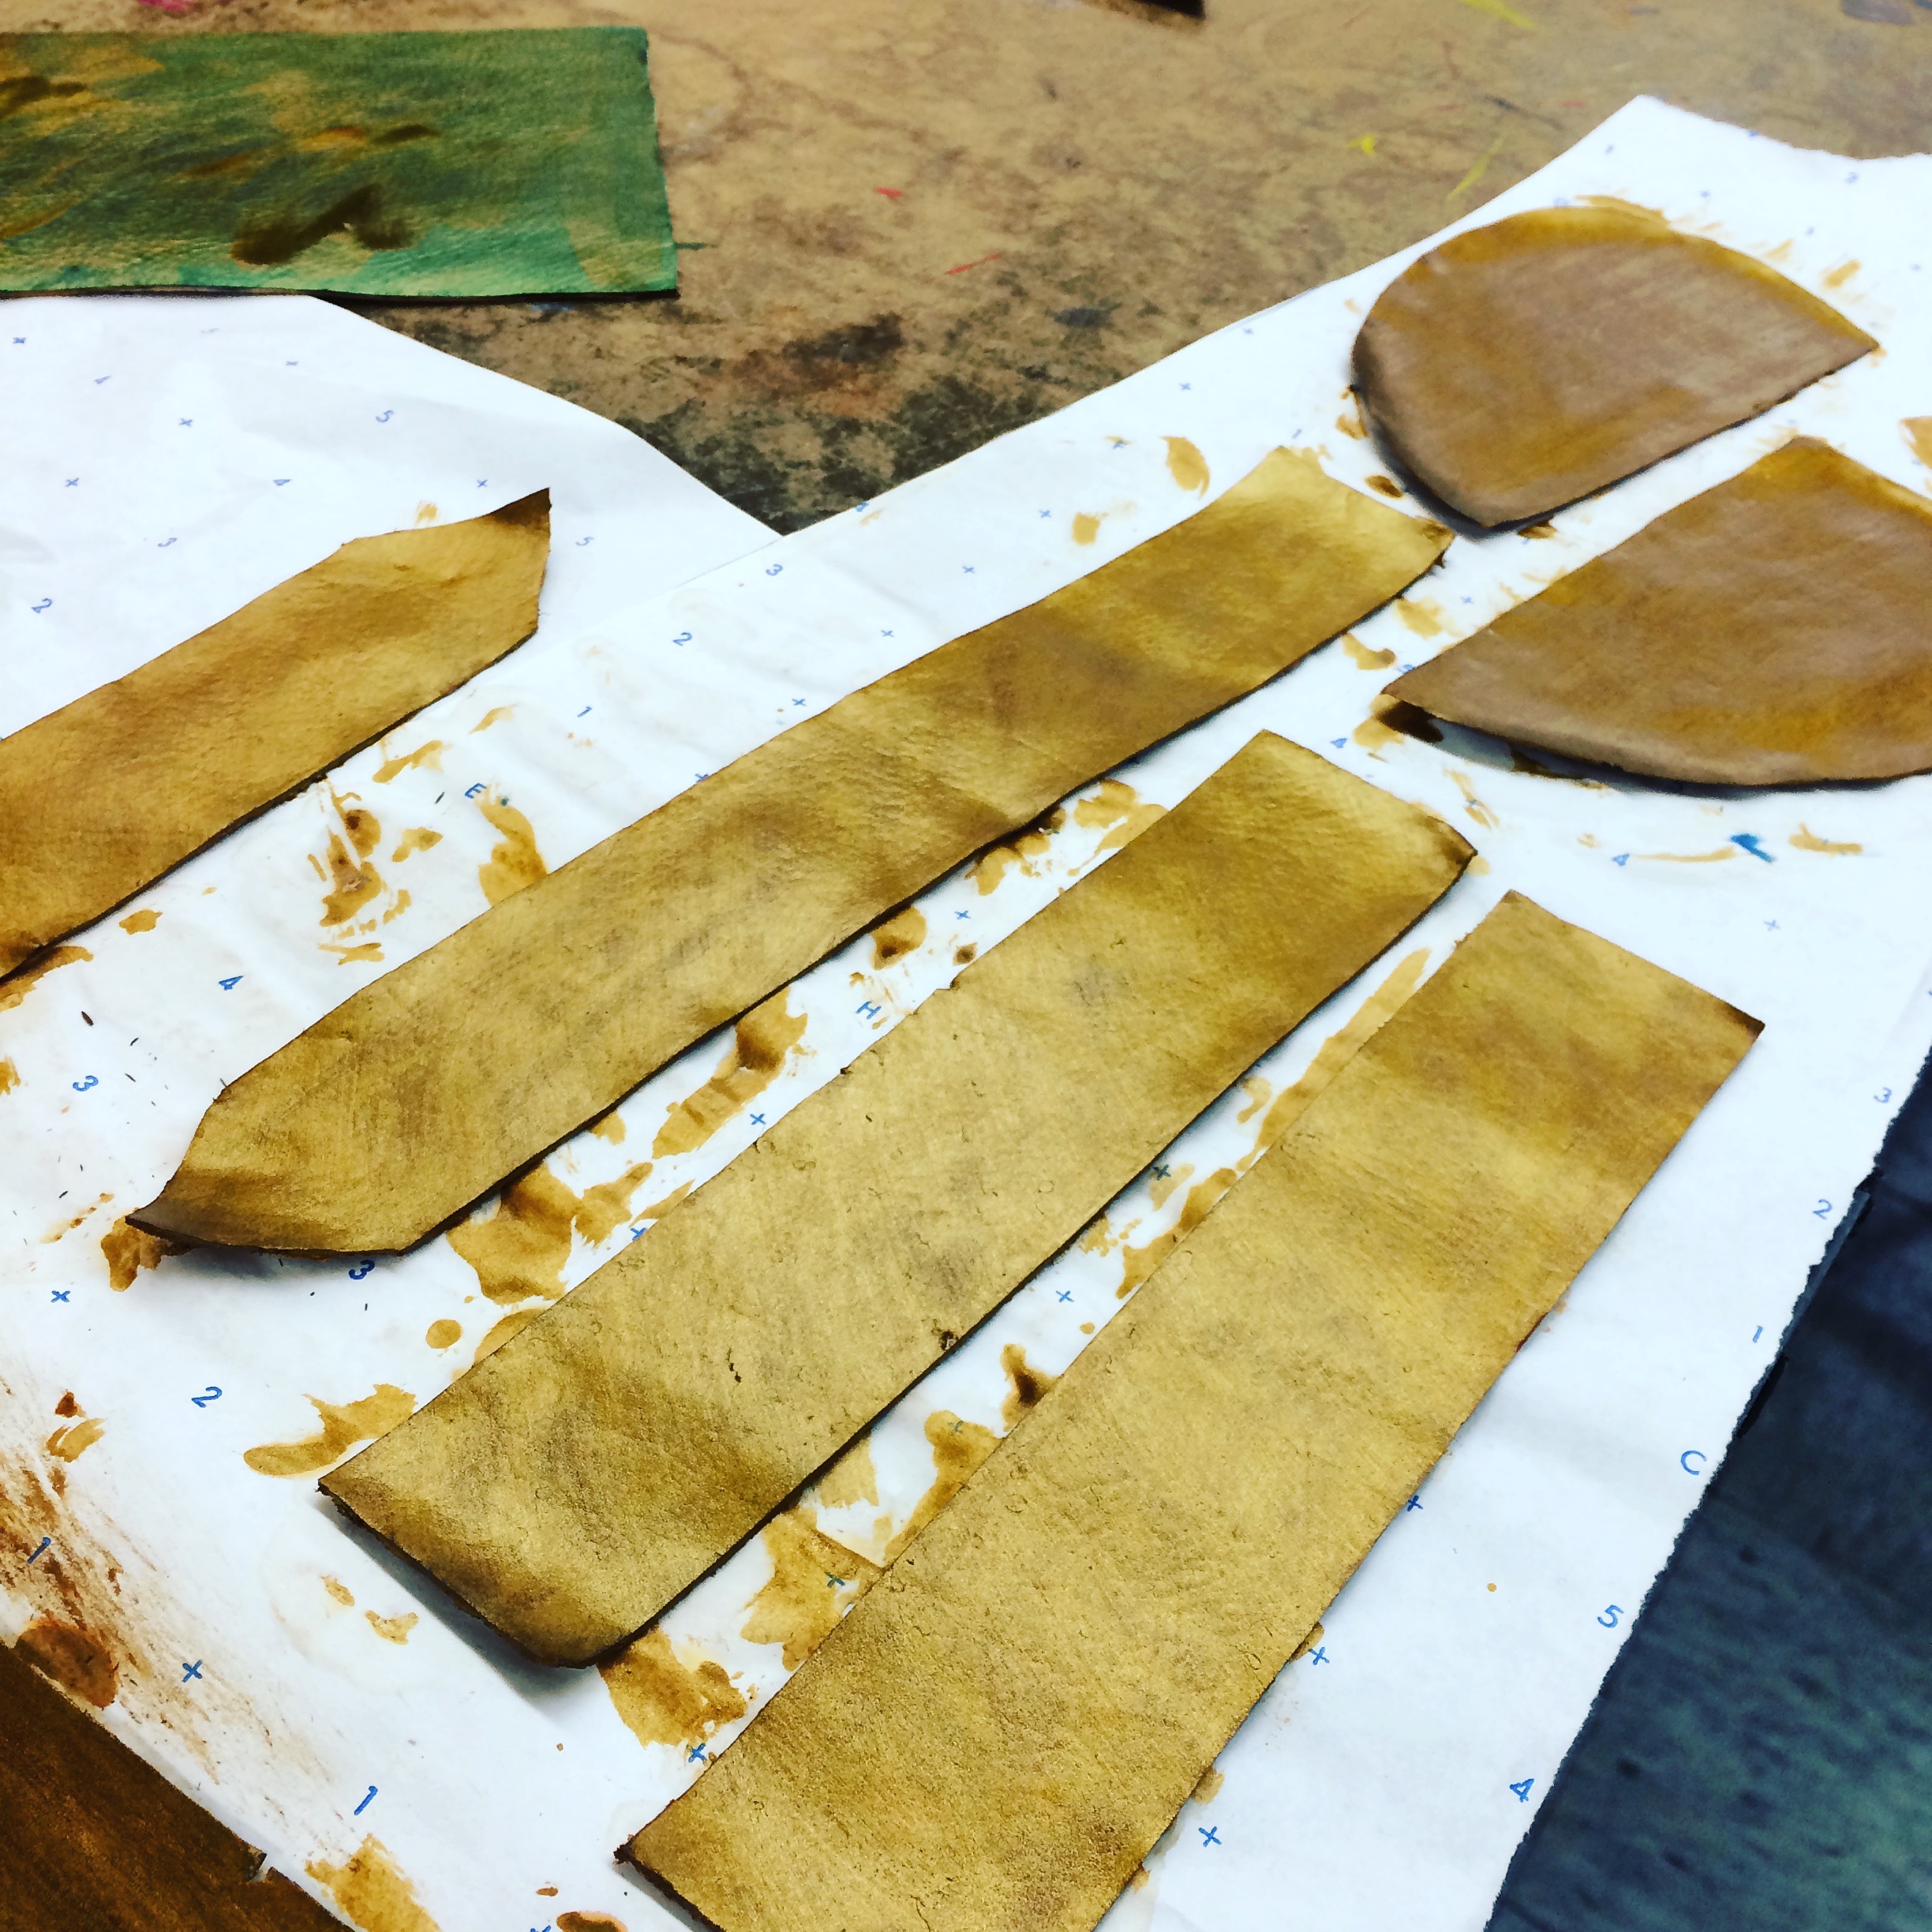
Pieces cut and skived, we then had a dyeing day. We used little daubers to rub water-based dye onto the leather straps, and then had to wait for it to dry before trying multiple layers, or different effects. I was a bit rubbish at this to begin with as I was trying to paint it on, but really it’s more like staining the leather – you just need a little bit, and to keep it as even as possible. However, my decision to go mostly gold helped as it took really well to multiple layers, and you can easily go back in and touch it up if you knick it later (yeah, maybe I did that a few times). In the end, my sandals must have had at least 6 layers of gold dye!

In addition to the main gold straps, I decided to make the back straps a darker brown, which required multiple layers of mahogany dye. For the tassles I experimented with bright pink and blue, but alas the leather turned out to be too thick in the end despite my skiving efforts so I went another route (of which more later!).
So all that was a solid 4 days work! What can I say: it makes you appreciate shoes, and realise they should probably be a lot more expensive than they are….
Come back soon for more sandal-making adventures as I move onto construction!
Have you ever done a shoe or sandal-making class? Did you continue on making them at home? I haven’t quite decided whether I have the patience to do it or the energy to get the various bits of kit, but once I recover from my exhaustion it’s a distinct possibility!

This article is very interesting, and yes I can see that shoes should be a lot more expensive with all the work you put in. I think they will look lovely in the end. Can’t wait to read you next installment!
I’ve taken shoemaking classes for a year and the workspace had a skiving machine… Which we were only allowed to use after learning to do it the old-fashioned way! Our knife was just that, a knife, and you had to angle it just right to get a clean strip off (instead of scraping it, which was scoffed at by our teacher) and sharpen it continiously. It took me four hours to get the hang of it!
If you don’t read her already, you might check out Tassadit at ruedesrenards.WordPress.com. She took a shoemaking course and talked a bit about about it on her blog. She also took a millinery class or two, and has a lovely collection of hats to show off. And of course, she also has plenty of “regular” sewing to share, too.
I am so jealous–I would LOVE to do a class like this. And maybe I’m just a nerd, but I found this post talking about the process fascinating. Looking forward to the follow-up post!
Well done Jenny!
I’ve never done this but I did once have ankle boots made for me.
Royal blue with red across the toes, yellow tongue and flap 3″ long round the top.
The absolute bliss of wearing something on my feet that truly fitted “my feet” is a memory I still hold 20 years on, Sadly my boots were stolen when my home was burgled!
My feet are only size 3.5 so either a small footed robber or he had a small footed friend, We never did recover any of the items and I miss my boots the most, after 10 years they still looked new.
I’m sure the wearing experience will make the pain worthwhile :~)
This looks like so much fun! Can’t wait to see your finished sandals!
Wow , you are great ! Shoes are very hard. I made some for Taunton press, SewStylish about maybe 7 or 8 years ago. They were on the cover. I think they were green with different colored dots. I just made your Washington dress I think it is going to be my new summer dress! Fabulous pattern.
Wow! That does look difficult – cannot wait to see the finished project. This may be like the upholstery class I took – it taught me why the upholstery professionals charge so much.
wow! this is super cool! my favorite sandals were traced & hand-made in leather (college-days, ah!). unfortunately, didn’t listen & wore them into sea water & they bit the dust. enjoy your new fun! 🙂 such a great idea! 🙂
I made sandals following very much the same process – except maybe the skiving, as I can’t remember doing any of that – when I was 13 and attending a Steiner school. I had forgotten how much work it was! I think it took us a whole term of leatherwork classes. We all managed to make Roman style sandals to fit our feet, but they were not the slickest looking footwear… the fact that I’d stuffed up and attached the buckles on the inner ankles irritated me every time I wore mine :(.
I look forward to hearing about the rest of your sandal making adventure, and I hope you were delighted with the final result – so far they look awesome!
Fascinating! Shoe making is definitely something that has caught my imagination and I’ve thought about trying it one day. But yeah, it does seem like a heck of a lot of work! Thanks for documenting this so well.
This was so fun to read about your shoe making process! I bought the self published book How To Make Your Own Shoes by Mary Wales Loomis, made a couple of pairs of lasts and shoes using her methods, and then I took a short class with Prescott & McKay when they came to the States last year. Their method is pretty much the same as the one used in the book so I was ahead of the curve, and I ended up using a kit from I Can Make Shoes (based out of the UK) to expand my shoe-making knowledge. I have all the materials for making my own shoes at home and it has been a really fun and challenging project with a steep learning curve, but I have definitely seen improvement with each pair I have made. I love learning how many different ways there are for making ones own shoes so I am always interested in other people’s process- wetting the leather for the sole to curve the outward edges up and cradle the foot is totally new to me and I love the idea- I want to try it at some point but so far I have only made covered flats and heels, no sandals. Anyways, thanks again for sharing your experience on your blog and on instagram!
Wow! I had no idea the amount of work involved, especially the skiving! Looking forward to seeing your creation.
This is so interesting to see. I hadn’t heard of skiving which probably would have been useful for my recent sandal make. I used a pattern from Atelier Louise here in Australia and went it alone. The result was utterly amazing and I sometimes have to just go and look at them and stroke them… when I’m not wearing them of course. You can see them on my blog if you’re interested 🙂
I find shoe making so fascinating. I’ve watched several videos of the process to make high end shoes. I love the gold you chose and look forward to hearing more about the process.
I have made shoes — but they’re moccasins, so its a much easier process as far as the construction goes.
I’ve been wanting to make myself some sandals since I’ve started leather working; really enjoyed your post and love the sandals you made. I wanted to chime in about the skiving–I had a totally exhausting experience skiving a large piece of leather once. And I was not fond of it. I use the same tool you have pictured (and from what I’ve seen, the pros do prefer a sharp knife). Just as you described, it took a lot of weight and strength to get it done. Well, i later took a class at Tandy Leather, and after watching me struggle, the teacher explained that the cutting tools from Tandy require sharpening and/or polishing right out of the package. He sharpened my blade for me, and now I just strop the blade before, during, and after using it to keep it cutting easily. And it cuts with very little pressure. When it starts to drag, I strop with a polishing compound, and it cuts smoothly and easily again. Made a world of difference. So I’m curious, did your teacher instruct you to strop any of your tools as you worked?
AMAZING!
I have always had problems getting shoes to fit. When I was 9 years old I went from size 4 girls to size 9 women’s in less than 3 months. It meant new shoes almost every weekend – I was on first name basis with the owner of a shoe warehouse, and knew the inventory as well as the staff did! They let me check out the new inventory before it hit the shelves. Thank you, Jerry!
I have very wide feet with a high instep, long toes and weak arches. For most of my life, I have had to wear mens footwear to get the width I need. I have never thought about making my own footwear.
I have been sewing since I started grade school and have been drafting my own clothing patterns long before I ever took a Home Economics class. I will tackle anything once.
Thank you, EVERYONE, for all the great references – this is definitely a possibility!
How cool that you got to design your own sandals! Looks like hard work but a lot of fun!
L
My first time visiting your blog and I’m loving it thus far! Your inspiration for your sandles are lovely! I’m anticipating the final result.
I am currently a rather “fresh” apprentice to a shoe maker I stumbled upon in my area. Making shoes is difficult, just as others state. However, it is a very rewarding craft/trade- as I’m sure you know. Just like sewing, no?
At the moment, I tend to work solely with fabric to make my shoes. My tool belt is lacking, so working with leather isn’t as fun. To skive my leather, I currently use a teeny tiny razor blade. It’s awful stuff, and takes up a lot more time than I would like, but it gets the work done!
~A
Oh, cool! Sewfisticated usually has leather scraps, maybe I’ll play around someday. It would be cool to have sandals I don’t trip on.
Great job! Shoemaking can be time consuming for sure. I started making sandals combining thin leather and suede for the uppers, and purchasing thicker leather for the footbed and foam for the soles. They are so, so comfy. They totally formed to my feet. I am actually working on a line of fun and colorful sandal strap sets for people who have the shoemaking bug. They can make their own shoes to fit their feet perfectly.