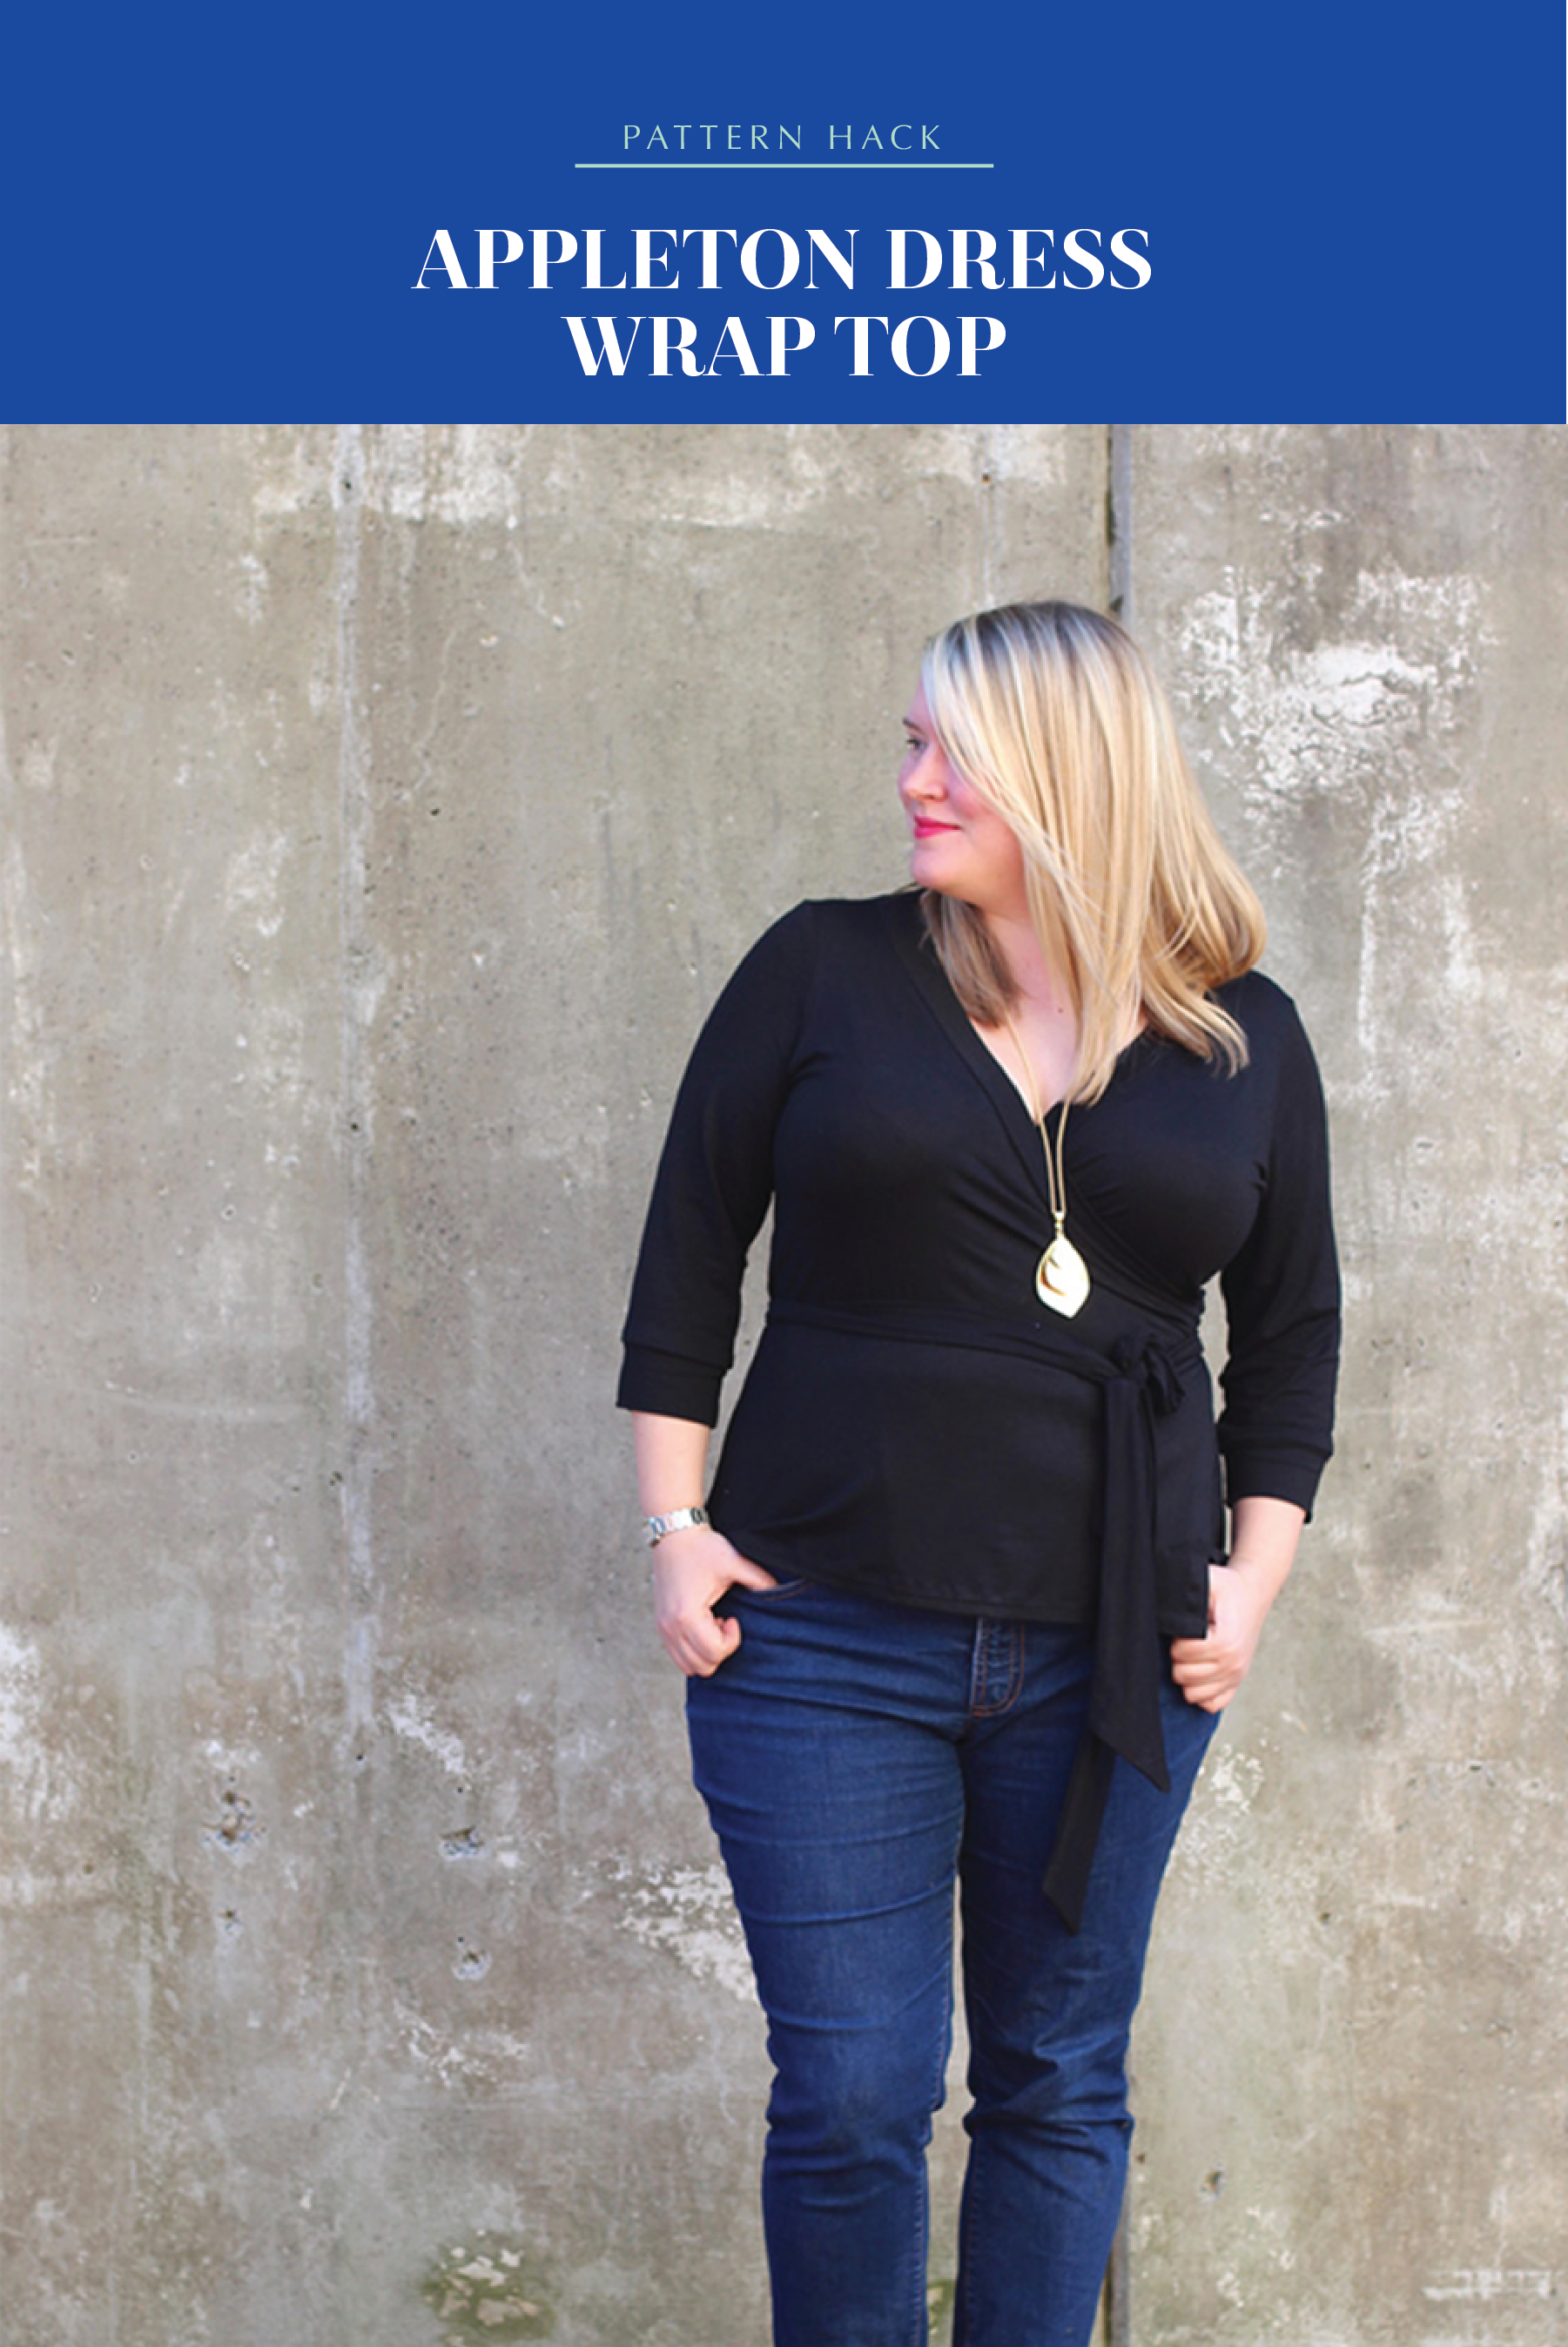
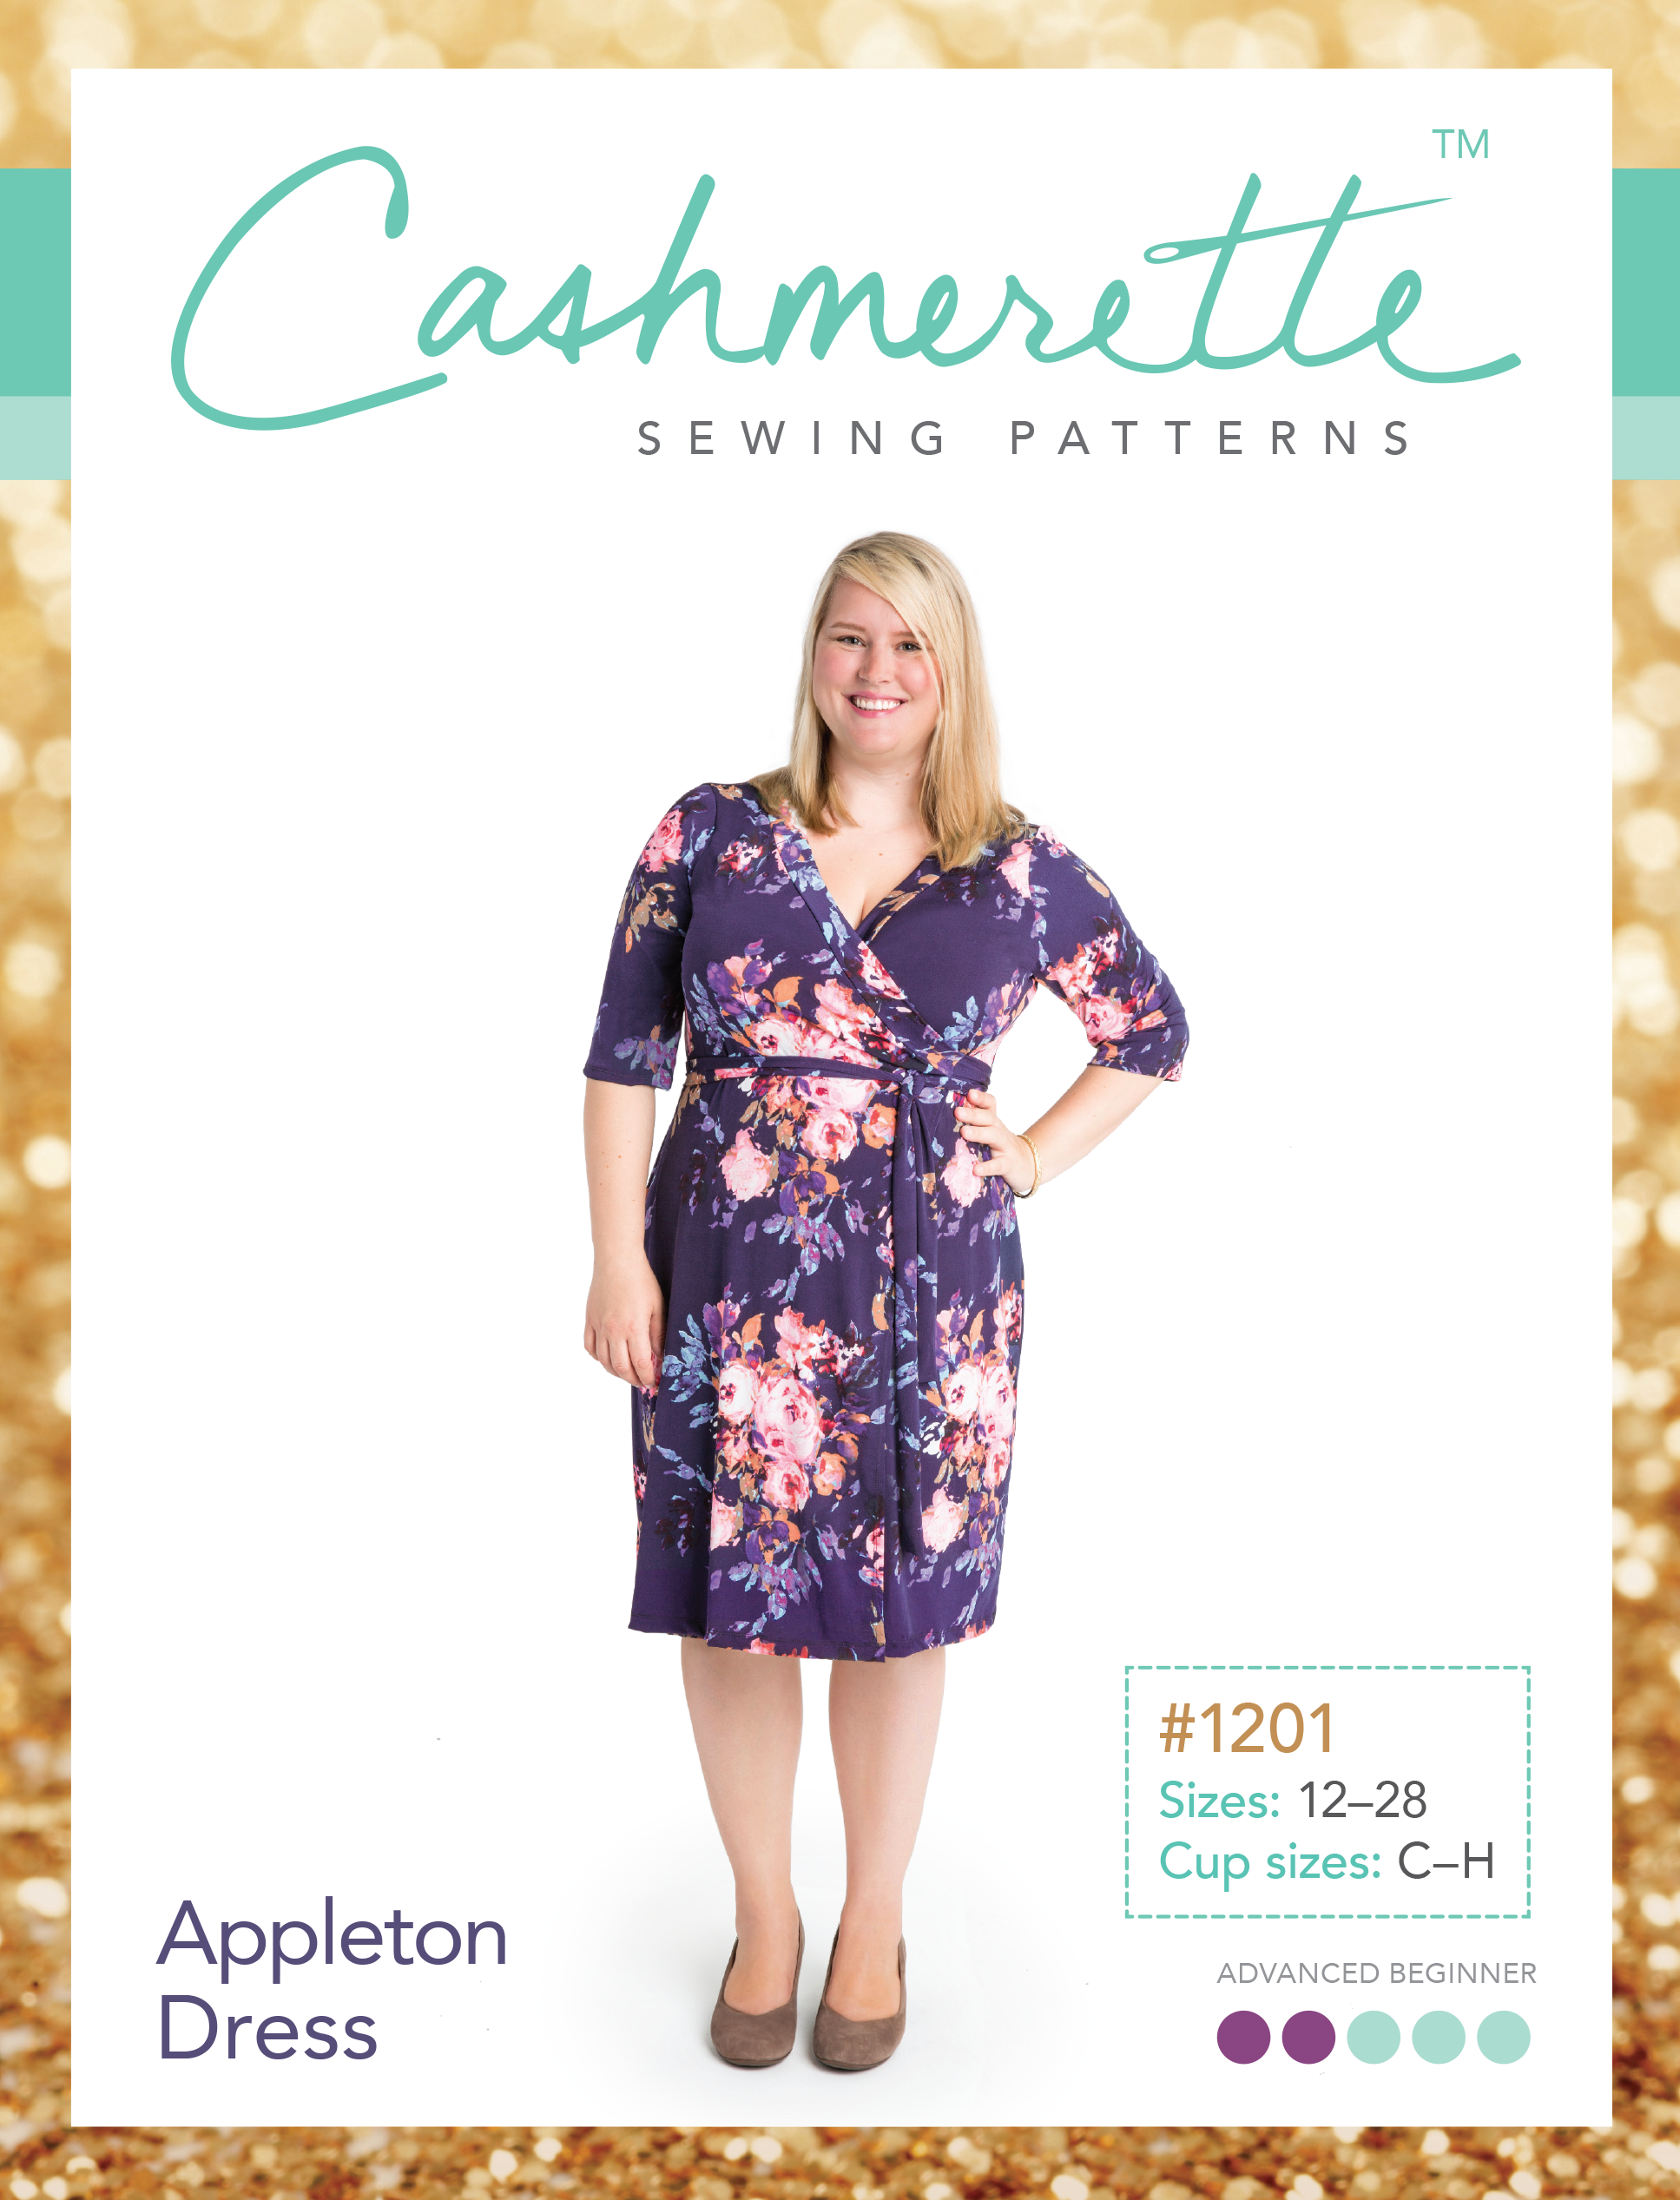
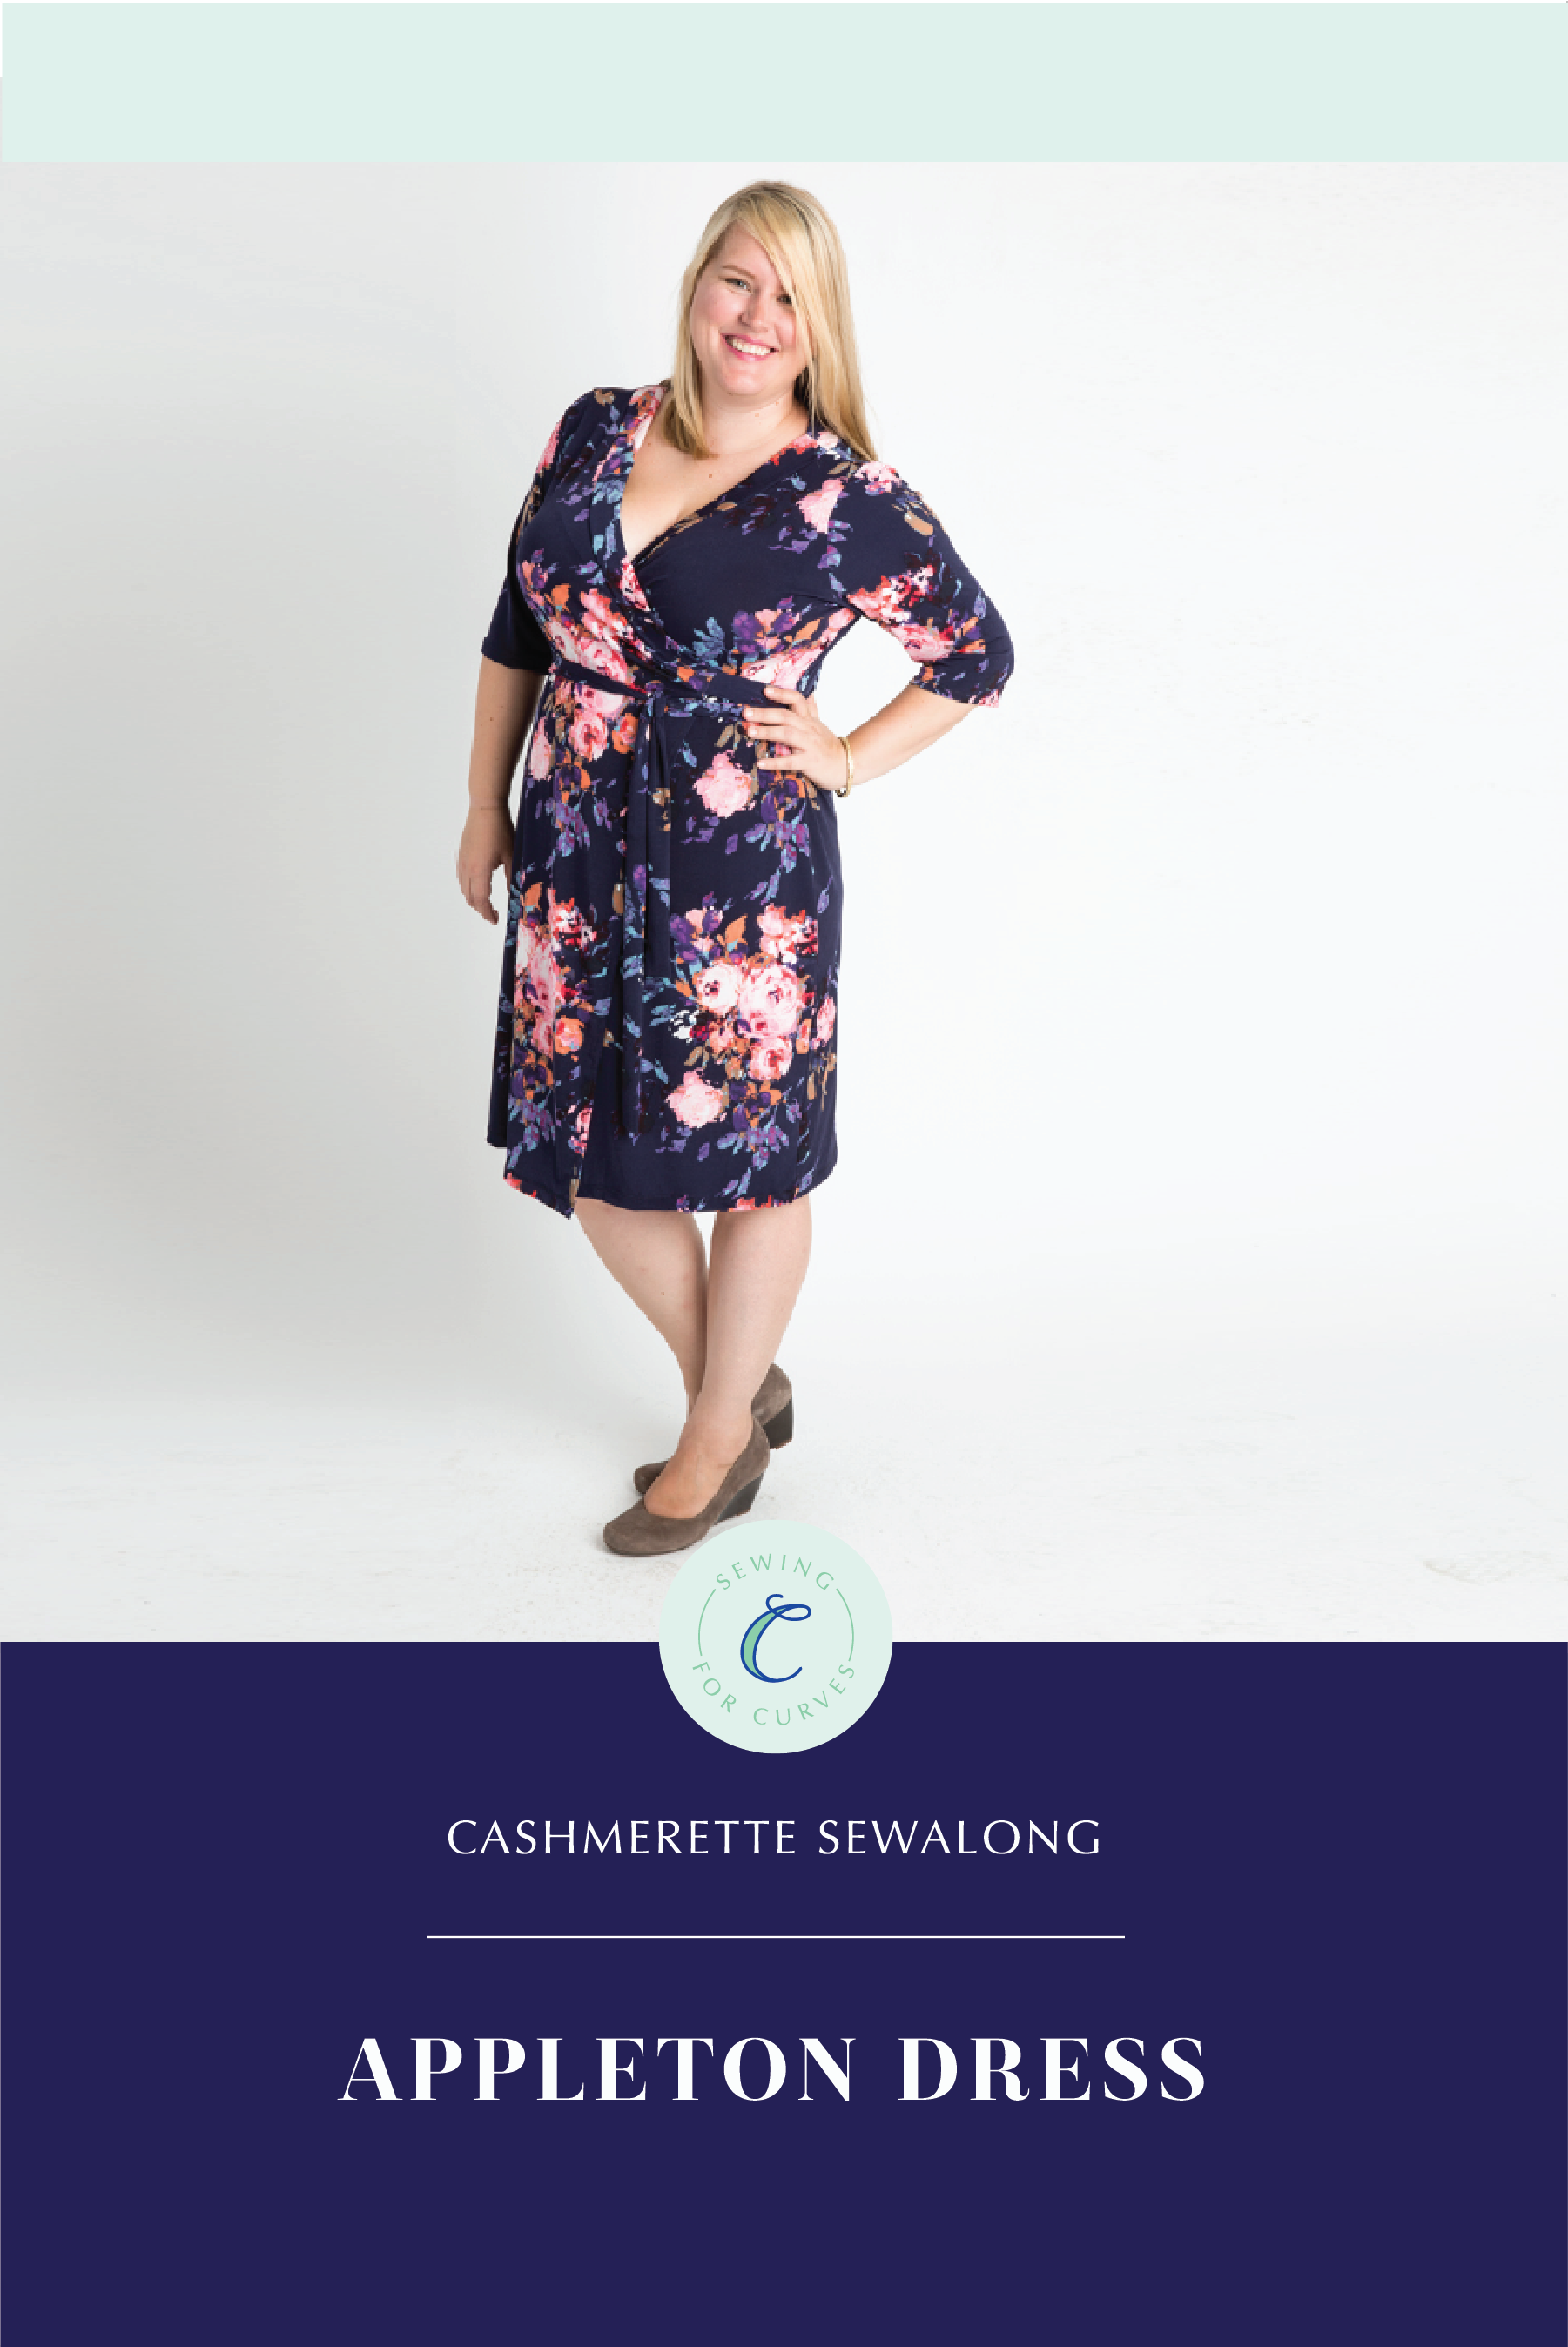
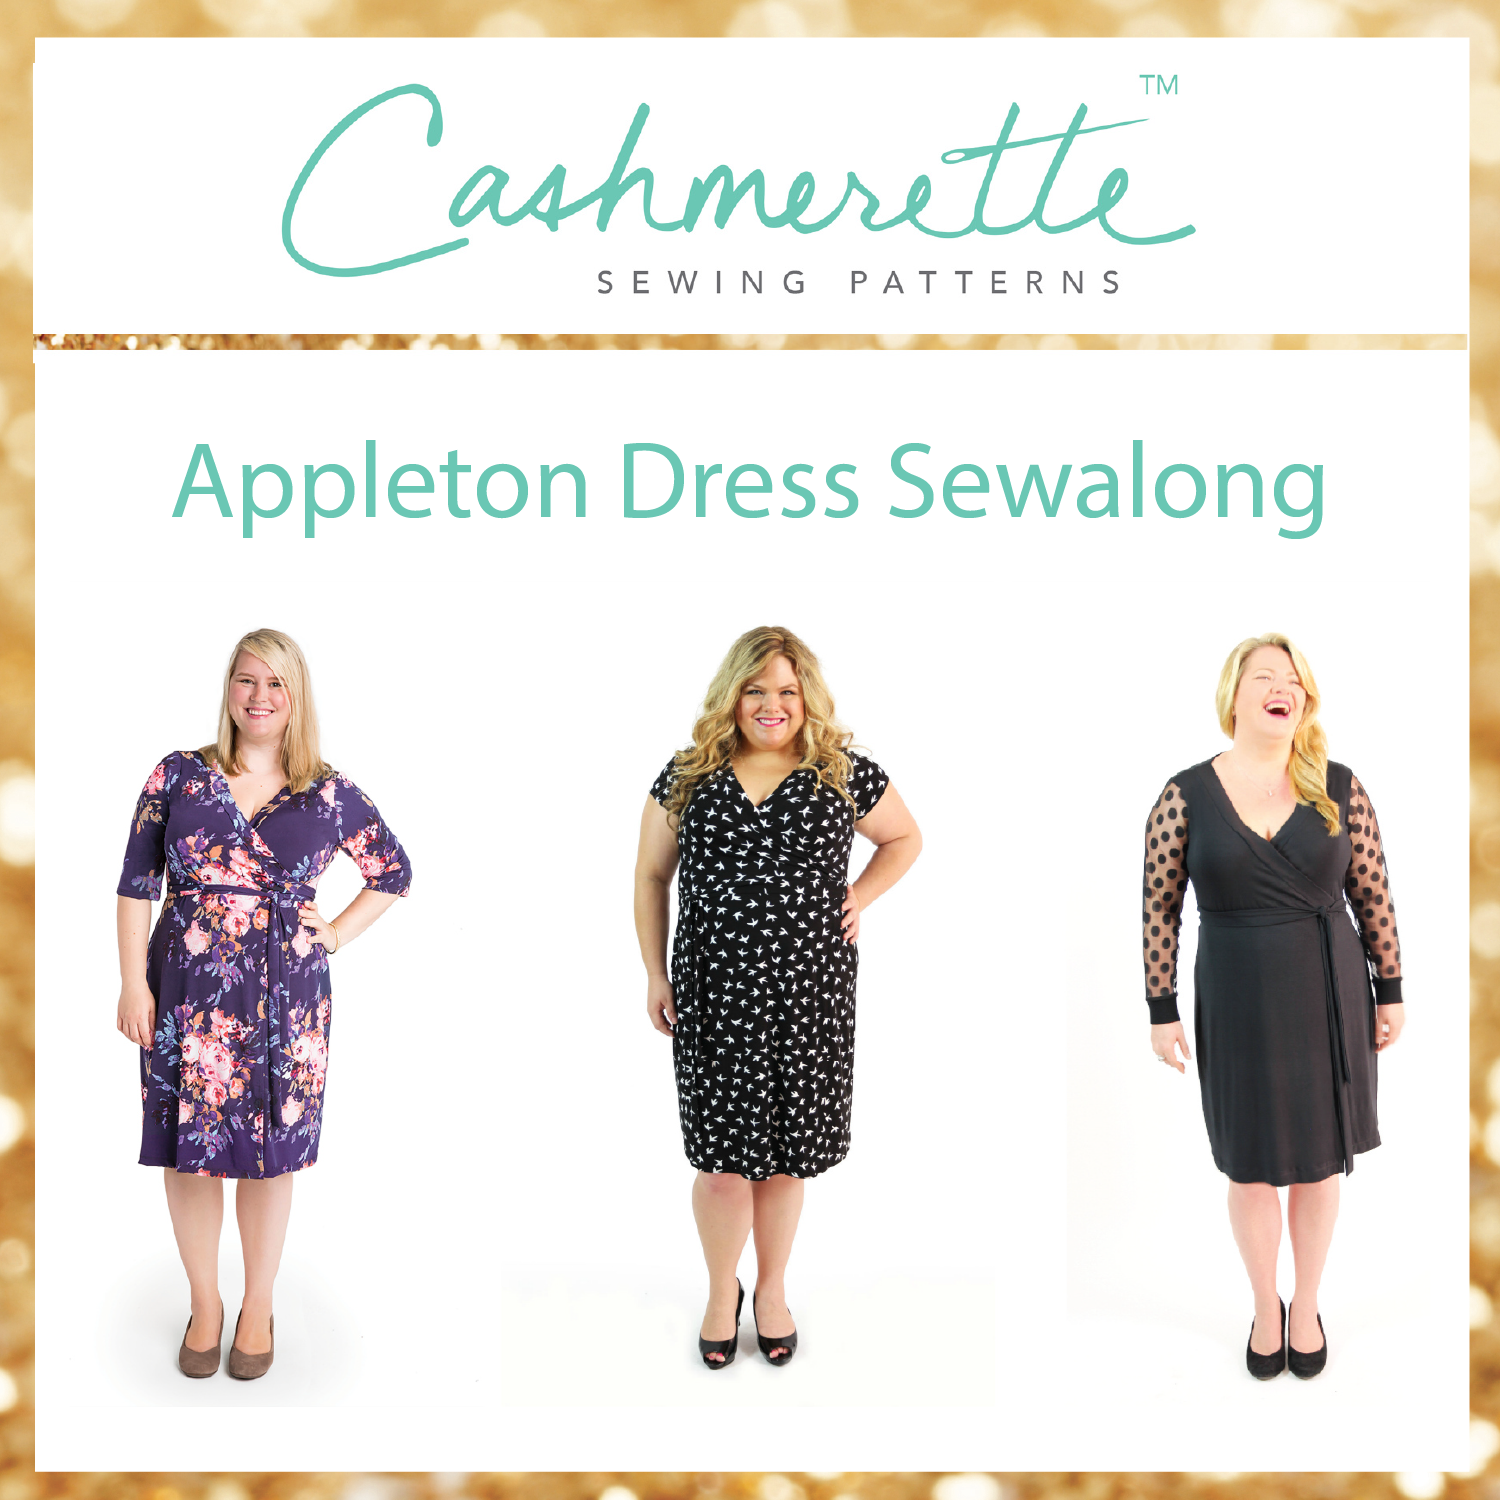
Since I launched the Appleton Dress I’ve had requests for an Appleton Top hack (and I’ve already seen some cropping up on Instagram!), so today I’m sharing how to transform your Appleton Dress into an Appleton Top. Wrap tops are so, so versatile when you’re putting together an outfit of separates and I think they always look a little more polished than a sweater or cardigan. Ever since I made this one I’ve been wearing it incessantly…
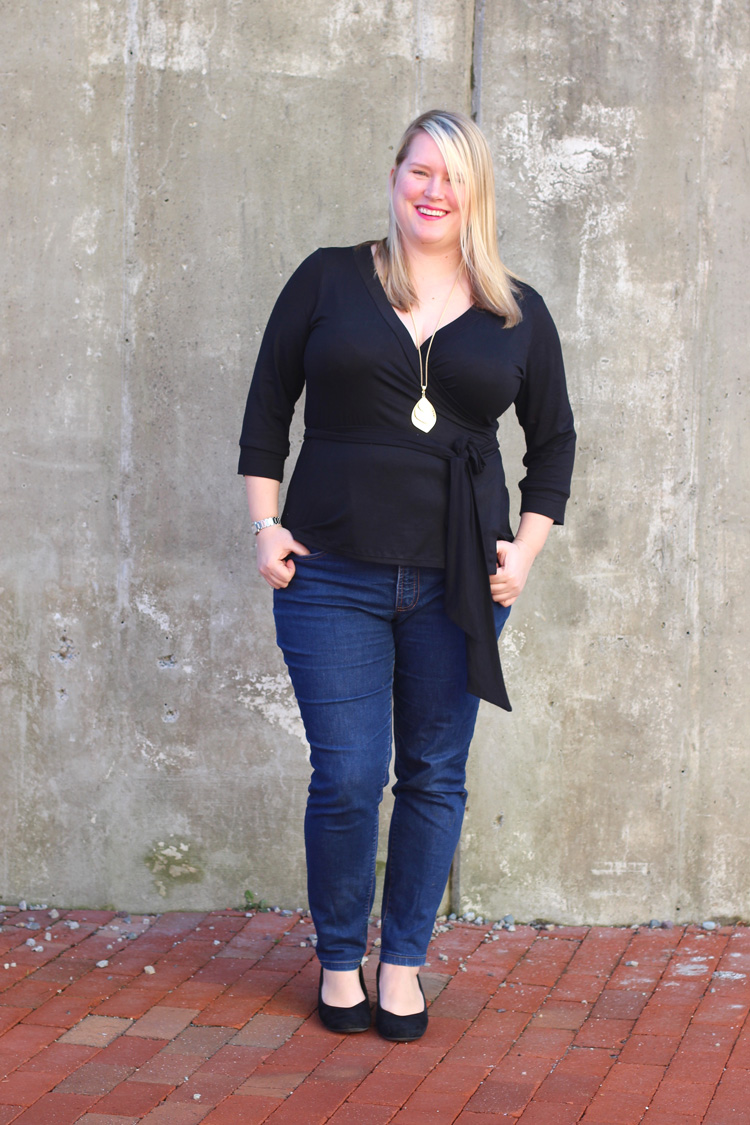
I love wearing my Appleton top with jeans – the mid-hip level suits me, though obviously you can adjust the hem length to whatever works for your figure best (for reference, I”m 5’6″).
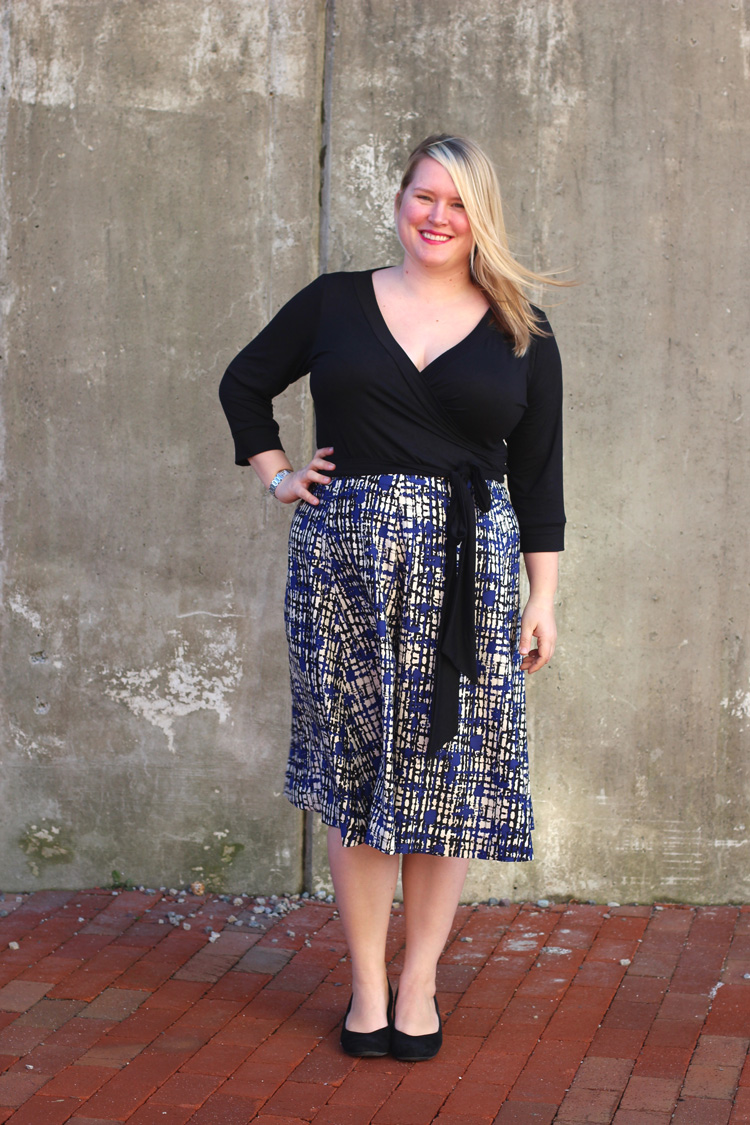
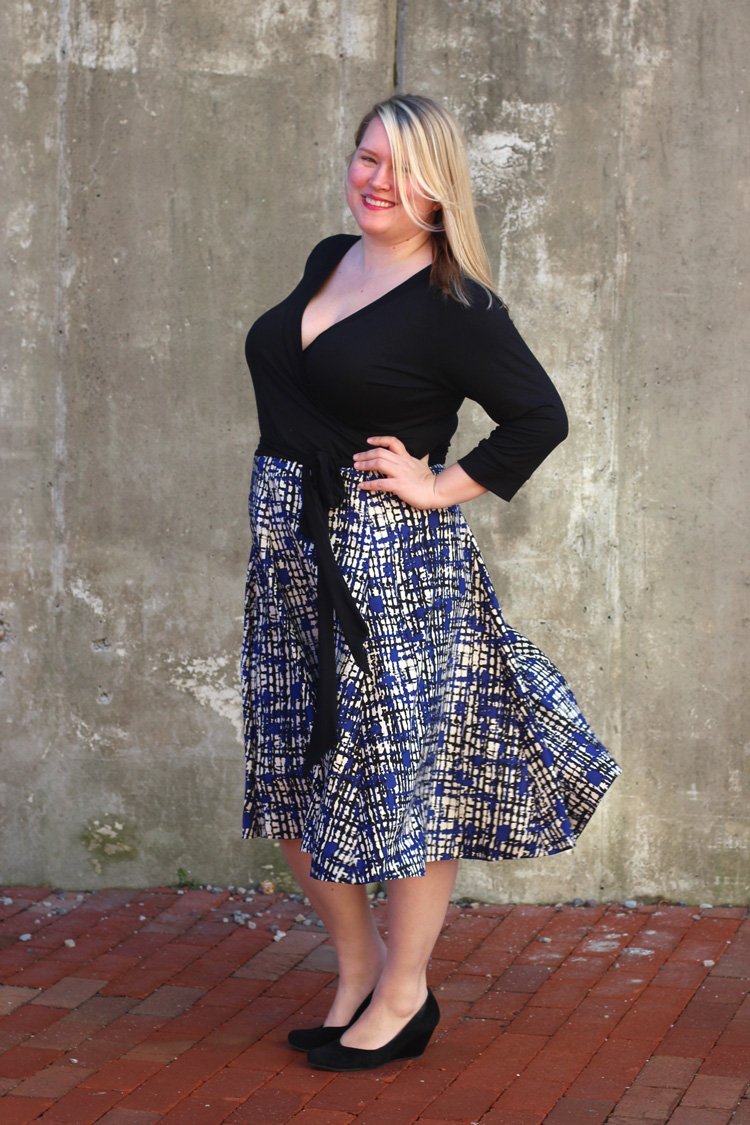
Alternatively, if you tuck your top into a skirt or pants it gives the impression of a cropped length – without any accidental flashing of the tummy when you lean over! No bust flashing, no tummy flashing… Double bonus.
To add a little bit of interest to the top, I finished the sleeves with cuffs, instead of a regular hem. The mid-length sleeve plus a cuff, shown here, takes it to a “true” three quarter length, halfway down the forearm. This tutorial includes instructions for a cuff at any length (top tip: you can use the cuff technique on the Washington Dress too!).
This tutorial also includes a brand new shaped waist tie, which flares out at the bottom for a cute look- feel free to include the flair or not!

Let’s Hack the Appleton Into a Wrap Top!
Shorten the Front and Back Pieces
First things first—let’s make this dress a top! This part is pretty straightforward, and you can stop after this step if you wish.
For a hip-length top, draw a horizotonal line across the front piece (1 A, B or C) at the height of the hip notch and trim the pattern piece. Only use the upper part for cutting your top front.

You can cut higher or lower than the hip notch, depending on your body and your length preference—just make sure to note the level you marked, because you’ll want to do the same on the back- that’s next!
Repeat what you did for the front. Draw a horizontal line across the back piece (2) at the same height as the line on the front and trim the pattern piece. Only use the upper part for cutting your top back.

You could use these pattern pieces to create a top, following the rest of the instructions from the pattern. \ But to get my exact look, read on and create the shaped waist tie and cuffs!
Create the Shaped Waist Ties (optional)
The new waistband is not cut on the fold, like the original. The flared end requires us to create a 2-piece waistband, so we’ll cut a two-piece waistband for each side.
Start by creating a new waistband pattern that is a rectangle 2.5” x the length of the waist tie for your size.

Then, add the flared end. Mark a new end point for your wrap tie by extending it 2” longer and 1” wider. Connect the point to the original corner of the tie to the new end point.
Starting 23” from the end of your tie, begin to slope the line of the lower edge of the tie to meet the new lower point. Connect points—no need to add seam allowance here!

Next, sew the waist ties together.

- Cut 4 new waist tie patterns from fabric
- Pin 2 tie pieces together, right sides together. Sew around long sides and across angled ends, leaving short ends open
- Trim corners, turn right sides out, press.
- Repeat with second waist tie.
- Continue on following the pattern instructions to insert the ties and finish the top
Shorten Sleeves and Create Cuffs (optional)
The Appleton Dress comes with 3 sleeve length options, but you can customize this top with whatever sleeve length fits your fancy.
Determine your preferred sleeve length on the sleeve pattern, keeping in mind that the cuff will add about 2.5″.
Then add 3/8″ seam allowance for your new sleeve cutting line.

After you’ve determined your new sleeve length, trace and cut that pattern piece.
Next, draft your custom cuff!
Your cuff will be 5 3/4” x 85% the width of your sleeve at the stitching line.

Mark a line down the center of your pattern piece parallel to the long edge- this will be the cuff fold line.
Next, construct the cuffs.
Sew the cuff together at short ends, with right sides together. Trim the seam allowance to ¼” inch (6mm), and press open.
Fold lengthwise along fold line with wrong sides together and press. Baste along open edge if you think it will make things easier when applying the cuff to the sleeve- three layers can be a lot to deal with!

Now, apply the cuff to the sleeve.
Pin the cuff to the outside of sleeve (6), right sides together, with raw edges matching at sleeve opening.
Sew cuff to sleeve opening, then flip seam allowance to inside and press seam allowance towards sleeve. Repeat with the second sleeve!

And that’s that! You have a stylish, well-fitting wrap top!
We can’t wait to see your Appleton Top hacks!

That’s so funny! I actually sewed one of these up this past weekend. I love it!! Such a fun look.
Cool, look forward to seeing it!
I know I’m a little behind, but I finally got mine cut out so I can start sewing it! Thanks for the expansion!
You’re welcome, and i hope you love your first Appleton!
I was looking over the expansion pack and I was wondering about the cuffs. It appears that they have size lines on both sides, but only one side has the sizes labeled. I was confused – are the 2nd set of dashed lines a typo or not? Thanks!
Hi Jessica – that’s consistent with all the pattern pieces, they’re only labeled with sizes at one point on the pattern. Cut the correct dotted line for you!
Thanks!
Perfect! I just bought and printed the main pattern last night.
You are a star, Jenny! I have just the fabric for one of these (Liberty jersey, no less!) which has been waiting patiently for the right pattern to come along. 🙂
Oh, no! Now I’ll have to choose between making a top and a dress each time I find an Appleton appropriate fabric. Thank you for this new complication 🙂
Thanks for the expansion Jenny, I would like to make a new Appleton with cuffs, since you’re asking a collar in the Appleton dress would look terrific!!
You’re welcome! I considered a collar, but the neckband would have to be re-drafted into two pieces, so it would be quite a lot of changes. But it’s definitely possible to hack at home!
I’m prepping a top now, and am somewhat confused by the directions saying not to cut a right front piece, but 2 lefts – the pattern pdfs I have have only one front wrap piece which says to cut 2, which worked fine in my dress – is there a different version or am I being completely dense?
Hi Jessica – the dress front has a separate line to cut for the right and left hand sides, and different length neckbands for the left and right. For the top, I suggest just using the left hand side pieces so you get a bit more coverage.
Thanks, sorry for being dense!
Hi Jenny, I’m loving my wrap top!! I was wondering about another pattern hack to make the wrap top into a crossover T-shirt?? What do you think?
I’m just finishing up my very first Appleton dress with this AMAZING palm print fabric I got on Craftsy and now I’m going to cut out an Appleton top with this unreal monarch butterfly print fabric that is perfect for summer!
Hi Jenny, I tried to download the Appleton Top hack and expansion pack but haven’t received an email. Am I doing something wrong? Thanks!
Hi Laura – you need to sign up for the download at the email box on this page, it doesn’t look like you’ve done that. Once you sign up, you’ll get a confirmation email asking you to confirm. Then, you’ll get a final email that has the link.
If you haven’t seen a confirmation email, I’d recommend checking your spam folder or promotions folder if you’re on gmail.
I’m finally making an Appleton, with the top hack. So pretty! I’m thinking that a little flirty peplum bottom would send it over the top. Not sure how to accomplish that, but I’m going to try! Thanks!
I really like the Appleton dress. Is it possible to get more coverage with the fabric kit left overs (scraps)?
Sheryl
I can’t wait to try this! I’m on a streak, after making 3 Appleton dresses in 1 week (my very first dress, I am hooked!)
When printing, make sure to select “default” rather than “fit to page”. At first I did fit to page and printed again at 85%. It came close- 1/8″ short over 4″ but tried again on default and that was perfect.
I have a question: I looked at the Appleton pattern I purchased (0-16 size) and it doesn’t say anything about a different line to cut for the left and right fronts. Is this something that is only in the 12-32 size range? I don’t want to mess up and cut out the wrong thing or end up with 2 left fronts when I should have a right and a left. Thanks!
This us a great hack. I have the idea of creating a cropped wrap cardigan using the appleton with slightly ballooned sleeves at the cuff. Please could you give sobe suggesting on how I might adapt the appleton to have a wrap waist with ties? I think I can hack the sleeves to the shape I want but I’m not sure how to do the waistband? Thanks.