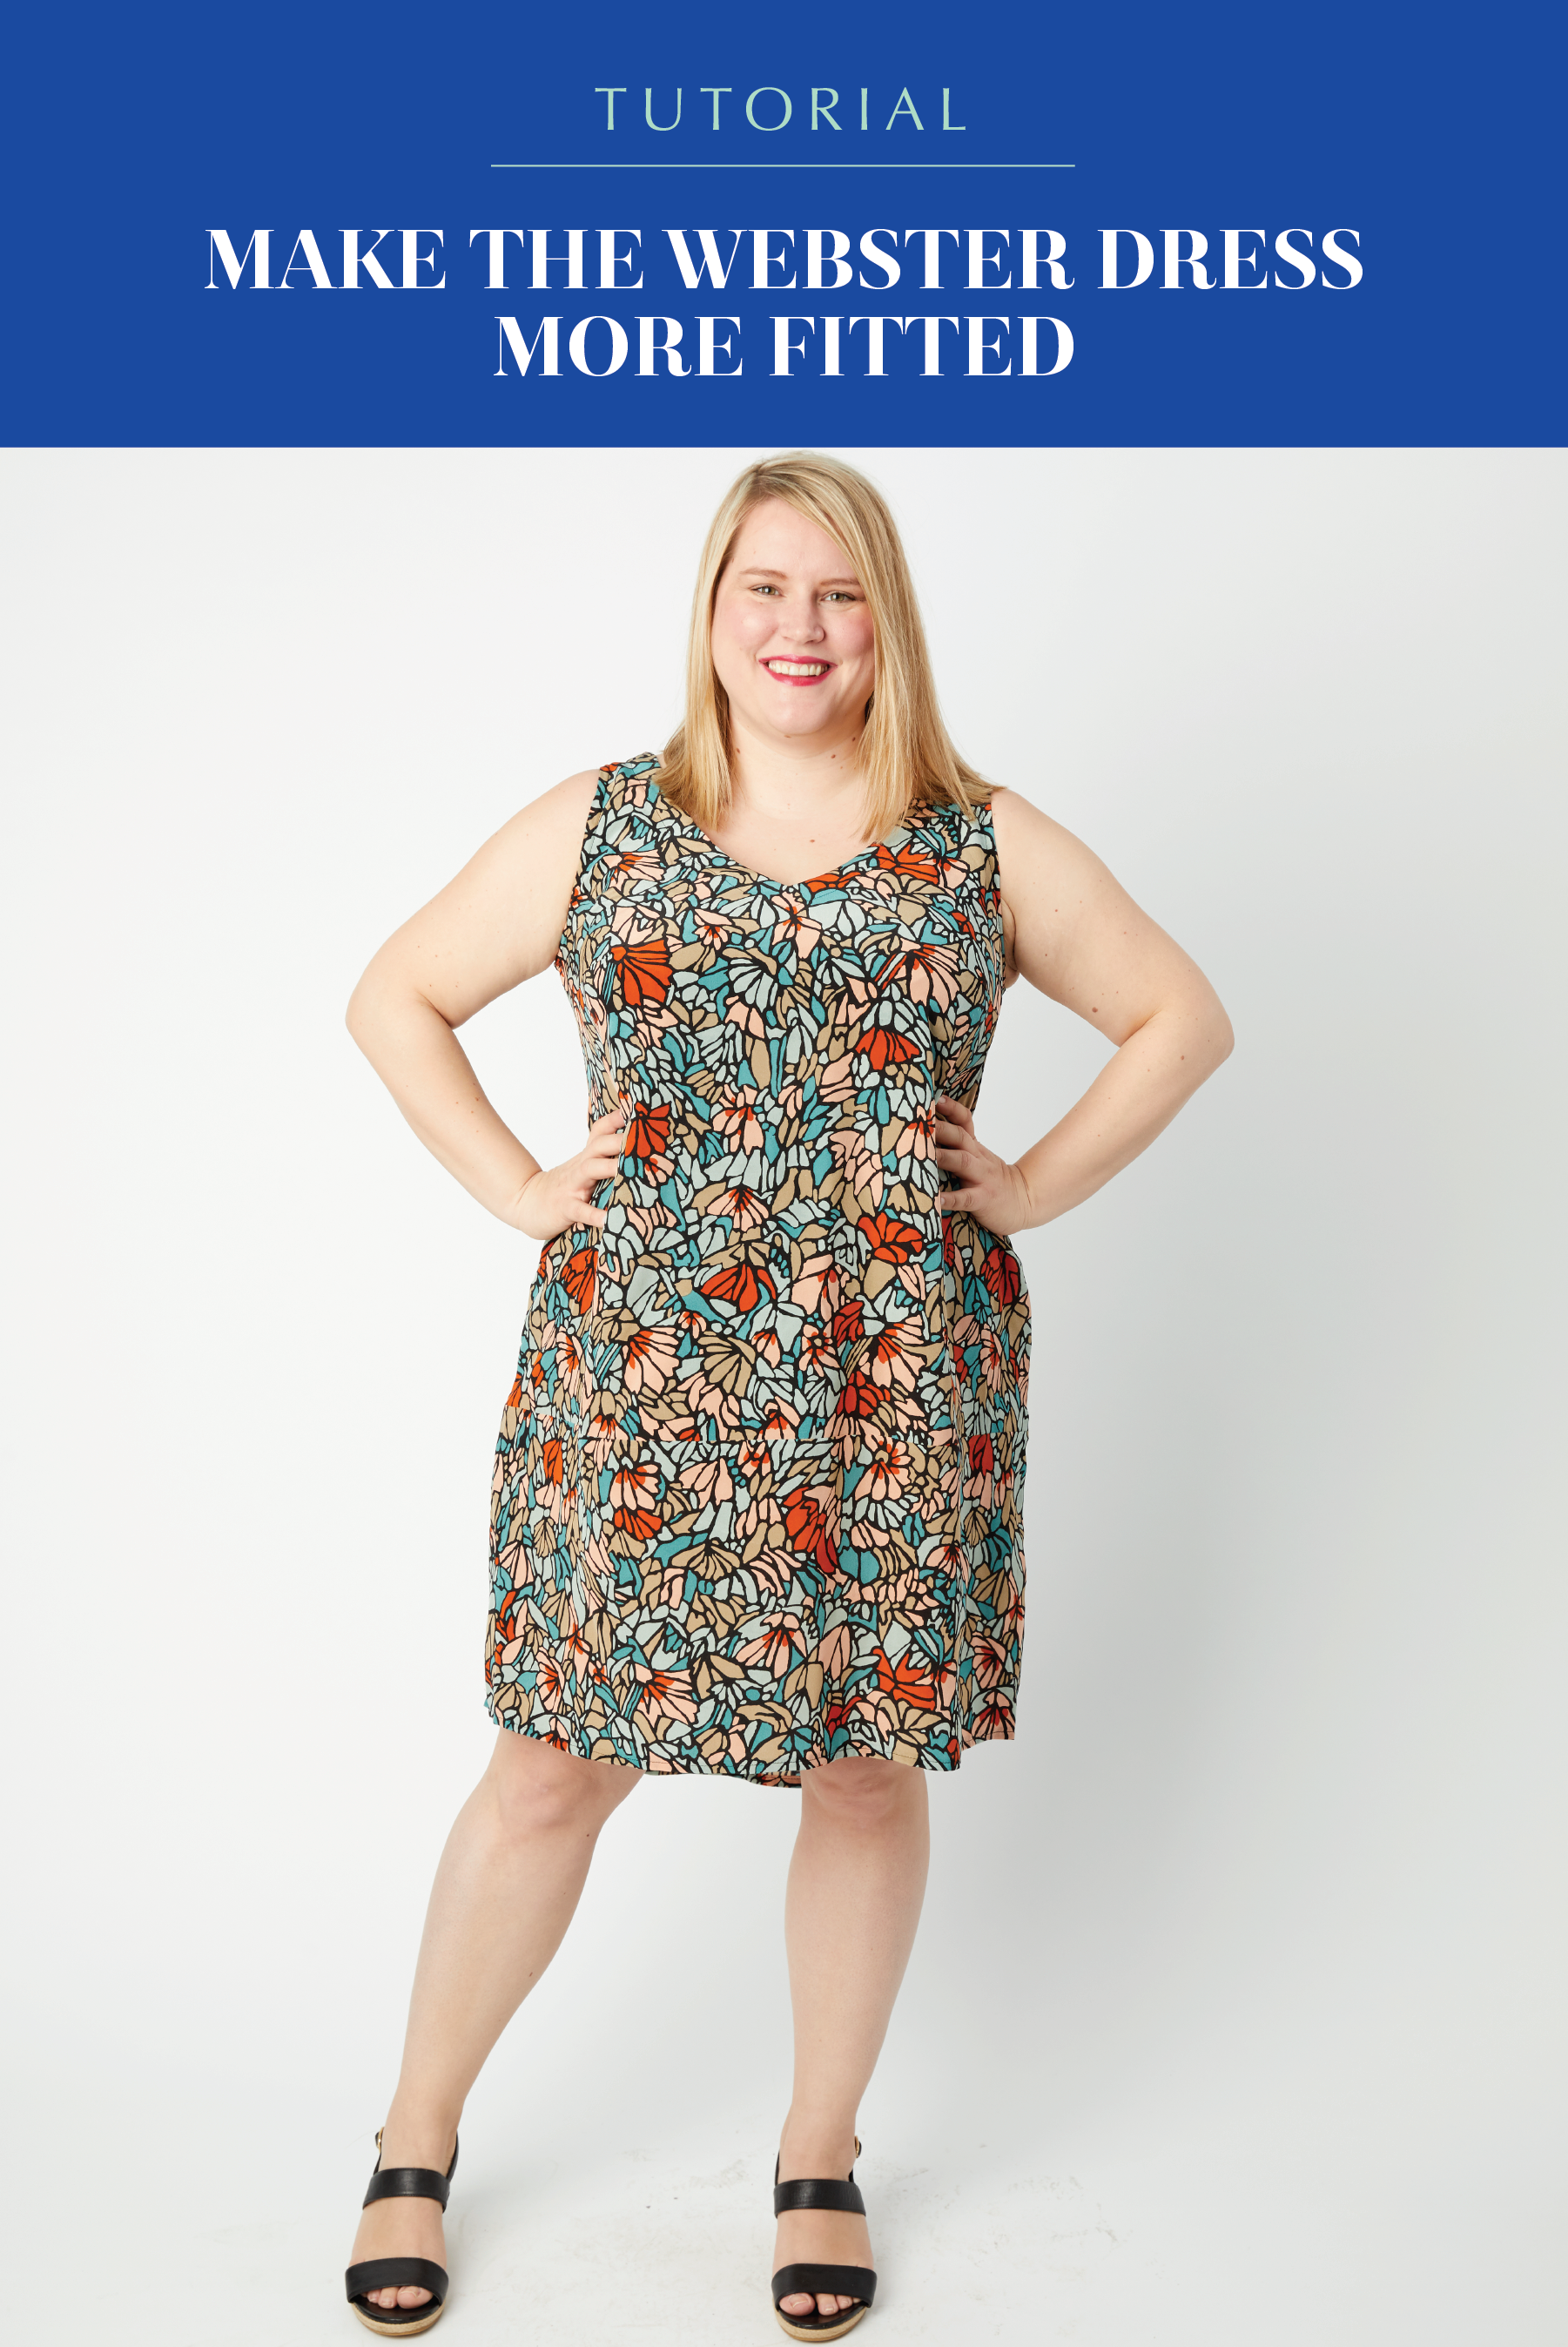
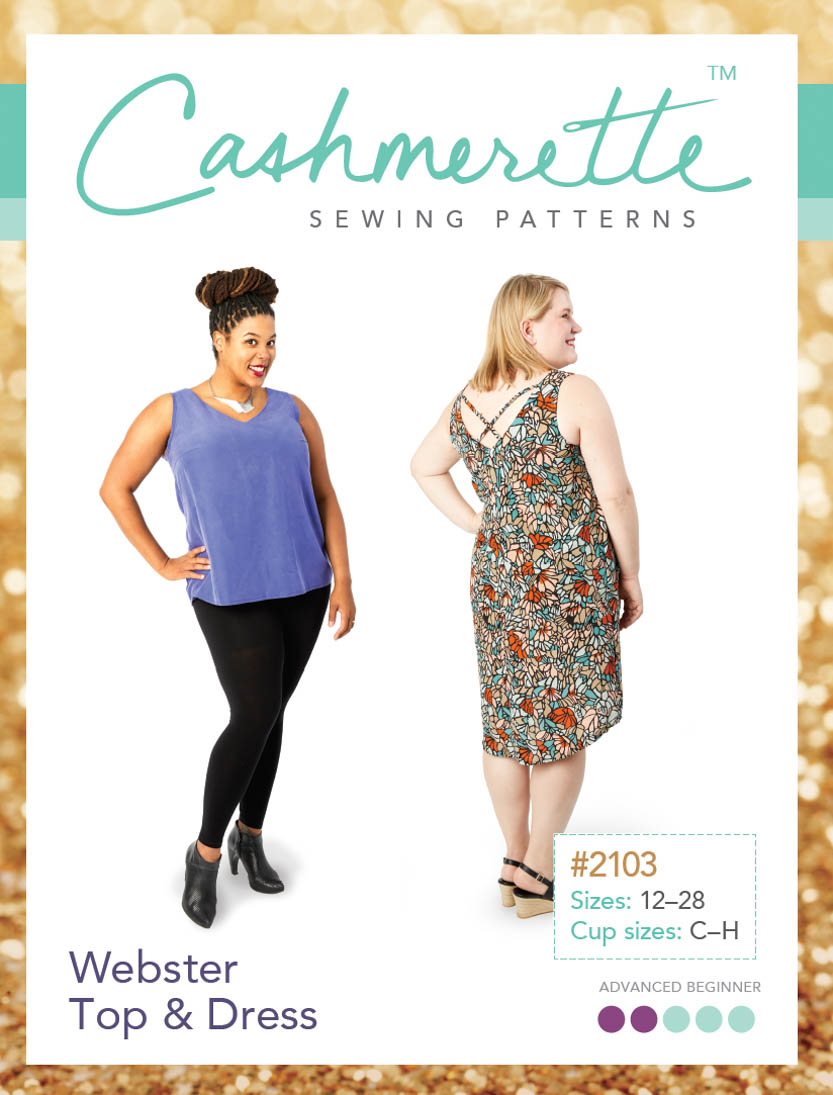
 Howdy sewing friends! So as you’ve seen by now, our latest pattern, the Webster Top and Dress is designed to be an airy, floaty, swooshy garment – perfect for hot summer days. It’s fitted through the shoulders and bust, and then flares out pretty dramatically for a silhouette that’s almost trapeze-like. It’s not necessarily going to make you look thinner, but in our books, that’s not always the point of our clothes!
But what if you love the look of the Webster but want a more fitted look? Don’t despair: there are actually quite a few approaches, and I’m going to take you through three of them today. One thing to note: because there are no closures (zips, buttons or the like) you don’t want to make your Webster TOO fitted, or you’re not going to be able to get it on and off. However there are definitely ways to make it a little more form fitting and a little less voluminous.
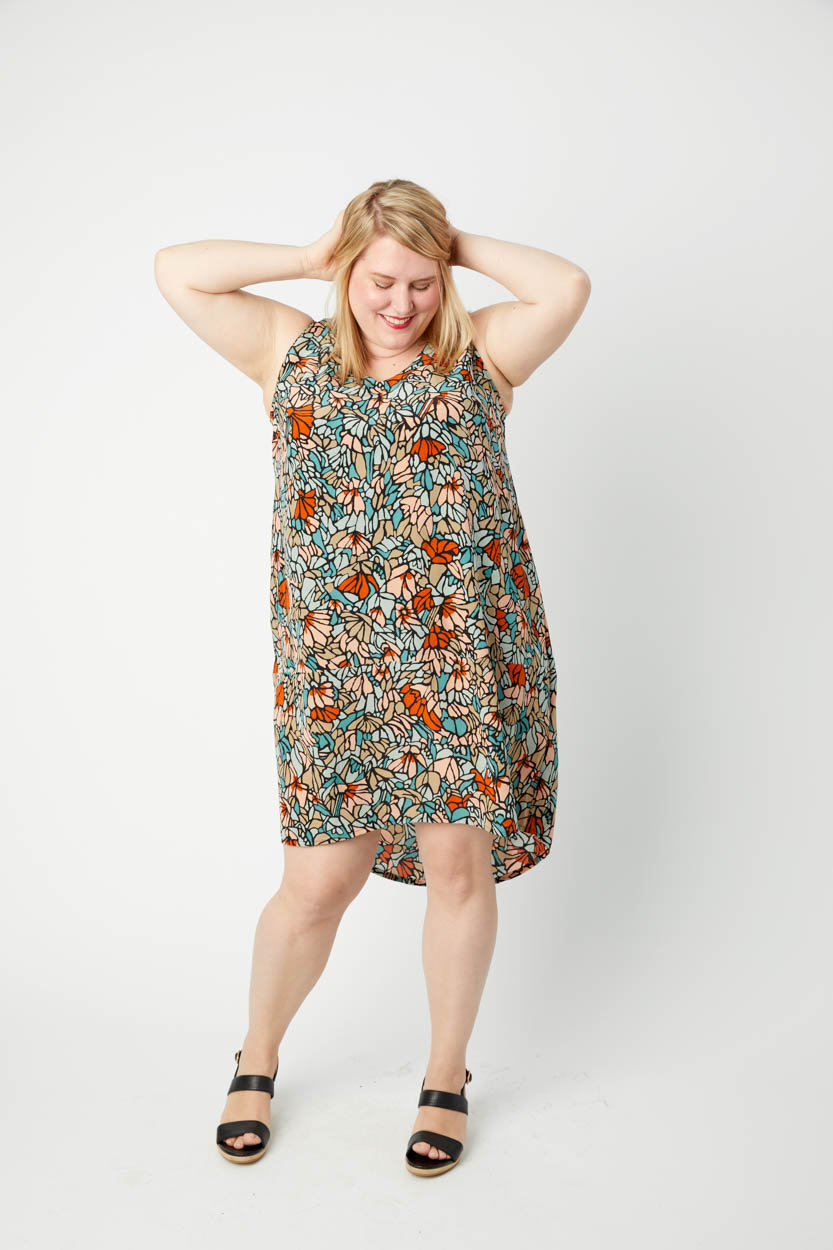
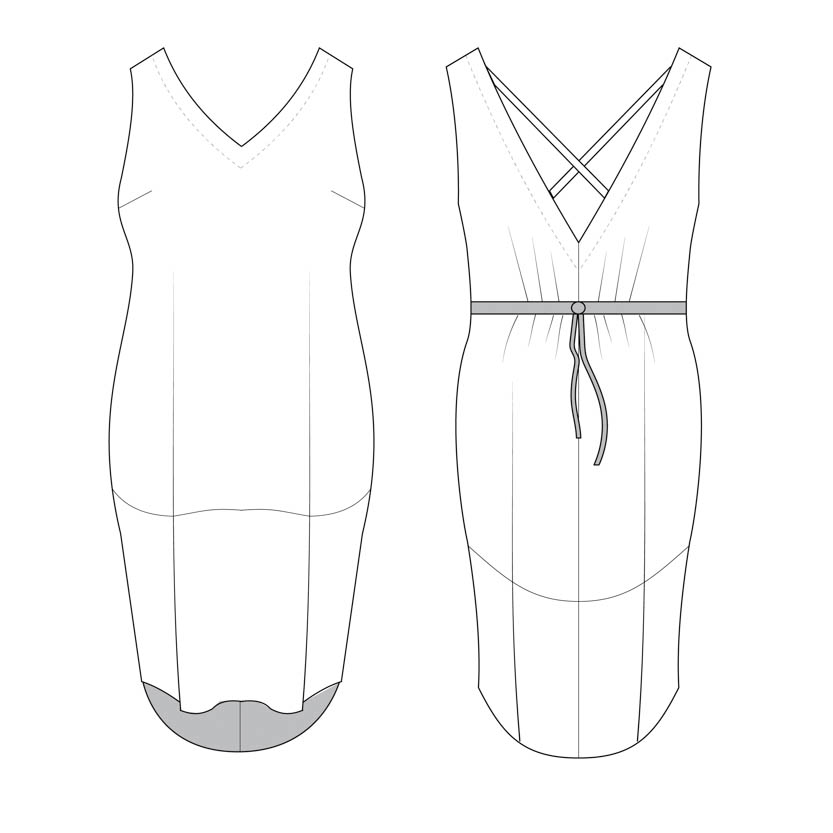
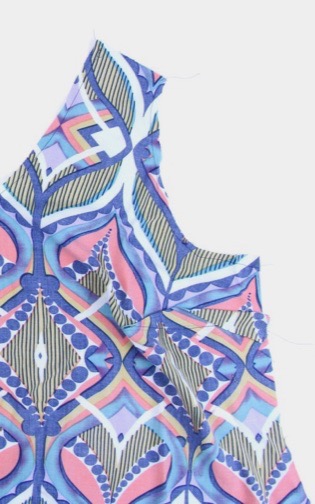
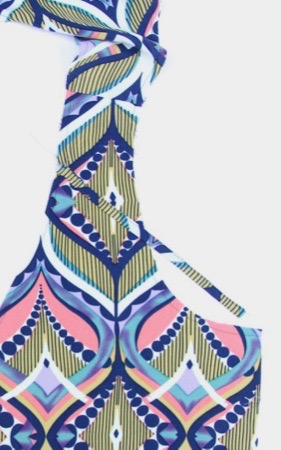
The original Webster Dress in its swingy glory!
1. Grade between sizes
If you want to retain exactly the same look on your Webster, but with a closer fit, then grading between sizes is the easiest approach. Start by picking the right size for your bust. Then, decide how many sizes you want to go down for the rest of the garment. The way to do that is to look at the Finished Garment Measurements, which show you how large the actual dress is. You definitely still need to have quite a lot of ease to be able to get it on and off, but in most cases, you’d be safe going down 1 – 2 sizes.
So let’s say you are a perfect fit for the body measurements of the 18 G/H (48″ – 38″ – 48″). If you graded down to the 14 waist and hip, the garment would still be 51″ at the waist and 55″ at the hip – enough to get over your size 18 bust, but overall you’ll have 4 inches less of ease than if you made a straight 18. If you’re normally a bigger size at the waist/ hip (e.g. if you’re an 18 G/H bust, but a 22 waist/hip), conversely you could just make a straight 18.
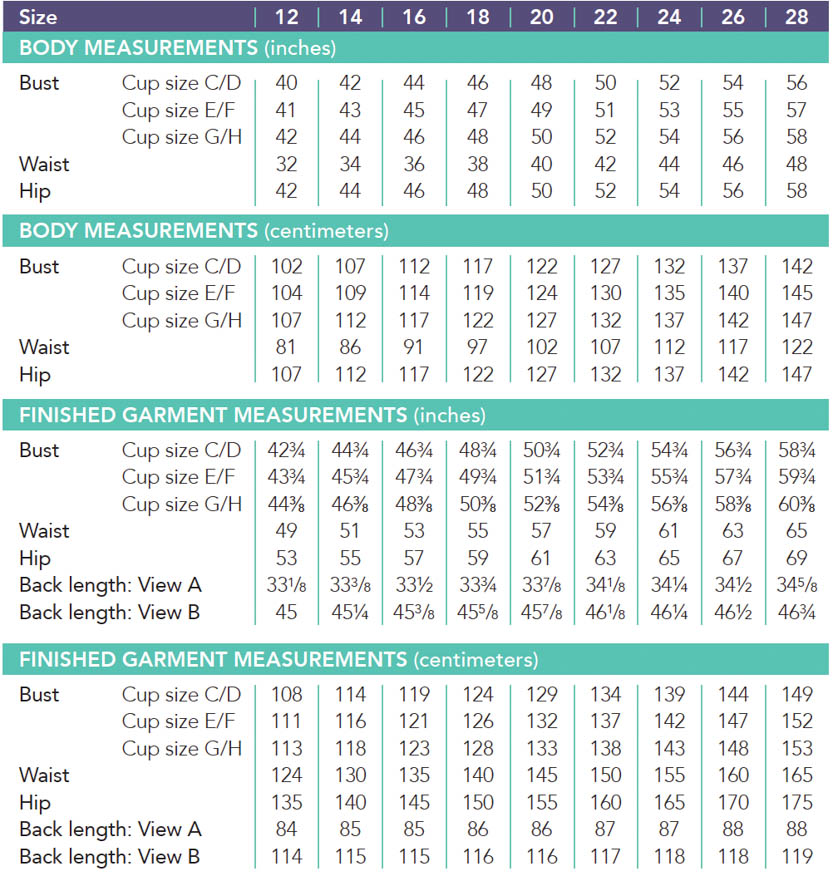
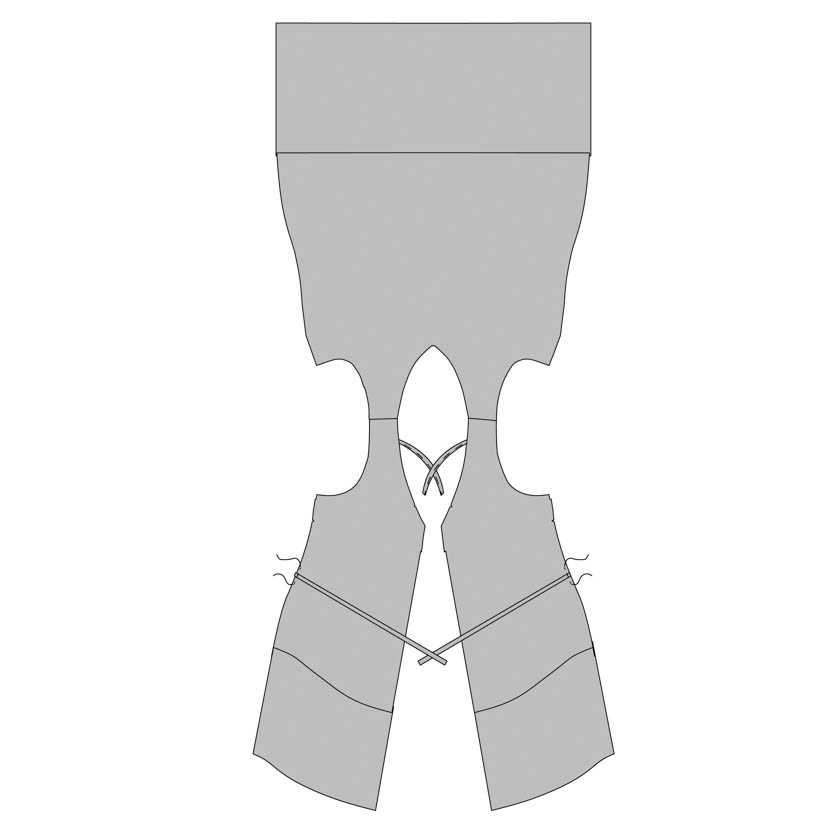
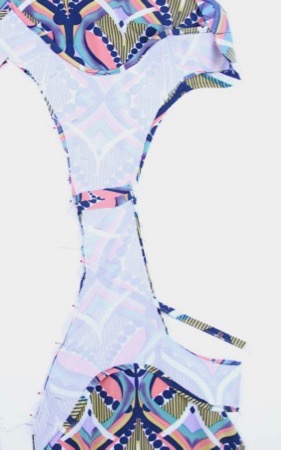
To grade between sizes, start by marking your bust size on the side seam, at the bottom of the bust dart (indicated by a red circle here). Then, mark the size you want to grade down to around the waist. Note that there is no defined waist point on the Webster (it doesn’t go in!) so it’s really up to you where you want to put that. Then, join up the bust and waist points with a smooth line. Continue down the line of the smaller size, and onto the bottom hem band. Then cut your fabric and sew as normal!

2. Add waist ties
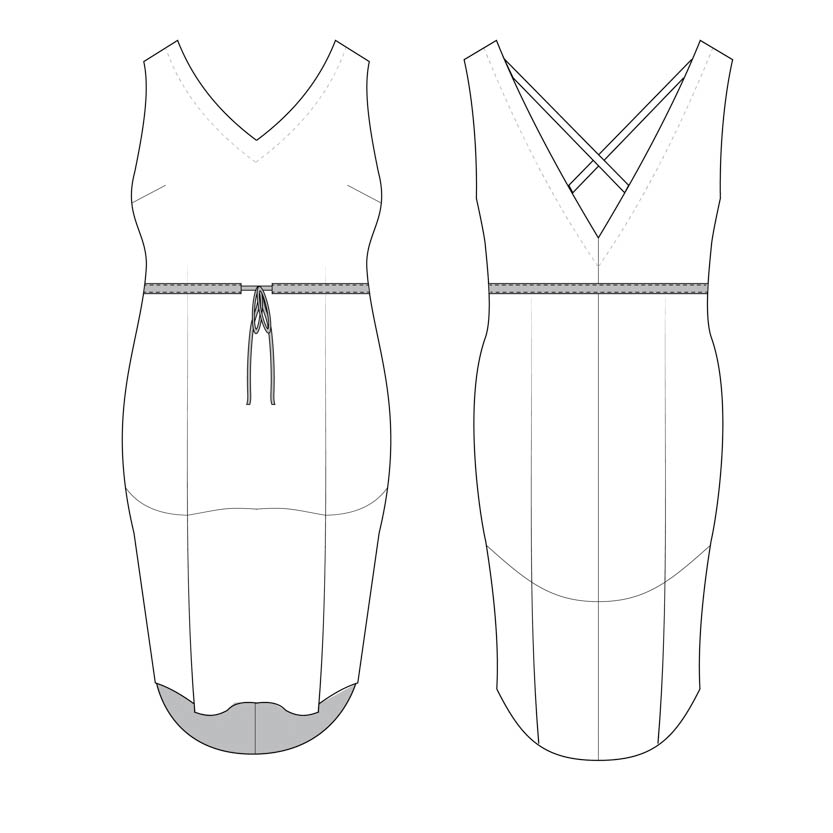
A second approach is to add waist ties that will cinch the dress in at the waist. This is a very simple method, and you can make the ties as short or long as you like, and either tie them at the front, the back, or even make them super long and wrap them around you all the way.
First, decide how long you want your ties to be (I usually drape a measuring tape around me or a scrap of fabric to assess). Construct them using the same method as for the Webster back straps.
Once you’ve attached the facing but the dress is still flat, baste the straps onto the back side seams at whatever height you like. Then, complete construction as normal.
3. Add a waist drawstring or elastic
This final approach is inspired by the True Bias Southport dress! You’ll add a channel to the outside of the dress, and then you can either insert a drawstring or a piece of elastic (there’s a slight difference in construction for elastic).
First up, create the channel.
To calculate how long your channel piece should be, first measure the width of your pattern pieces at the height where you want the channel, allowing for a 1.5″ gap at the center front (and a 1/2″ seam allowance at each end). So for instance, if your pattern pieces are 40″ around, then your piece would be 40″ – 1.5″ + 0.5″ + 0.5″ = 39.5″ long. For a 1 inch wide finished channel, the depth of the piece should be 2″. So: cut a rectangle of your fabric that’s your desired length by 2″ deep.
Once you have that piece, fold over each long side to the wrong side by 1/2″ and press (note the illustrations are not to scale). Then, fold over each short end to the wrong side by 1/2″ and press again. Now, from the right side, topstitch down each long end.
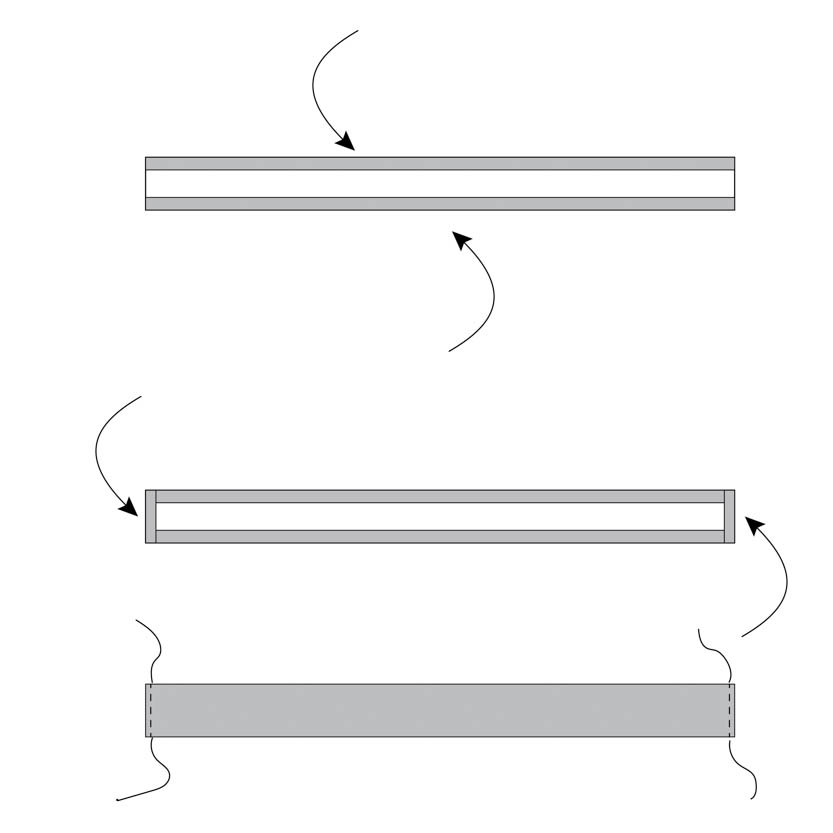
Create the drawstring as long as you’d like, using the same method as the Webster back straps.
Once you’ve completed constructing your dress, pin the channeling on to the dress at the desired height, and topstitch it to the dress at the top and bottom (make sure you’re accurate and leaving enough of a gap in the middle!). Pin a safety pin through the drawstring, and insert into the channel and you’re done!
To insert elastic, follow the same approach for the channel, but without the 1.5″ gap in the center. Sew the channel in a loop, then pin to the dress. Topstitch the channel to the dress, leaving a 2 inch gap in the bottom topstitching. Wrap a piece of 1/4″ elastic around your waist and stretch until it is snug but comfortable. Cut. Pin a safety pin through the elastic, and feed through the channeling. Sew the two ends of the elastic together, and then topstitch the 2 inch gap closed.
So there are three approaches to making your Webster Dress more fitted! What do you think: will you be trying any of them?
SaveSave
SaveSave
I’m loving the drawstring/elastic option, will definitely be giving that a try when I make mine.
Jenny, you are so sweet to think about all of us!!! Thank you for your blog post on adaptations for the Webster dress. So thoughtful of you!!!
I think airy, floaty and swooshy will be VERY welcome once the heat of the summer hits us full on. 🙂 Thanks for the suggestions though – if someone were to make the Webster out of a stiffer material they might want to pull it in a bit around the waist and besides this could be a whole different sort of garment to construct out of the same pattern. Can’t wait for mine to arrive 🙂
In my younger days I used to sew a lot of my garments and then when I had children I was more focused on their cute little dresses, etc. But, I am wanting to start making my own clothing so, I tried making the Webster top. It turned out pretty good but, the shoulders and bust area are too big? I thought I measured correctly but the neckline gaps and shows all my business! I am wondering if it was the fabric I used or if I need to alter the pattern a little? I used a mid-weight cotton. How would I make the neckline smaller? Would I adjust it on the shoulder seam? I never have been able to measure myself and go with those measurements and the garment fitting. I really LOVE your patterns and how you fit to the plus size!
Hi Karla – as it’s too big all over, it sounds like there was an error somewhere with measuring or picking a size. Here’s a blog post which covers the most common issues: https://blog.cashmerette.com/2017/07/why-doesnt-it-fit-a-sewing-checklist.html. If you want to send your specific measurements for sizing advice, feel free to email us at hello@cashmerette.com with your details.