Hi all! Welcome back to the Webster Top & Dress sewalong! Today, we’ll be jumping in to sewing our Websters, so make sure you’ve cut your pieces and reviewed our tips for sewing with silk if you’re going for a silky Webster!
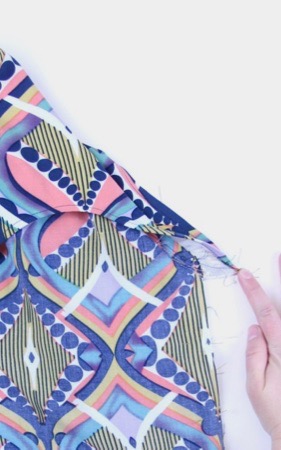
We’re going to begin with preparing our pieces to make sure that those cut on the bias don’t wobble. Start by staystitching the neckline of the front piece, stitching in two passes starting at the shoulder and ending at the point of the V. Staystitch the neckline of both back pieces, starting at the shoulder each time. Staystitch the armscye of the front and back pieces in the same way. Repeat all these staystitching steps on the front and back facings as well. Staystitching is used to stabilize these edges cut on the bias and prevent them from stretching out of shape during construction of the top.
Next, we’re going prepare our facing pieces. Start by applying your fusible interfacing according to the manufacturer instructions. If you have an especially shifty fabric, block fusing is a good option here — cut a piece of fabric and interfacing large enough for one front facing and two back facing pieces and fuse them together before cutting out your pieces.
To finish preparing our facing, we need to finish the lower edges of the facing, which will be exposed inside your Webster. There are a few options for this. You can serge the edge to finish it, use pinking shears, or turn up the lower edge twice, press, and hem. For this sample, I chose the last option; that is the recommended option. Personally, I usually serge the lower edge if my fabric is a little more hefty because I don’t want the added bulk at the bottom of my facing.
In our final step today, we’re going to sew the two bust darts in the front of your Webster. When sewing darts in silk, make sure you mark the lines from the dart ends to the point with chalk and pin along the line carefully to hold the layers in place as you sew. Press the dart flat first then press it up towards the shoulder over a ham to maintain the curve.
Check back Friday for our next step: sewing the hem bands (if you’re making the dress) and the shoulder seams, and preparing the back straps. Share your progress on social media using #WebsterTop and #WebsterDress!