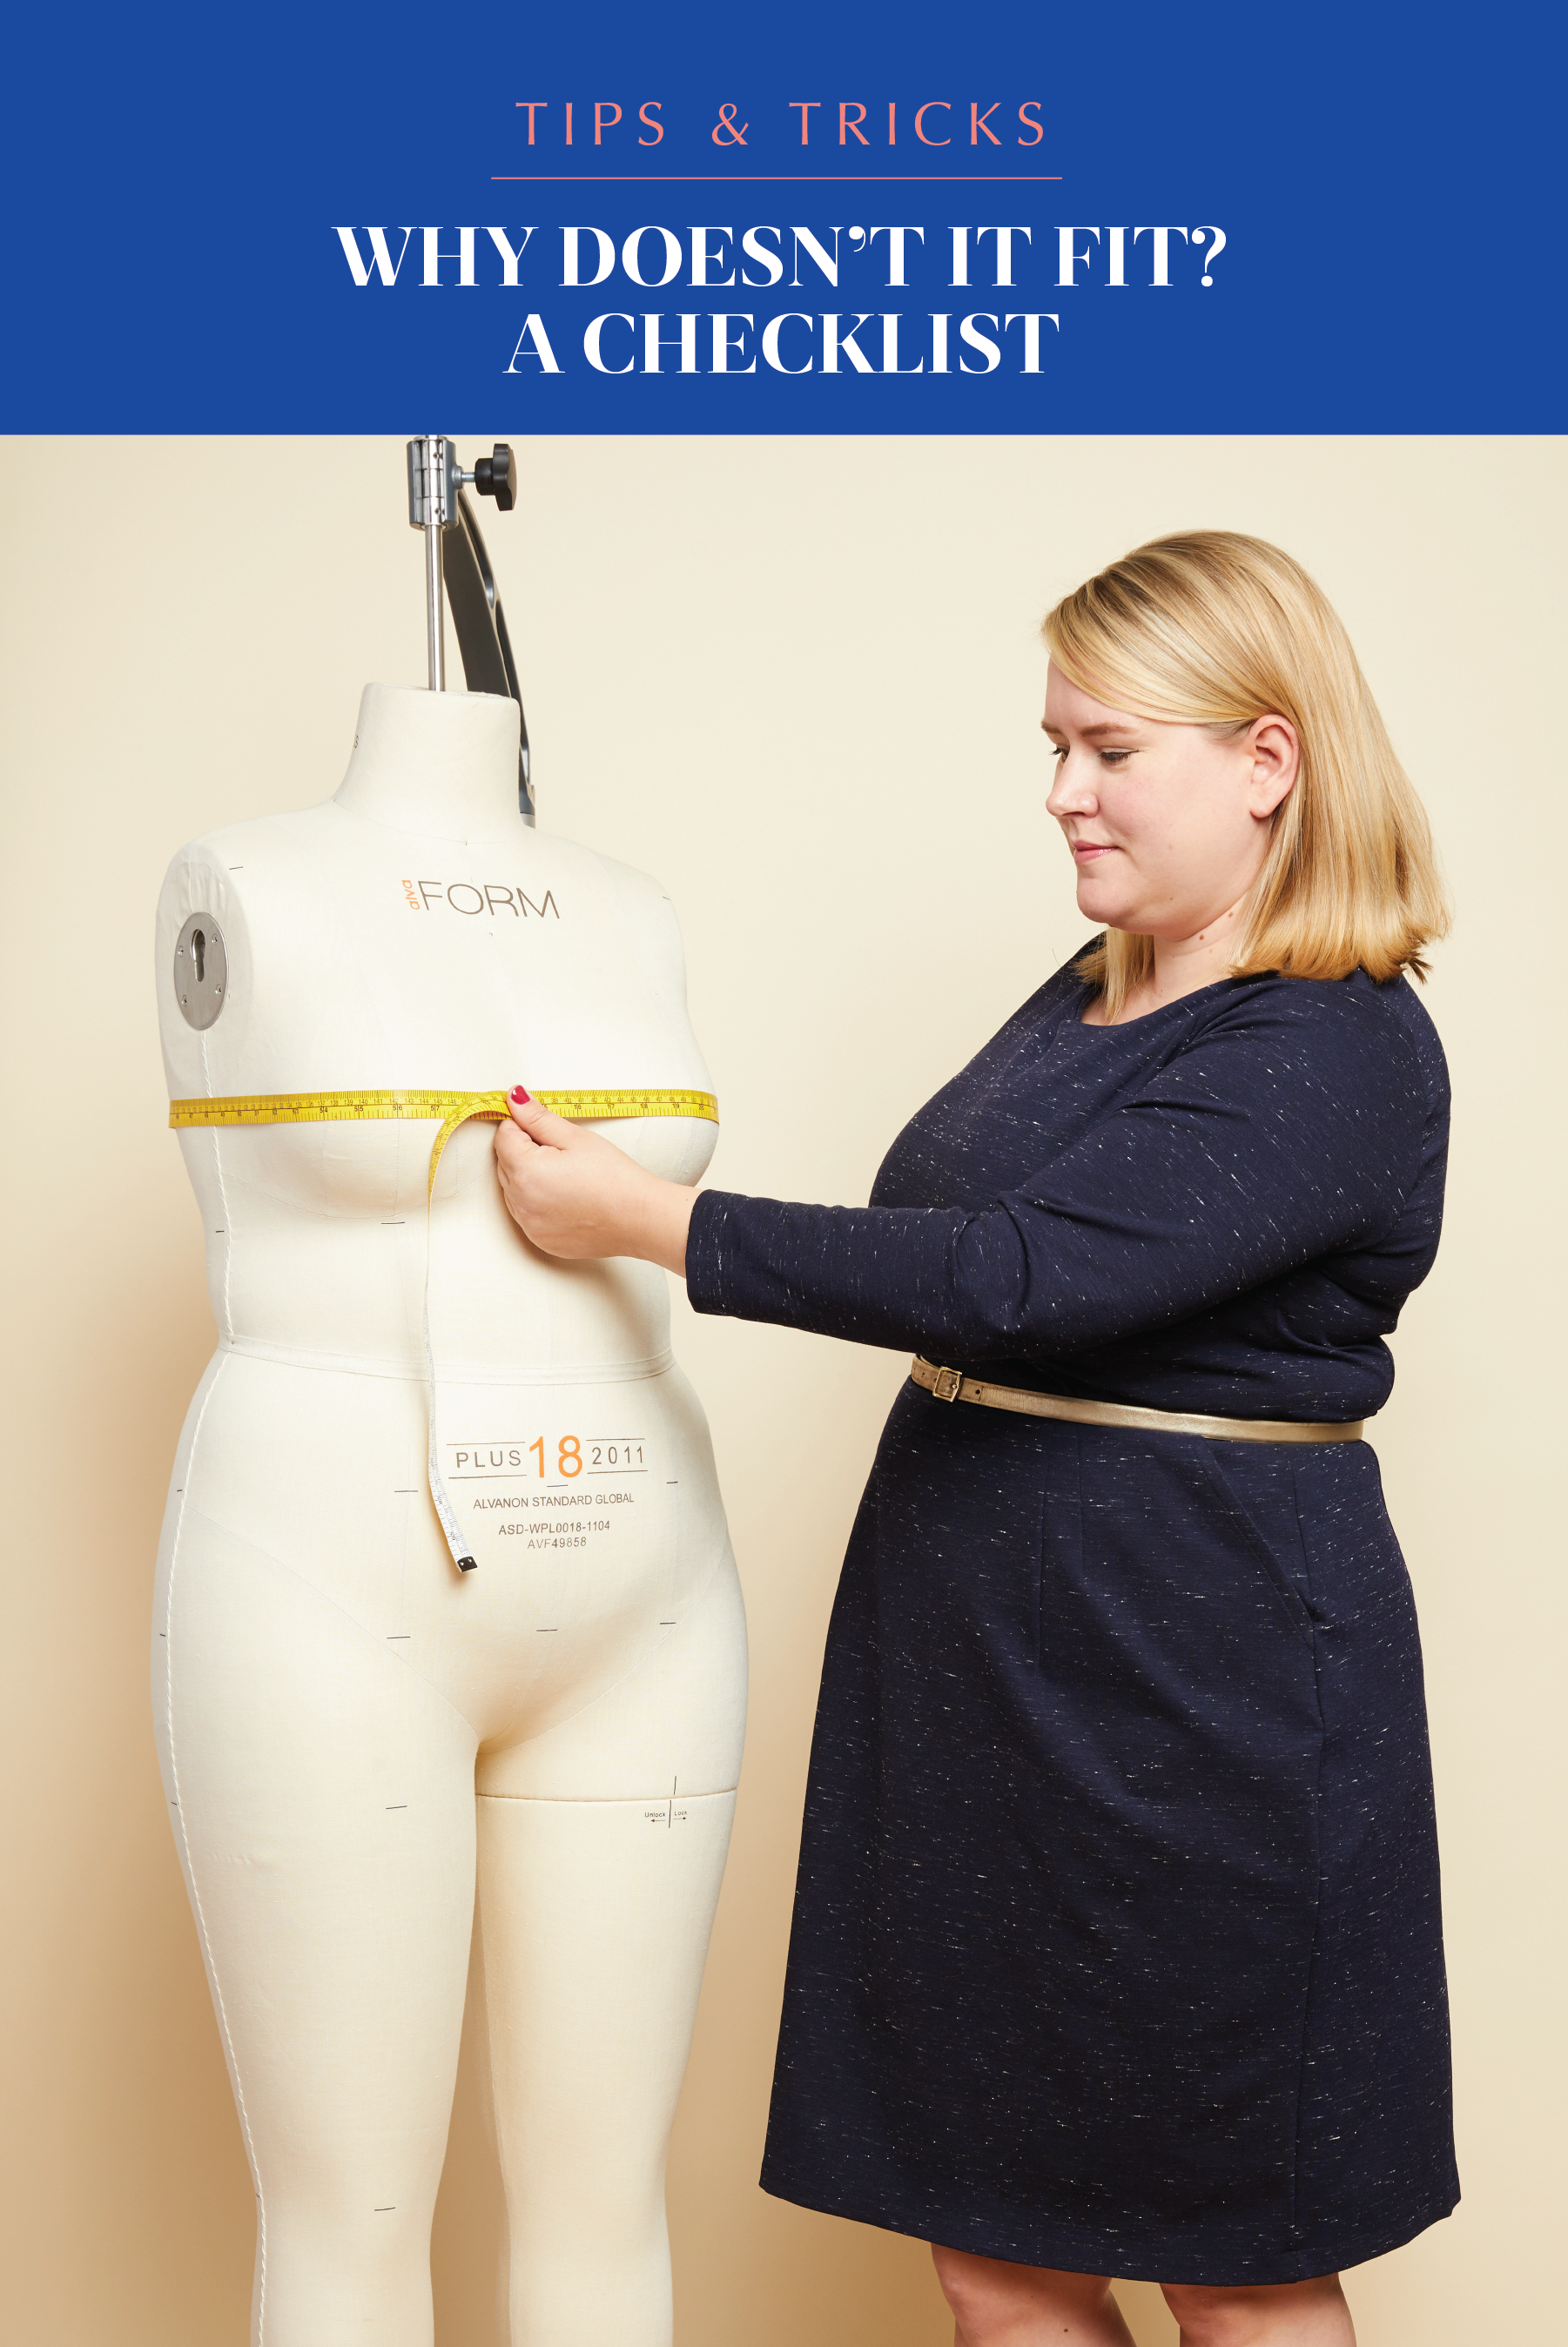
One of the great joys but also great frustrations of garment sewing is learning how to fit your clothes. Sometimes you can think you did everything perfectly, and yet your garment still doesn’t fit – and it can be particularly challenging when you’re new to sewing, and have no idea where to even start!
So I thought I’d make this checklist that you can go through next time you’re struggling with fit. You can also download the checklist as a one-page document (at the bottom of the post) that you can keep on your computer or print off and tape up in your sewing area next time you want to smash your machine and throw it out of the window! Make your muslin, and then if it doesn’t fit, go down the checklist to identify your problem. Do you have more ideas to add to the list?
Want to learn how to sew the well-fitting wardrobe of your dreams? My new book, “Ahead of the Curve: Learn to Fit and Sew Amazing Clothes for Your Curves” is out now. It includes tons of fitting tutorials and 5 exclusive patterns!
“Why doesn’t it fit?!”: A Sewing Checklist
1. Did you take your measurements at the beginning of the project?
It’s always a good idea to take your measurements at the start of every single project, because most of us fluctuate quite often (and sometimes quite dramatically), and it’s easy to make the mistake of assuming you’re the same size as before. My top tip is that if you’re making a woven or fitted garment, make sure you are sitting down when you take your waist and hip measurement, because most of us – especially those who are curvy – get bigger when we sit down. If it’s a knit, stretch woven, or there’s tons of ease, you should be OK with standing measurements. Always make sure you wear the same undergarments when you’re measuring that you’ll use when you wear the garment – different bras or shapewear can affect measurements significantly. Unsure how to take your measurements? Here’s a guide.
2. Did you choose the right size?
Picking the right size in a pattern is essential to getting a good fit. There is a lot of variation between sewing pattern brands as to the amount of ease, and the numbering systems, so here are the steps to go through:
- Take your measurements and write them down.
- Look at the Body Measurements Chart, and circle where your bust, waist and hip lie – don’t worry if they’re in different sizes, they probably will be.
- Look at the Finished Garment Measurements Chart (on Cashmerette Patterns this is on the envelope, but on some pattern it’s printed inside on the tissue). This shows you how big the GARMENT will be, i.e. how much wiggle room you’ll have (also known as “ease”, but that’s less fun than wiggling). Compare where you fall on the Body Chart and the Finished Chart. Does the size of the garment make sense to you based on your body size? For instance, if your bust is 48″, and the finished garment bust is 55″ but the garment is meant to be fitted, you can see it’s probably going to be too big, and you might want to go down a size. You might also find although theoretically you have to grade between sizes you actually don’t, because there’s enough ease. For instance, I’m generally a size 18 except for a size 20 waist, but if there is enough ease at the waist (seen in the Finished Garment Measurements Chart) then I might be able to make a straight 18.
If you’re making a Cashmerette pattern, you can simply use our Size Calculator to determine your starting size.
Once you’ve identified the bust, waist and hip sizes you need to make, you can then either make that straight size if you’re lucky enough to be in one, or you can grade between sizes. Here’s how to do that.
3. Are you the same height and cup size the pattern is designed for?
First up, are you the same height that the pattern’s drafted for? If you are, and you have fairly “average” proportions, probably no action needed. However, if you’re significantly taller or shorter, or if you have different proportions to average (e.g. a very short torso and long legs), you may need to lengthen or shorten the pattern. Most patterns are drafted for 5’5″ – 5’6″, but there are exceptions. Here’s a chart of pattern company heights.
Most patterns have “lengthen/shorten” lines that you can cut, and then slide the pieces closer or further away depending on if you need to reduce or add length. Note, proportions are important: you can be 3″ taller than a pattern is designed for, but if all the length is in your legs, then a top might fit you as-is. Or, you could still have a very short torso and have to reduce the length of a top, even though you’re theoretically taller than the pattern. The only sure-fire way to know if the length will fit you is to measure your body and measure the pattern pieces and compare.
Second up, do you have the same cup size that the pattern’s drafted for? Most commercial patterns are designed for a B – C cup, but there are now companies that go up higher, with Cashmerette Patterns going all the way up to an H! Here is a guide to help you identify the cup size of pattern companies. Here is a guide to help you identify the cup size of pattern companies.
Why does it matter? If you have a 48″ bust measurement, you will get a very different fit if you have a wide back and a B cup bust, or a narrow back and an H cup bust. Also, the bust size the pattern is designed for dictates things like the size, shape and height of darts and princess seams, and if you’re not the same size as the pattern, it’s unlikely to fit you correctly. If you are bigger than the pattern cup size, you can do a Full Bust Adjustment. The technique for doing an FBA varies depending on the type of pattern you have. For video step-by-step tutorials on multiple types of pattern, you can take my Fitting For Curves video class. More tutorials are available on the Curvy Sewing Collective.
4. Did you print and/or cut out the right size, and use the right seam allowance?
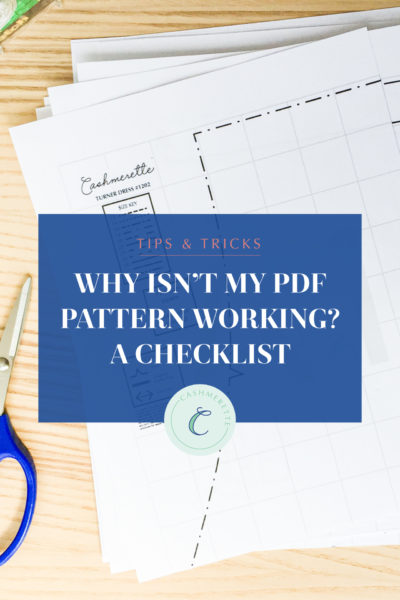
If you are using a downloadable PDF pattern, one of the most common mistakes is printing it at the wrong scale. Even 10% wrong will result in a dramatically ill-fitting garment! Cashmerette Patterns have a 1 inch grid across the back of every page: make sure you print the first page and measure the square before taping together. Also make sure the squares are fully printing around all sides of the paper. Other patterns often have a test square on the first page that you can measure to make sure you got the correct scale.
If you are using a printed pattern, you’ll either be tracing or cutting your pattern pieces, following the dotted lines marking your size. First, make sure you’re on the right dotted lines – they can be hard to see! Also, not all pattern pieces are nested in the same: you might assume that the outermost lines are the biggest size for instance, but that is not always the case.
Finally check you used the right seam allowance. Bear in mind they vary between brands and often also within the same brand between garments. All Cashmerette Patterns have the seam allowance printed on each pattern piece (1/2″ for wovens and 3/8″ for knits) but for some patterns you’ll need to look in the instructions for guidance. Sewing 5/8″ rather than 1/2″ accidentally can radically affect the fit of your garment.
5. Did you use the right kind of fabric?
It’s important to use the right type of fabric for your garment, because using the wrong one can dramatically affect fit. All patterns explain what type of fabric you need (woven, knit, stretch woven etc.), and many of them will also provide additional fabric guidance, such as a stretch chart which we have on all knit Cashmerette Patterns, or a weight guidance (e.g. a heavy knit vs. a light knit).
Broadly speaking, there are three types of fabric which are the most common:
- Non-stretch wovens. These fabrics don’t typically stretch at all (just a little bit across the bias), and include fabrics like cotton lawn, linen, silk and non-stretch denim.
- Stretch wovens. These fabrics are still woven, but have been blended with a stretch element like lycra, in order to stretch (though typically not as much as a knit fabric would). These include fabrics like stretch denim and stretch sateen.
- Knits. These fabrics are produced using a knit stitch (like knitting if you look under a magnifying glass!) and are typically very stretchy. These fabric types include jersey, ponte, ITY.
Critically, you cannot make a knit garment out of a woven (without radical changes which are unlikely to be worth the time and effort!). You also cannot tissue fit a knit. It is possible to convert some woven garments into a knit (typically by going down a few sizes) but it’s also a bit of a gamble, and may result in an ill-fitting garment.
6. Are the style lines in the right place?
Even if you’ve followed all the guidance above, you may end up with some of the garment style lines in the wrong places, which mean that you need to make adjustments. Here are some things to watch out for:
- Are the shoulder seams on the top of your shoulder? If they’re not, you may need a forward or back shoulder adjustment.
- Is the point where the sleeve meets the shoulder at the tip of your shoulder? If it’s falling off the shoulder (and it isn’t designed to look like that) or if it’s pulling on to your shoulder, you may need to do a wide or narrow shoulder adjustment.
- Is the neckline at the right width and depth for you? This one’s really easy to fix in most garments! Here’s how. Is the neckline gaping? Here’s another adjustment for that.
- Are the bust darts or princess seams in the right place? If they’re not you may need an FBA/SBA, or to move or rotate the darts or seams.
- Is the waistline hitting at your waist? Patterns are designed to hit at various waist heights, and sometimes the instructions will tell you, but sometimes you have to deduce it from the pattern illustrations and photos. Regardless, you can position the waistline wherever you like, typically by lengthening or shortening the bodice.
- Is the hem at a length you like? That’s an easy one! Just shorten or length as needed.
- Are the back darts or seams flat against your back? Remember, you need some wiggle room in your garments so your clothes are never going to look like totally smooth plastic Barbie dolls! But if you have a lot of pooling fabric in the small of your back, you may need a sway back adjustment (for if your back is very curved), or you may need to add more room at the bum (if the fabric is getting caught there).
You can learn lots more about this in my Fitting For Curves online video workshop.
6. Where is it too big or too small? Where is it gaping or pulling?
If you’re confident you got the basics right, and now you’re looking to diagnose where to make changes, look at where the garment is too big or too small, or where it’s gaping or pulling. These are the most basic observations, but they often tell you what you need to do, whether it’s making a different size, grading between sizes, or using one of the adjustments above.
DOWNLOAD YOUR “WHY DOESN’T IT FIT?!” CHECKLIST HERE

A fantastic summary Jenny. Thanks. The links to the various tutorials and sizing sheets are great as well.
I love the checklist as I’m learning about more precision fitting techniques.
But I have one issue that dogs me. Knit dresses. The bodice fits fine. But I add the skirt and suddenly I’m wearing a granny gown! It’s like if I make the bodice the right length (I’m long-waisted), then add the skirt, the weight of the skirt messes up the proportions of the bodice. What kind of adjustment is that?
Suggestions? Ideas
That’s a common issue! That’s why it’s so important to muslin a whole dress, and not just a bodice, because the skirt often pulls things. In addition, some knits have a lot of vertical stretch and are much more prone to getting dragged down. In this case, you need to shorten the bodice, to compensate for the skirt.
The other issue here is that you’ve lengthened the bodice so that will automatically made the skirt too long. Or if you are shorter than the height your pattern is drafted for it will also be too long. You can have a long waist and be short below the waist. Of course, as Jenny mentioned, lots of knits are heavy and the stretch quite a bit. Check where the most stretch is in your fabric and make sure that it’s going around your body. This will definitely cause your dress to hang longer.
I think I would add to the question about taking measurements: did you measure while wearing the same undergarments or shoes as when wearing the finished garment? Those can make a huge difference for me on final fit.
Yes, you should definitely wear the same undergarments when you measure – I’ll add that into the post!
Thanks for giving us this great fit checklist! It’s been years since I’ve sewn for myself so the checklist will come in handy. I especially like the tip to measure waist and hips while seated.
Thank you so much – invaluable information!
This is amazing! Thank you for taking the time to put it together.
This is a very helpful post, and quick and easy to read! Will definitely be bookmarking this one for the future!
Where did you find your dress form, thanks for sharing.
https://blog.cashmerette.com/2016/02/plus-size-sewing-dress-forms.html
Lots of great information. Thanks! I have a question. I am a 5’2″ sz 16 shoulder, 18 bust (38DD) and 18-20 hips (48″) My problem is, how do I take up the front arm hole on non stretch tank tops? It always gapes on me. Do I make a dart there along with the regular bus dart? I get so confused with FBA’s and get so frustrated with the fact that nothing fits me right, I just want to give up. I love sewing for others, but for me…..NOT!!!!! I have no one to help me fit clothes on myself and a good quality dress form is beyond my financial means.
Hi Deborah – typically that is a sign you need an FBA, but if it’s not straining at all at the bust, you could also do a gaping armhole adjustment. Neither of them is that hard – you can learn more about them in the Fitting For Curves online workshop (workshops.cashmerette.com).
So many great tips and links! I’ve shared the post with Bay Area Sewists. Thanks so much for including my sewing pattern height chart! 🙂
These are great and helpful hints! Thank you! What do you recommend when the fit between the top and bottom are several sizes different and the pattern pieces are not separate between the two? ( one long piece shoulder to hem). I have a dress I am looking forward to making but I can’t figure it out. Thanks again!
You would grade between sizes at the seams
I liked that you mentioned sit while taking waist to hip measurements. I observed that most time curvy women’s skirt does not fit as should. One reason is they tend to buy clothes that slightly fit the body, which in turn cause the front to be longer than the back. This is because the companies that make these ready made clothes do not consider other body shapes.
Thank you soooo much. My body measurements are all over the place. Great info. Cheers
Question: Im looking for an online company that sells plus size dress forms like you have in your picture? Would you be into sharing where you bought yours?
I’ve made the Harrison shirt and I love it. My problem is that the armhole feels too tight/high. How do I fix that? I’m 5’8, so do I need to lengthen the shirt halfway across and thereby lengthen the armscye? And make the same adjustment on the sleeve? Thanks!
Hi Francie, is the sleeve is too tight too, or is it just coming up too high under the arm? If we want to email us at hello@cashmerette.com, we’d be happy to help you find a good fit.
-Ayelet at Cashmerette
Wow!!! I am more than impressed .
Fantastic , Due to Covid & Lockdowns, my sewing experience has slowed down , but your site is a tremendous help . I certainly am Very Happy .
My problem is a very low waist which is about the same size as my high hip. When making trousers I have to adjust the front down and the back up.